How to print labels on a partially used sheet in Google Docs?
It's always a shame to discard a sheet of labels where you've only used the first label. Thankfully, this tutorial shows you how to print labels on a partially used sheet in Google Docs. If you want to print a full sheet of labels, look at our others guides and tutorials.
Here is a summary of this step-by-step guide:
- Select your labels template
- Copy the template
- Add text in the label(s) you want to print
- Print the document
Step 1. Select your labels template
Labelmaker has thousands of different labels templates available for free on our website. View here the top 10 most popular label's products.
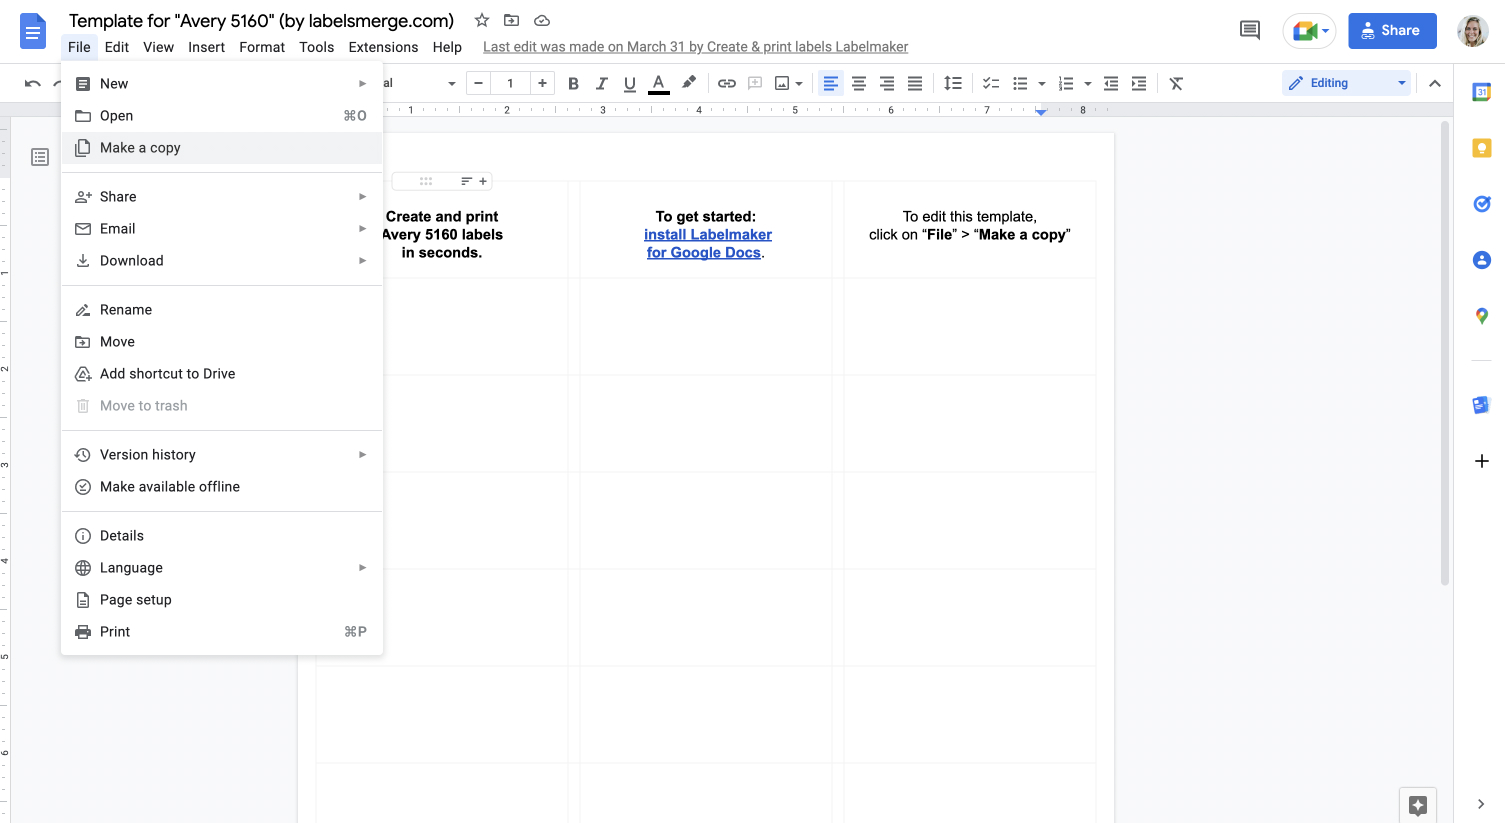
Step 2. Copy the template
Once you've found the template you want to use, open it in Google Docs and click on "File" > "Make a copy".
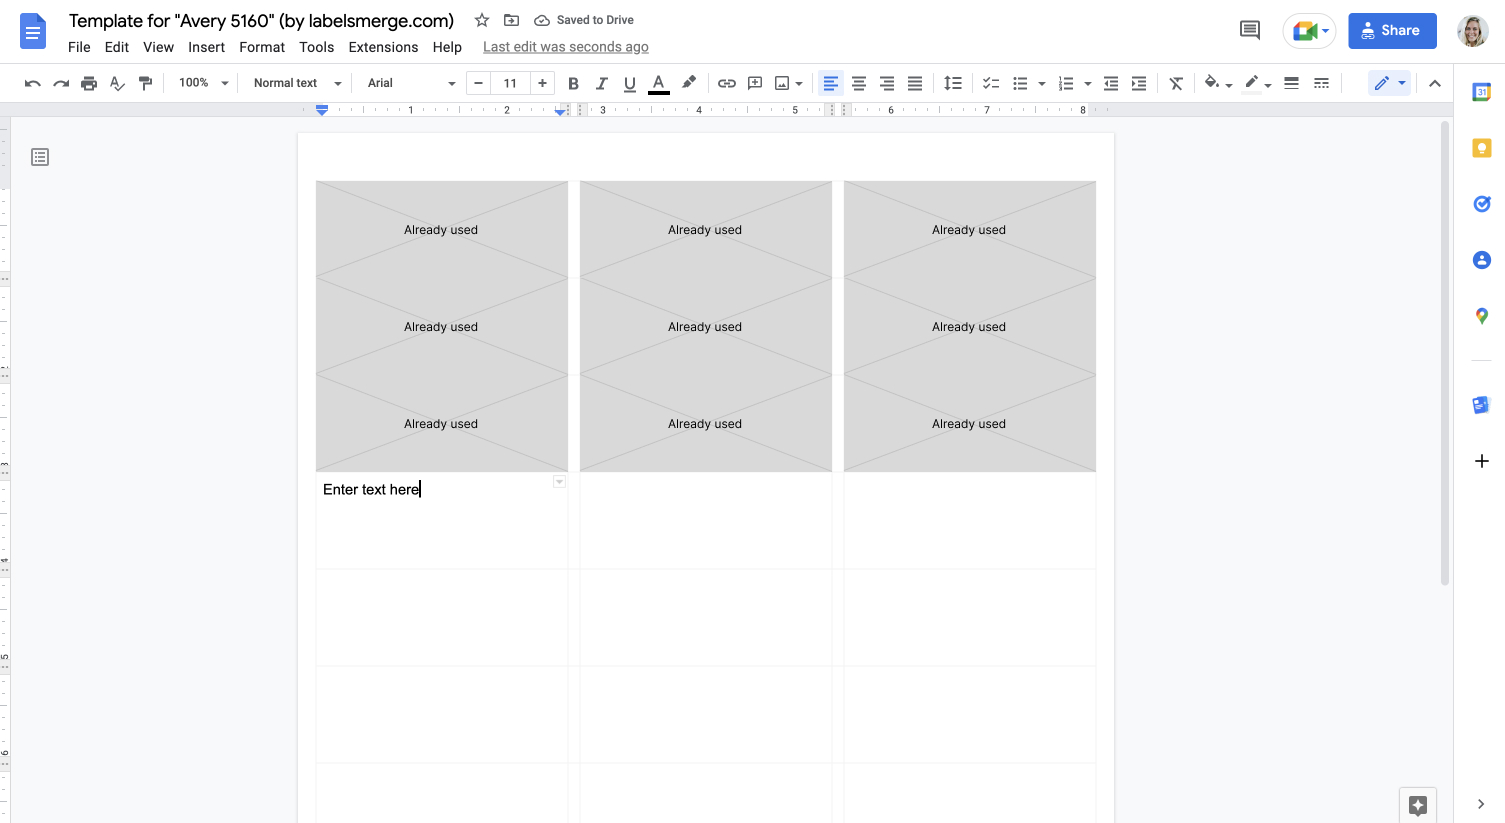
Step 3. Add text in the label(s) you want to print
Now, consider that the labels template in Google Docs looks like your partially used sheet.
For example, if you have already used the first label in your sheet, to use the second label enter text in the second cell.

Or if you have already used the first 3 rows in your sheet, enter text in the next row to keep using your partially used sheet.
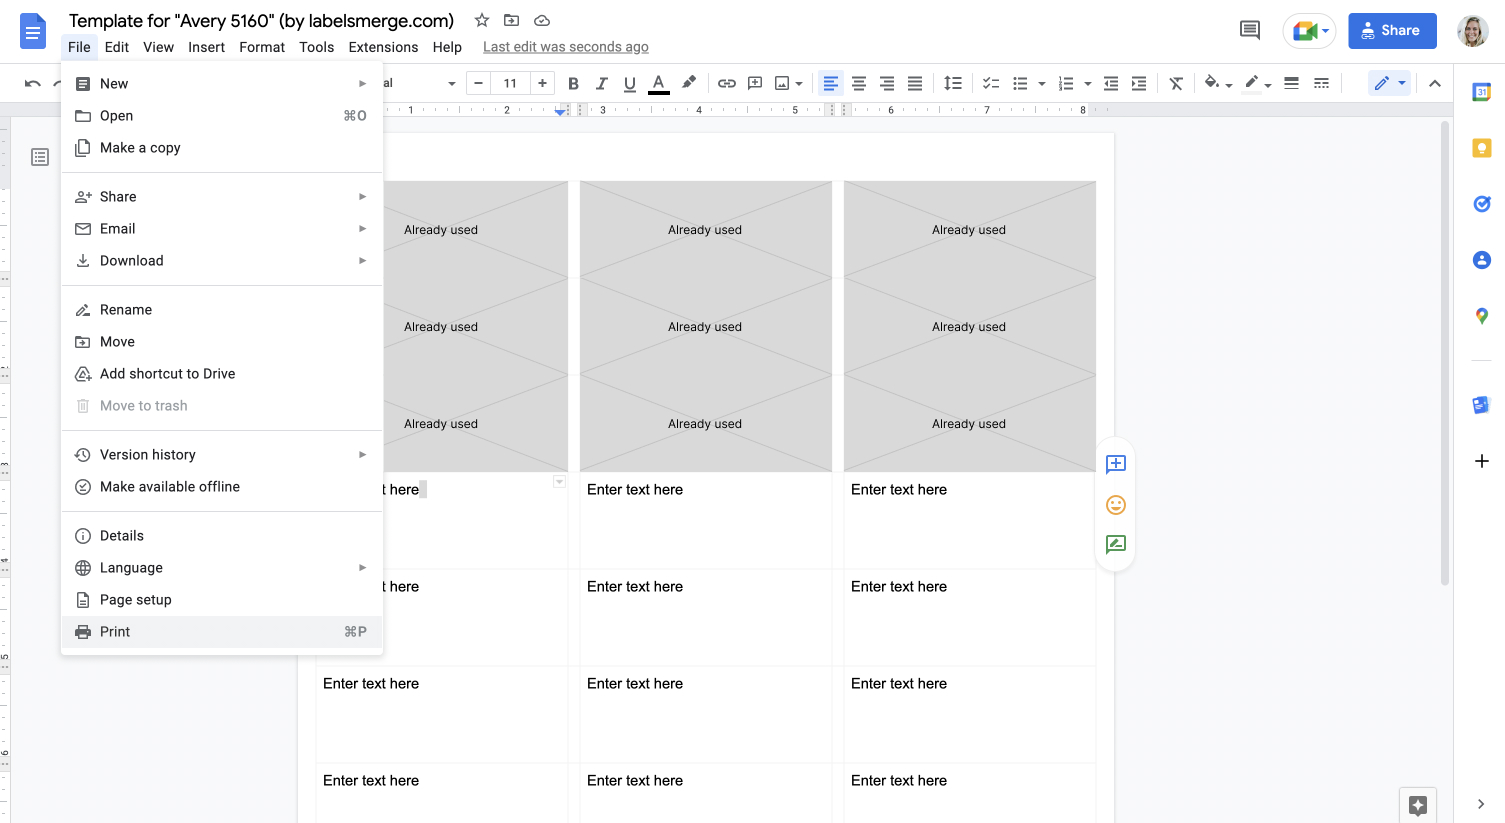
Step 4. Print the document
Once you're ready to print your labels:
- Fill your printer with your partially used sheet. Make sure to insert the sheet in the right direction.
- Then click on "File" > "Print".
- In the print dialog, make sure to set the margin to none and the scale to 100%. Depending on the format of the label's product, you might need to adapt the size of the page (more on how to print labels in Google Docs).