How to print labels for a mailing list in Google Sheets?
This tutorial shows you how to create and print labels for a mailing list in Google Sheets, using Labelmaker. While our Google Sheets add-on provides powerful formatting features (bold, italic, alignments and more), if you are looking for more options, have a look at our guide on printing and formatting labels in Google docs. There are also many others guides and tutorials here depending on your use case.
Here is a summary of this tutorial:
- Prepare your sheet
- Open Labelmaker
- Select a template
- Design labels
- Create labels in a new document
- Open document
- Print labels
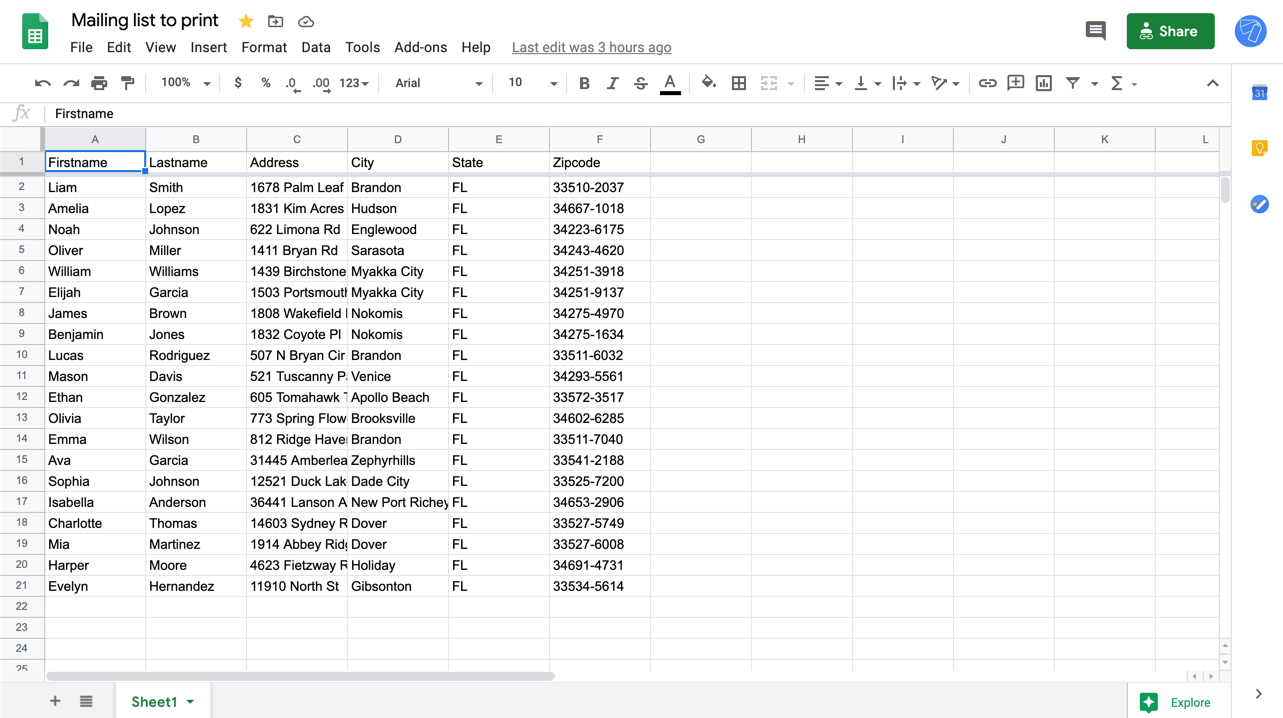
1. Prepare your sheet
Open your spreadsheet containing the mailing list data you want to use. If you don't have one yet, create a new spreadsheet and add data in it. The first row shall contain the headers (e.g. address, city, zipcode, state).
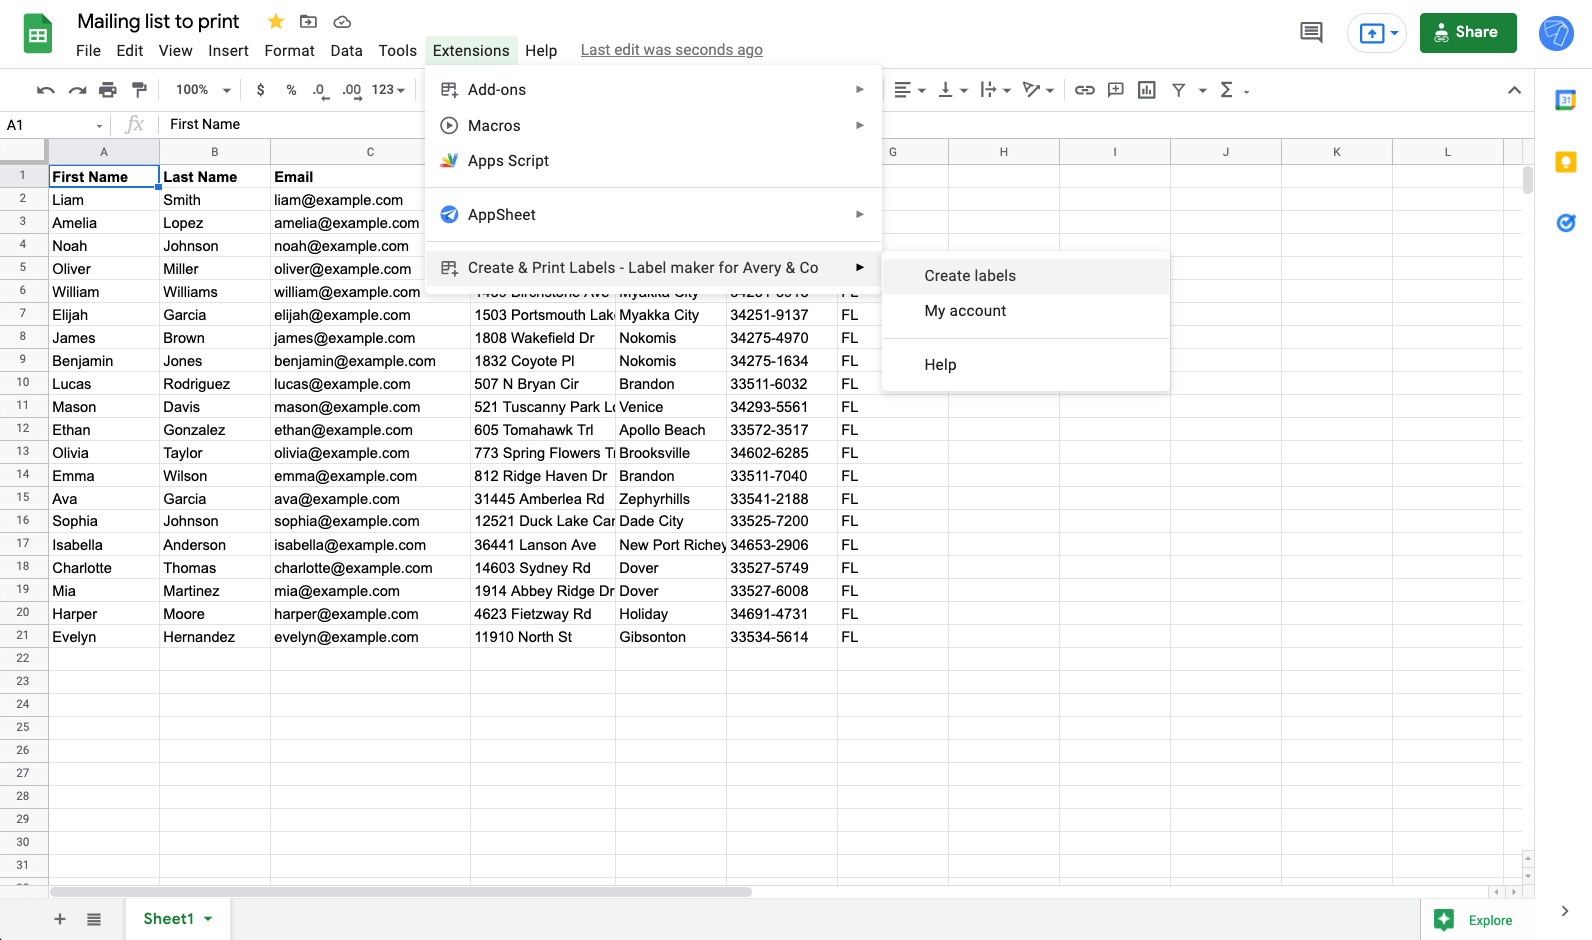
2. Open Labelmaker
In Google Sheets, click on the "Extensions" menu (previously named "Add-ons"), then select "Create & Print Labels". If you don't have the add-on yet, make sure to install it first. After the installation, reload your spreadsheet by closing it and reopening it.
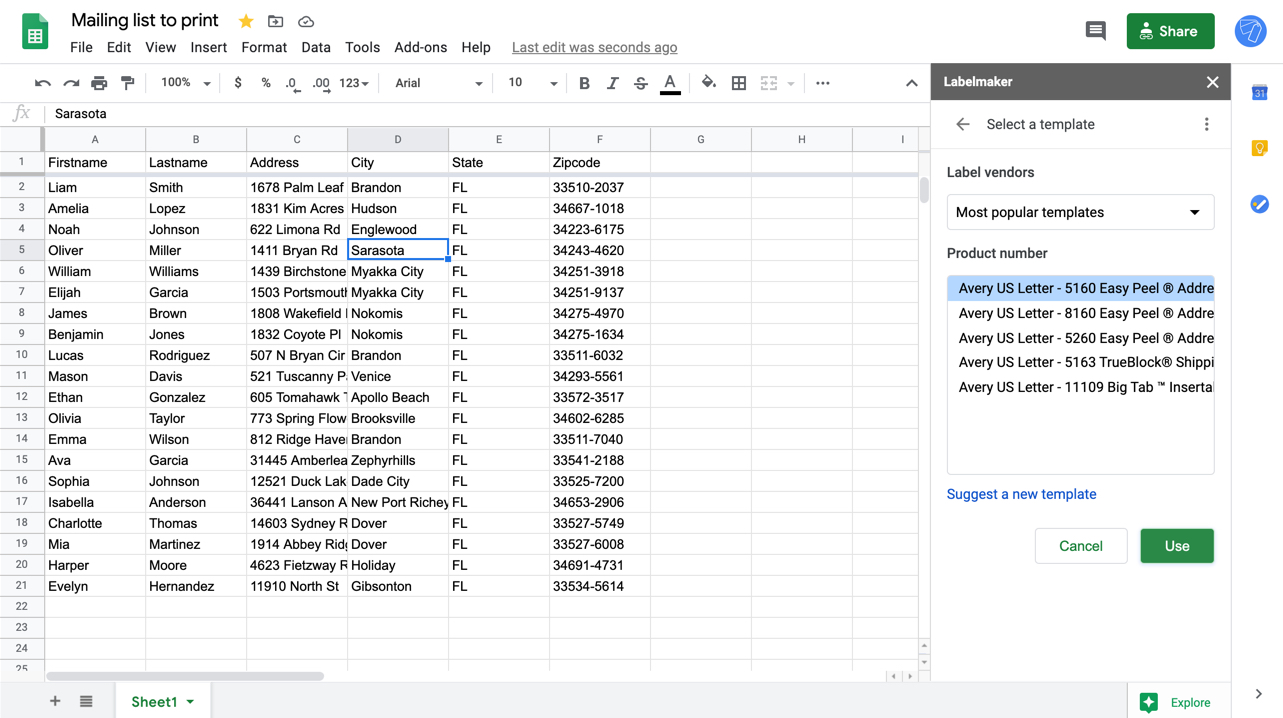
3. Select a template
Within Labelmaker sidebar, click on "Select a template", then look at the available templates in the list. Over 5000+ labels are available as of writing, within multiple categories including "Sheetlabels.com", "OnlineLabels.com" and more.
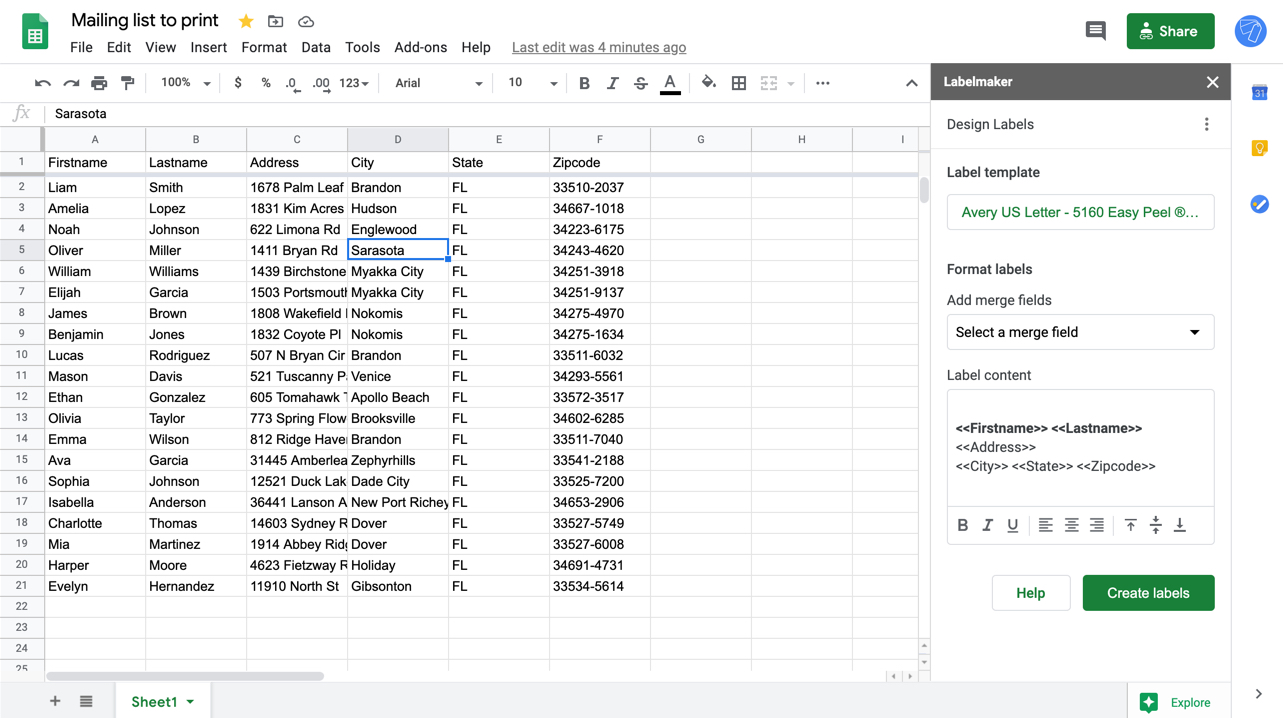
4. Design labels
In the content field, add merge fields using double-arrows. For example add the address with <<address>> and the city with <<city>>. Once done apply some formatting such as bold, italic or aligned in the middle.
5. Create labels
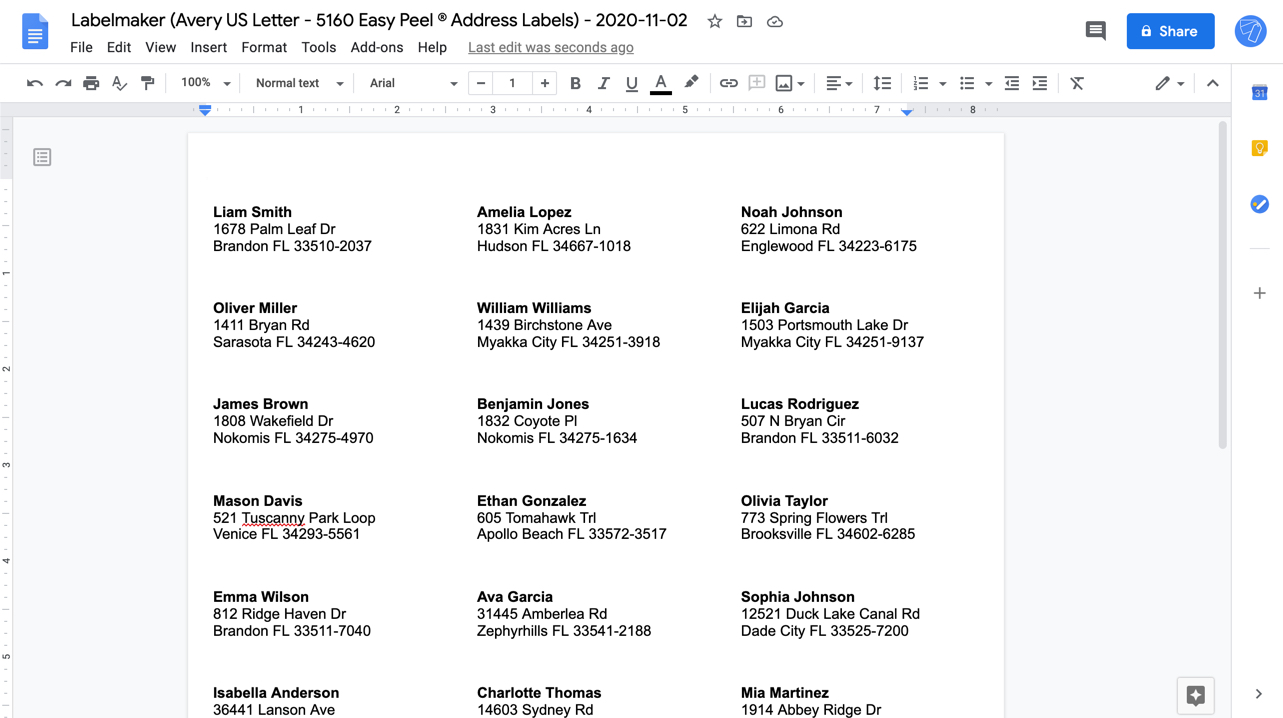
Click on "Create labels" to create all your labels in a new document. Each row in your spreadsheet is converted to a new label with the appropriate merge fields. This let you create a mailing list with hundreds of contacts in a few seconds.
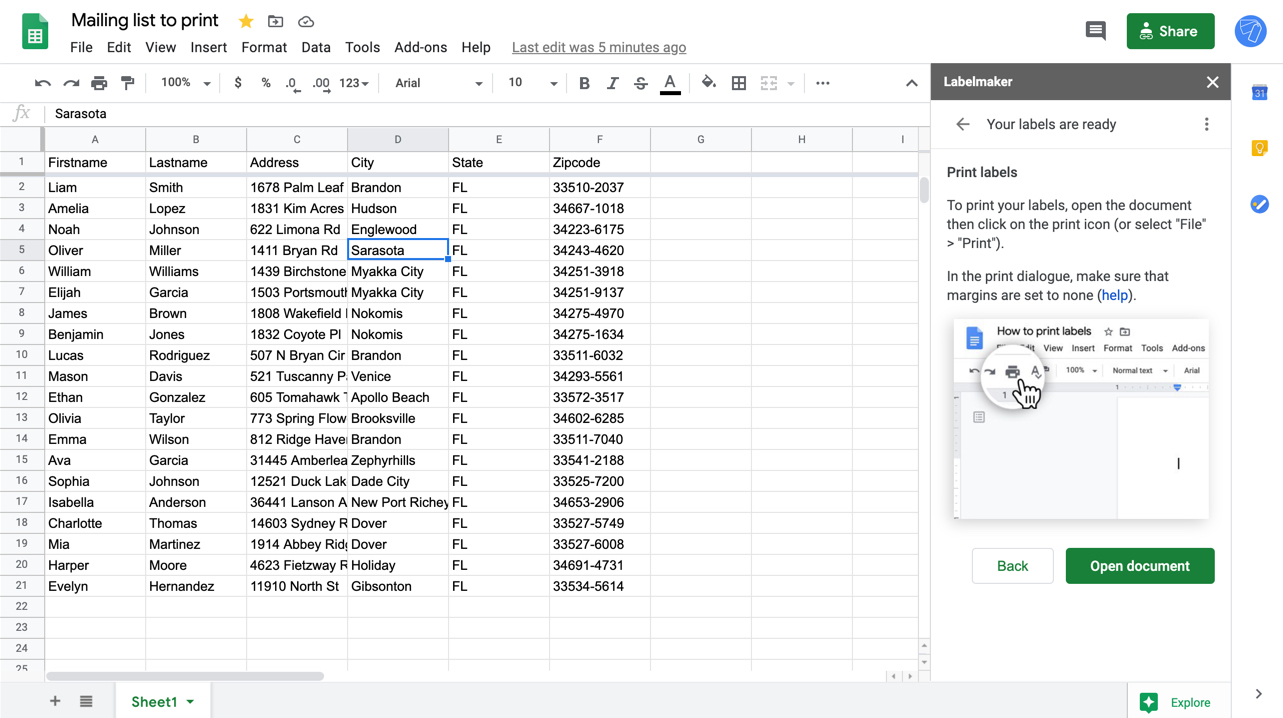
6. Open document
Open the newly created document and make sure the mailing list is correct. If you need to make some adjustment, go back to the spreadsheet and make your changes in Labelmaker. Again, click on "Create labels" when you are ready and a new document will be created.
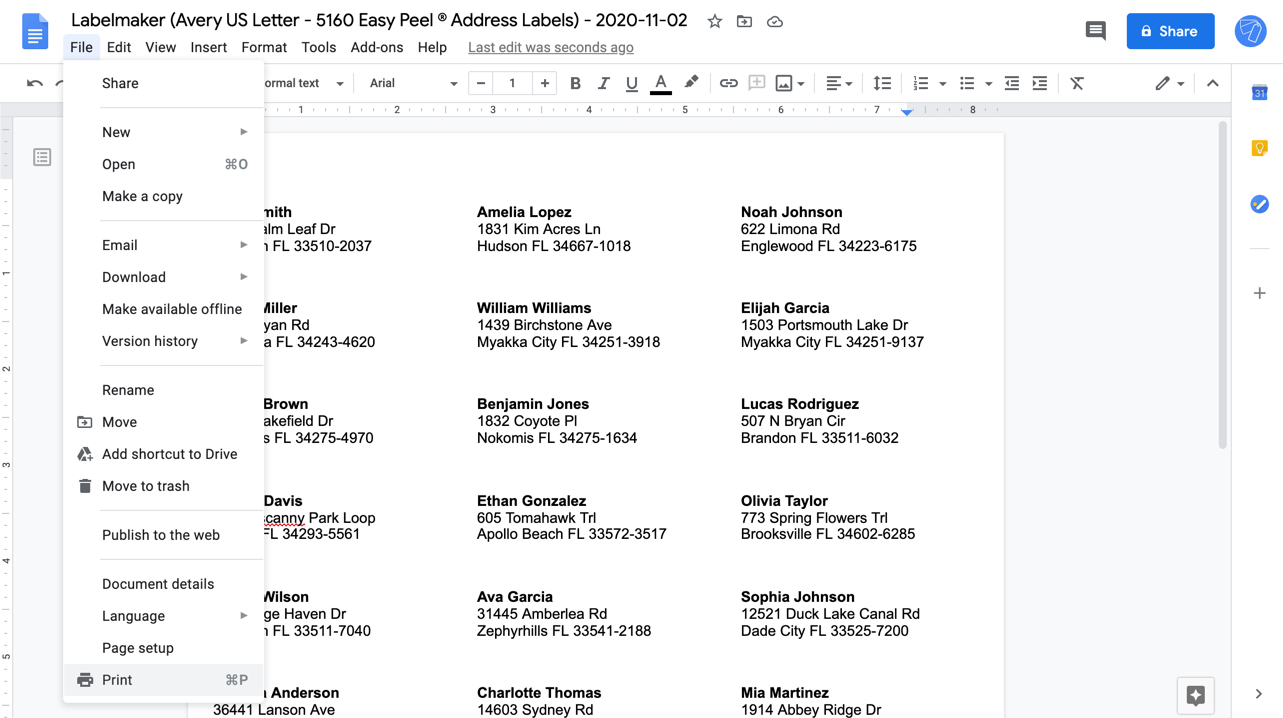
7. Print labels
Now that your mailing list looks good, in Google Docs, click on "File" > "Print". In the print dialog, make sure to set the margin to none and the scale to 100%. Depending on the format of the labels product, you might need to adapt the size of the page.
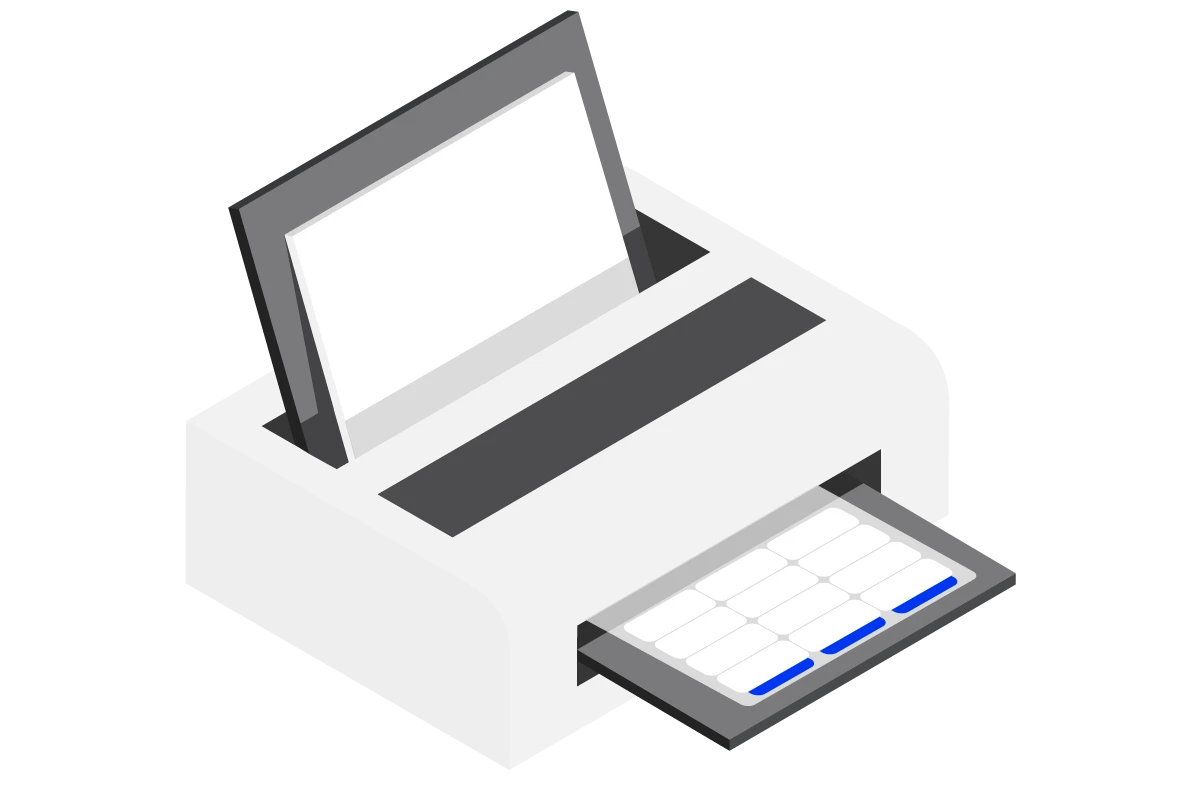
Printing...
The printer is now hard at work!