How to add images to labels in Google Docs?
This guide shows you how to mail merge labels with images within Google Docs, using our add-on called Labelmaker. You will learn to insert a picture or a logo into a Label, as well as other kinds of label templates.
We'll cover two methods to add images to labels:
- In the first part, we will be creating labels with images only.
- In the second part, we will create labels with text and images.
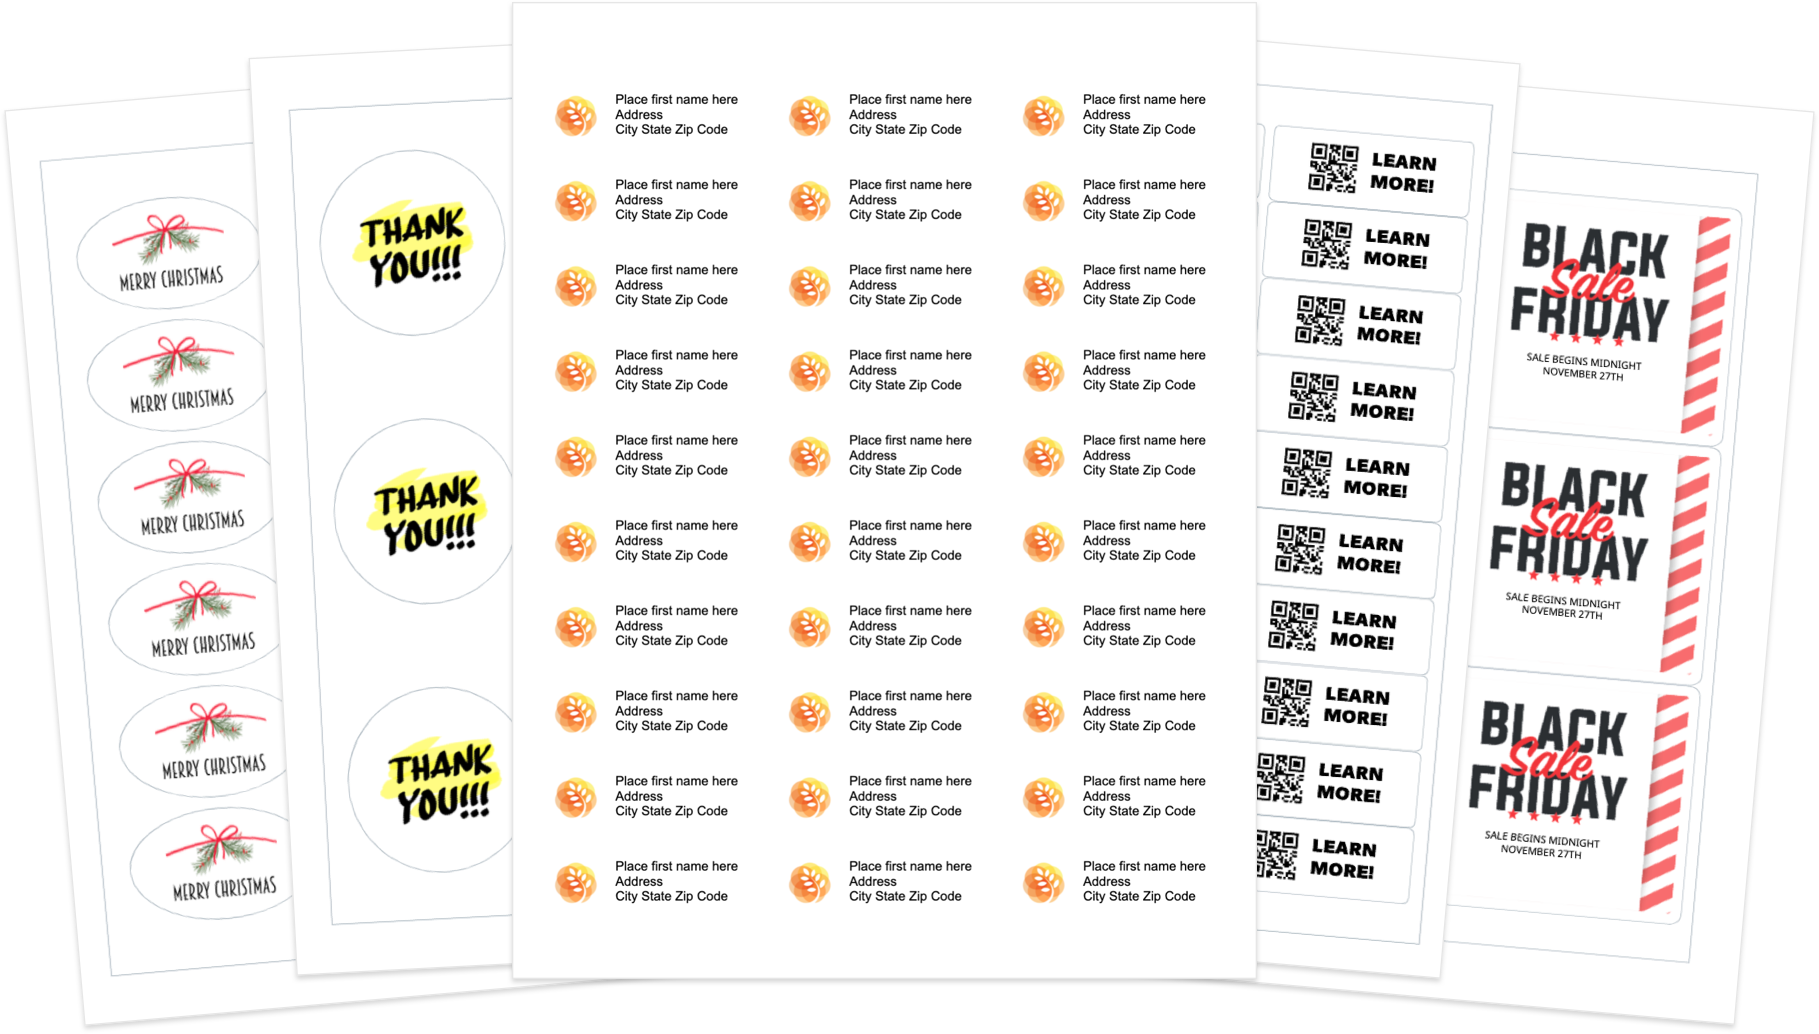
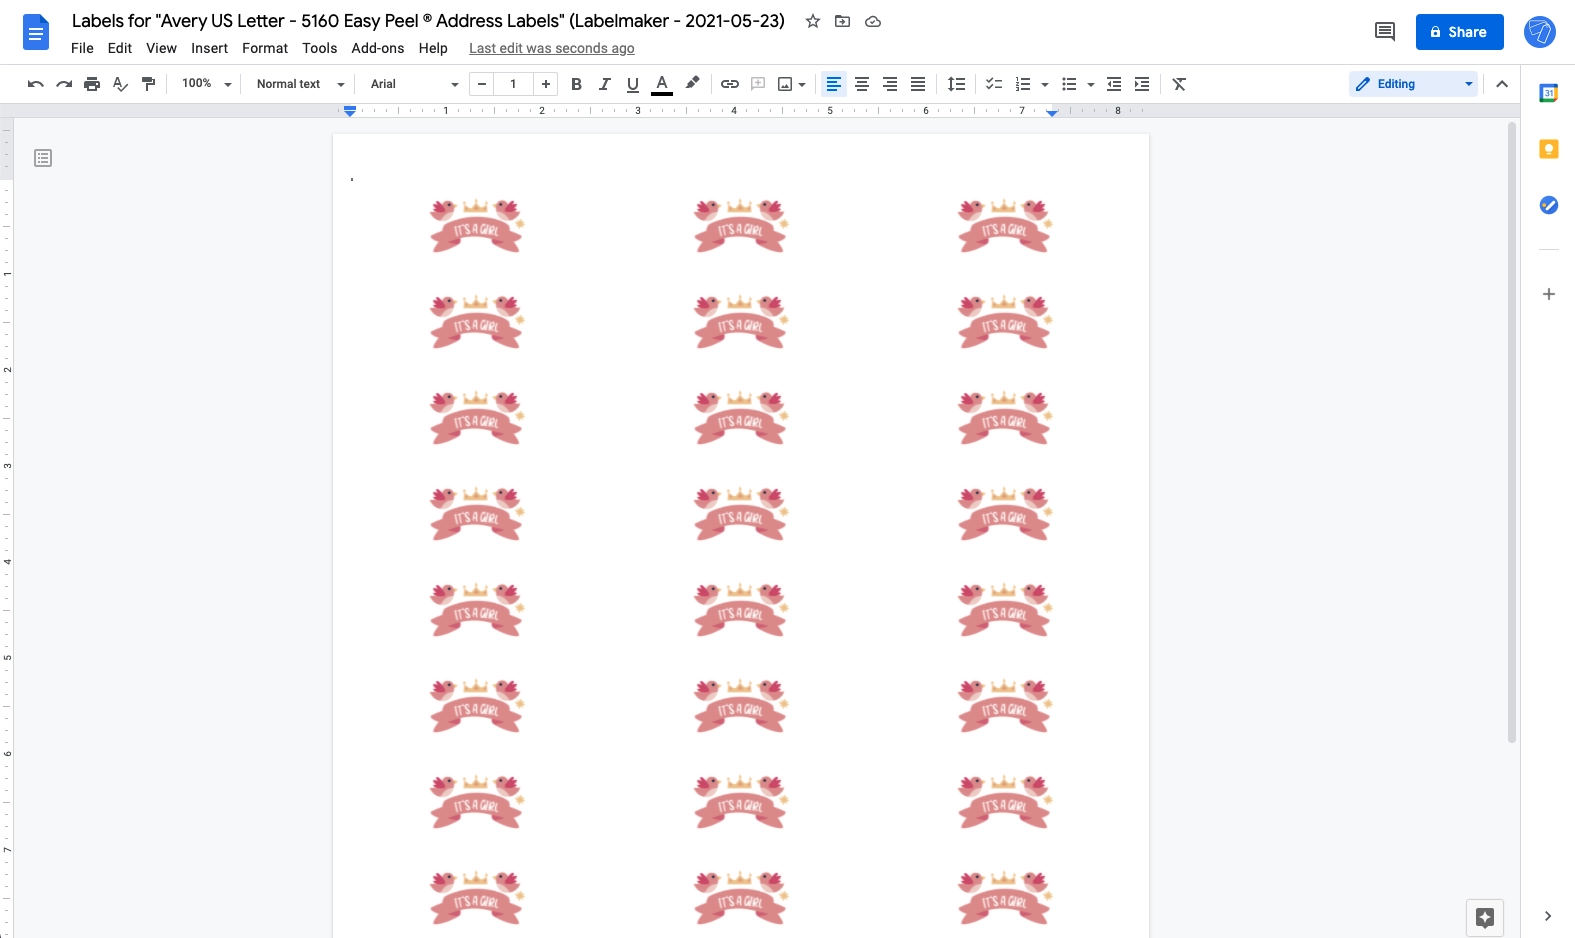
Here is a sample of labels with pictures that you'll be able to create after reading this guide:
Method 1: Mail merge labels with images only
- Open a new document
- Launch Labelmaker
- Select a template
- Insert your image or logo
- Adapting the image size
- Create labels
- Open the new document
- Preview your labels
- Print labels
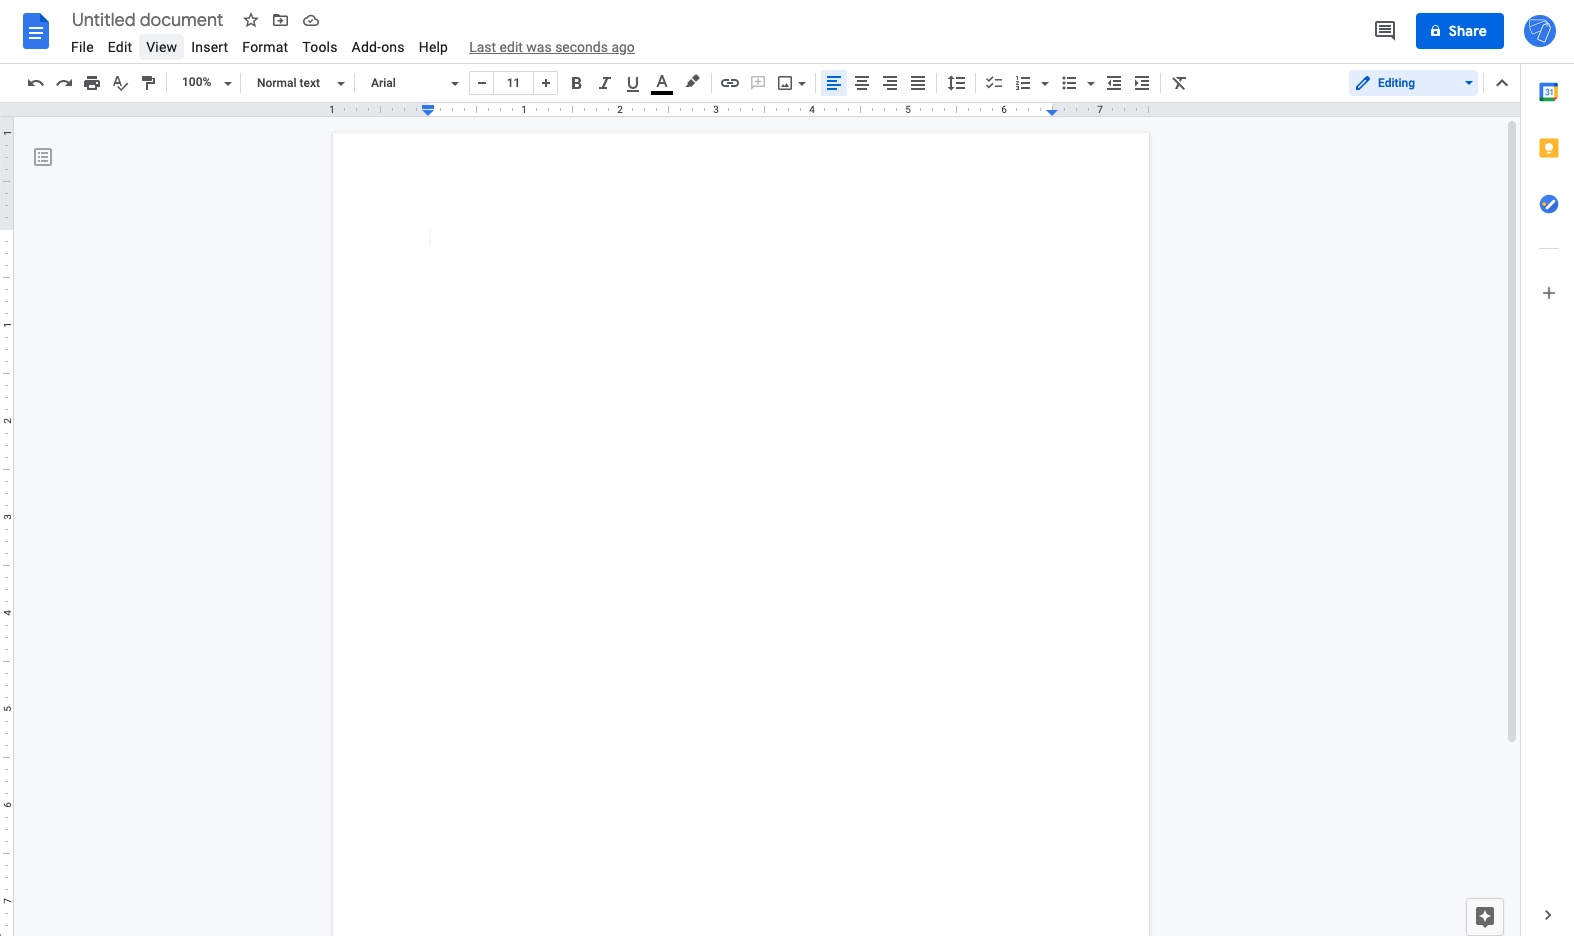
1. Open a new document
Open a Google Docs to create your labels. We’ll be creating our labels from Google Docs instead of Google Sheets because it gives a visual way to design your labels with graphics & fonts.
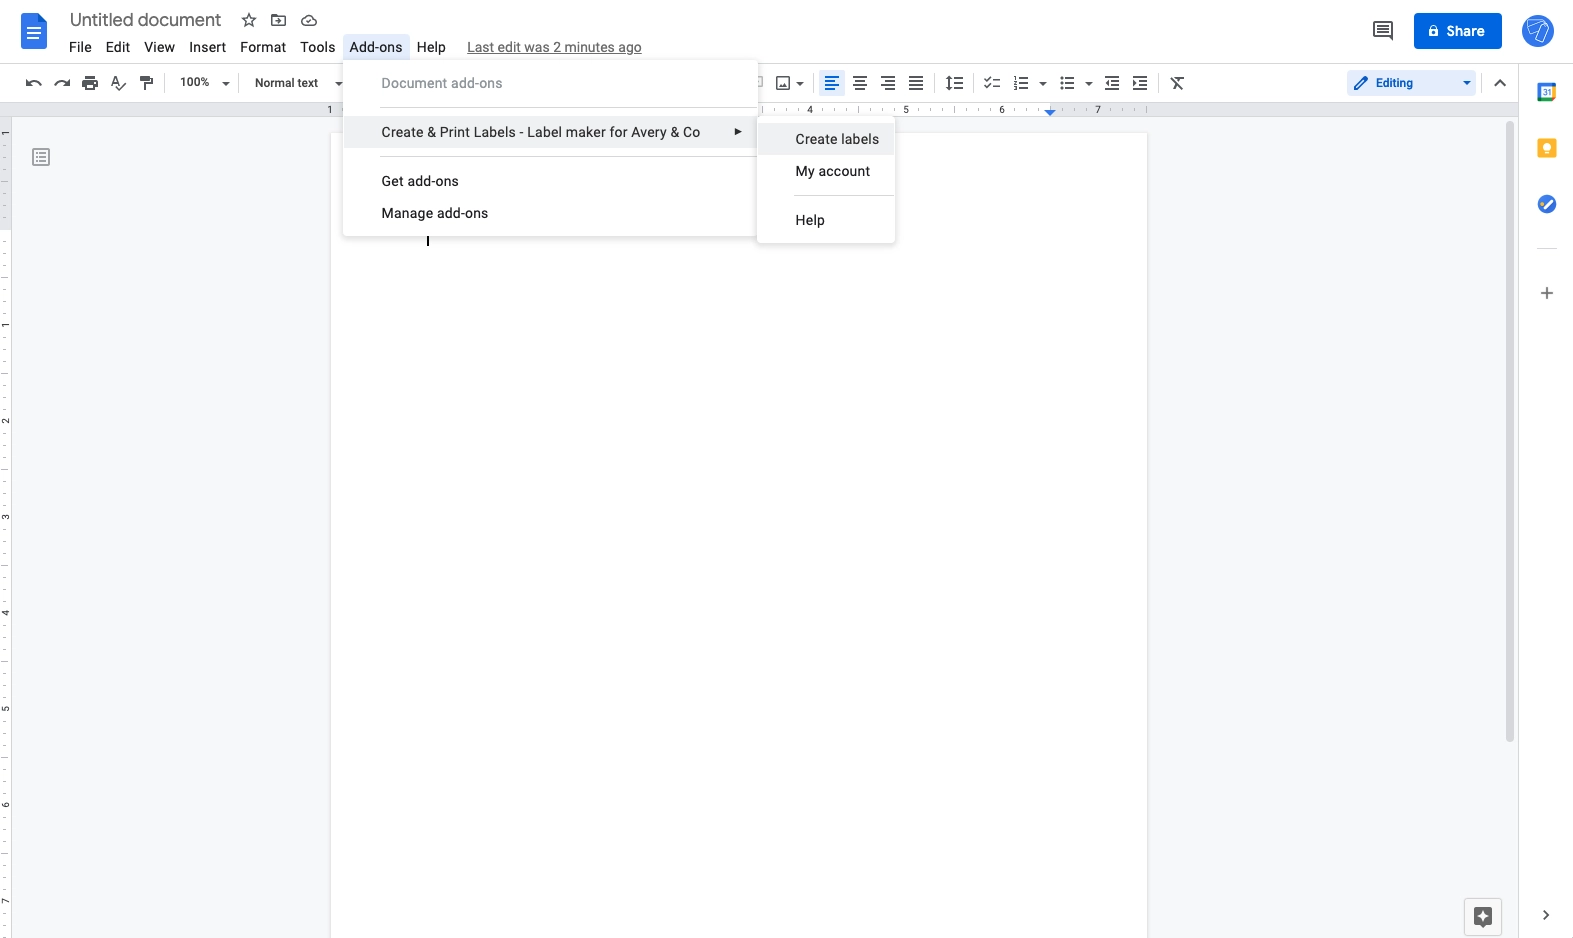
2. Launch Labelmaker
Go to the Add-ons menu at the top, then select "Create and Print labels". If you don't have the add-on yet, make sure to install it first. After the installation, reload your document by closing it and reopening it.
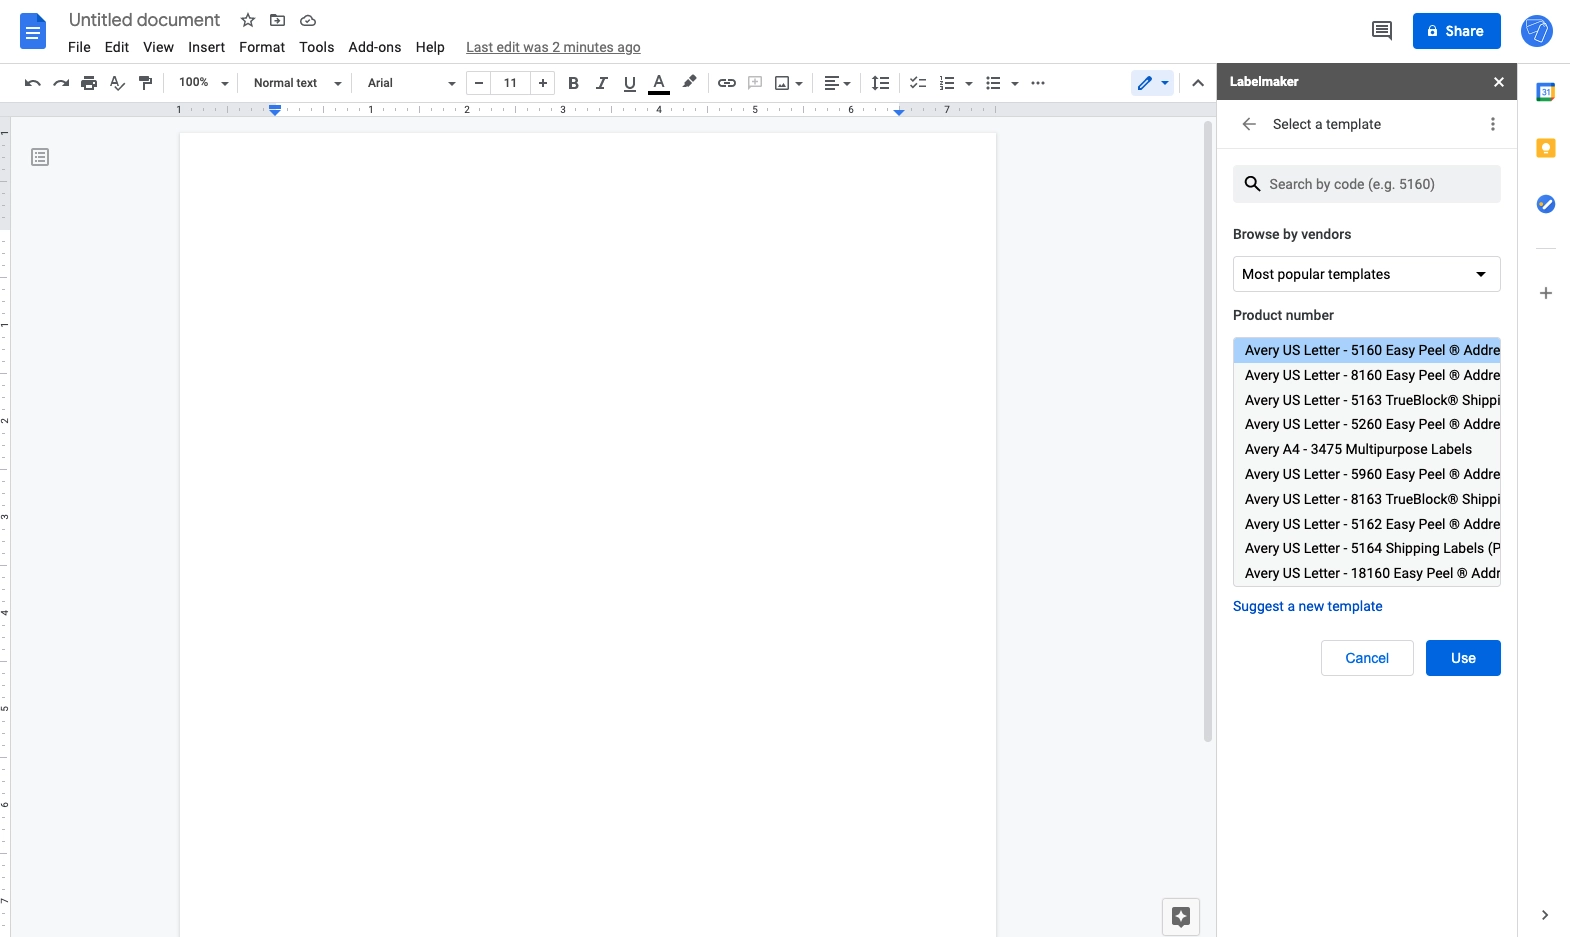
3. Select a template
In the Labelmaker sidebar on the right, click on "Select a template" to choose the template adapted to your need. We’ll be using the "5160" template in this example. There are 5000+ labels available in Labelmaker, with multiple vendors including "Sheetlabels.com", "Avery®", "OnlineLabels.com" and more.
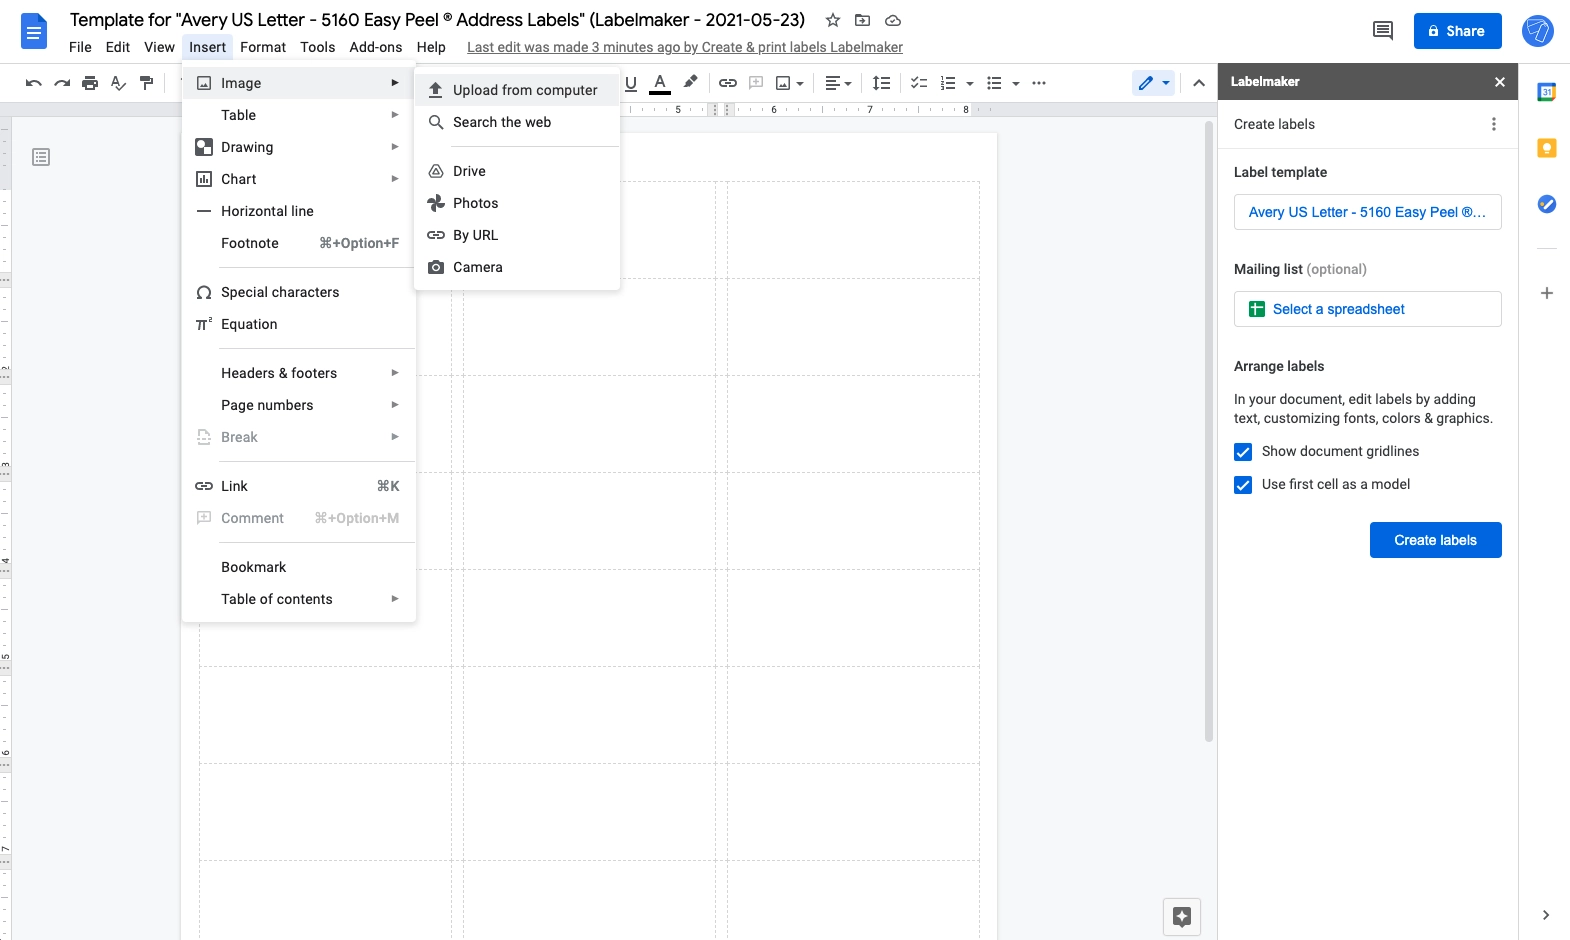
4. Insert your image or logo
Let’s add your image or logo to the first cell in the document. Go to the "Insert" menu at the top, then select "Image" and "Upload from computer". Alternatively, you can drag and drop your image from your computer inside the first cell.
5. Adapt the image size
Make sure the image does not modify the cell's height and width. If your image is too big, try resizing the image by clicking on a corner and holding the mouse. This step is crucial to avoid misalignment issues in your labels, as the first label will be replicated over your sheet. Additionally, you can center the image to make it vertically aligned inside your labels.
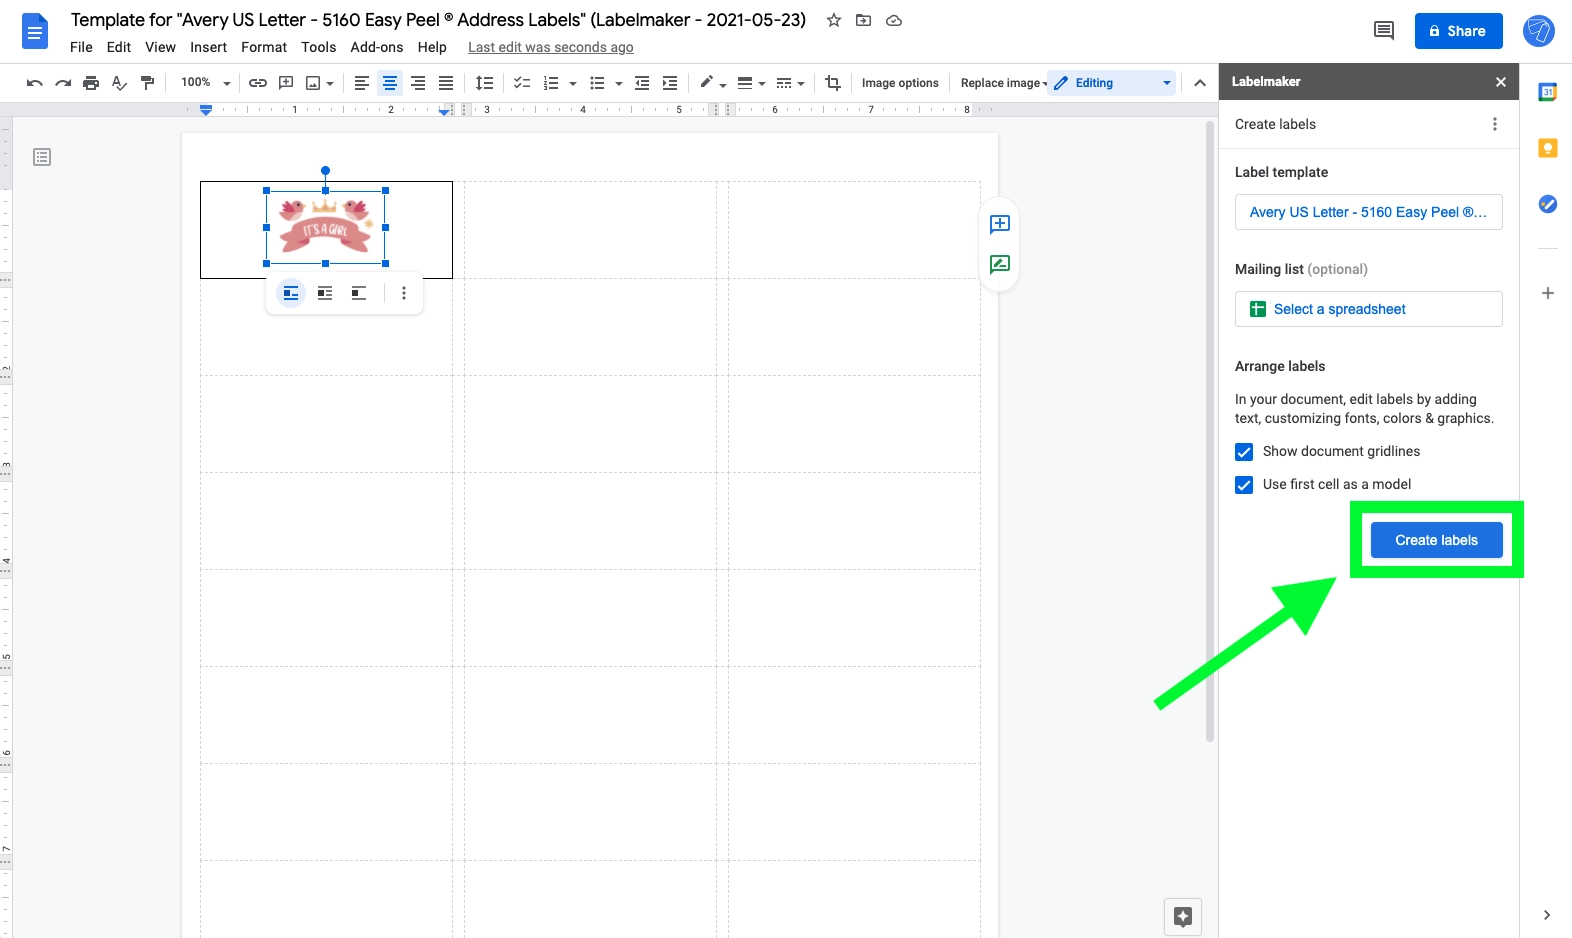
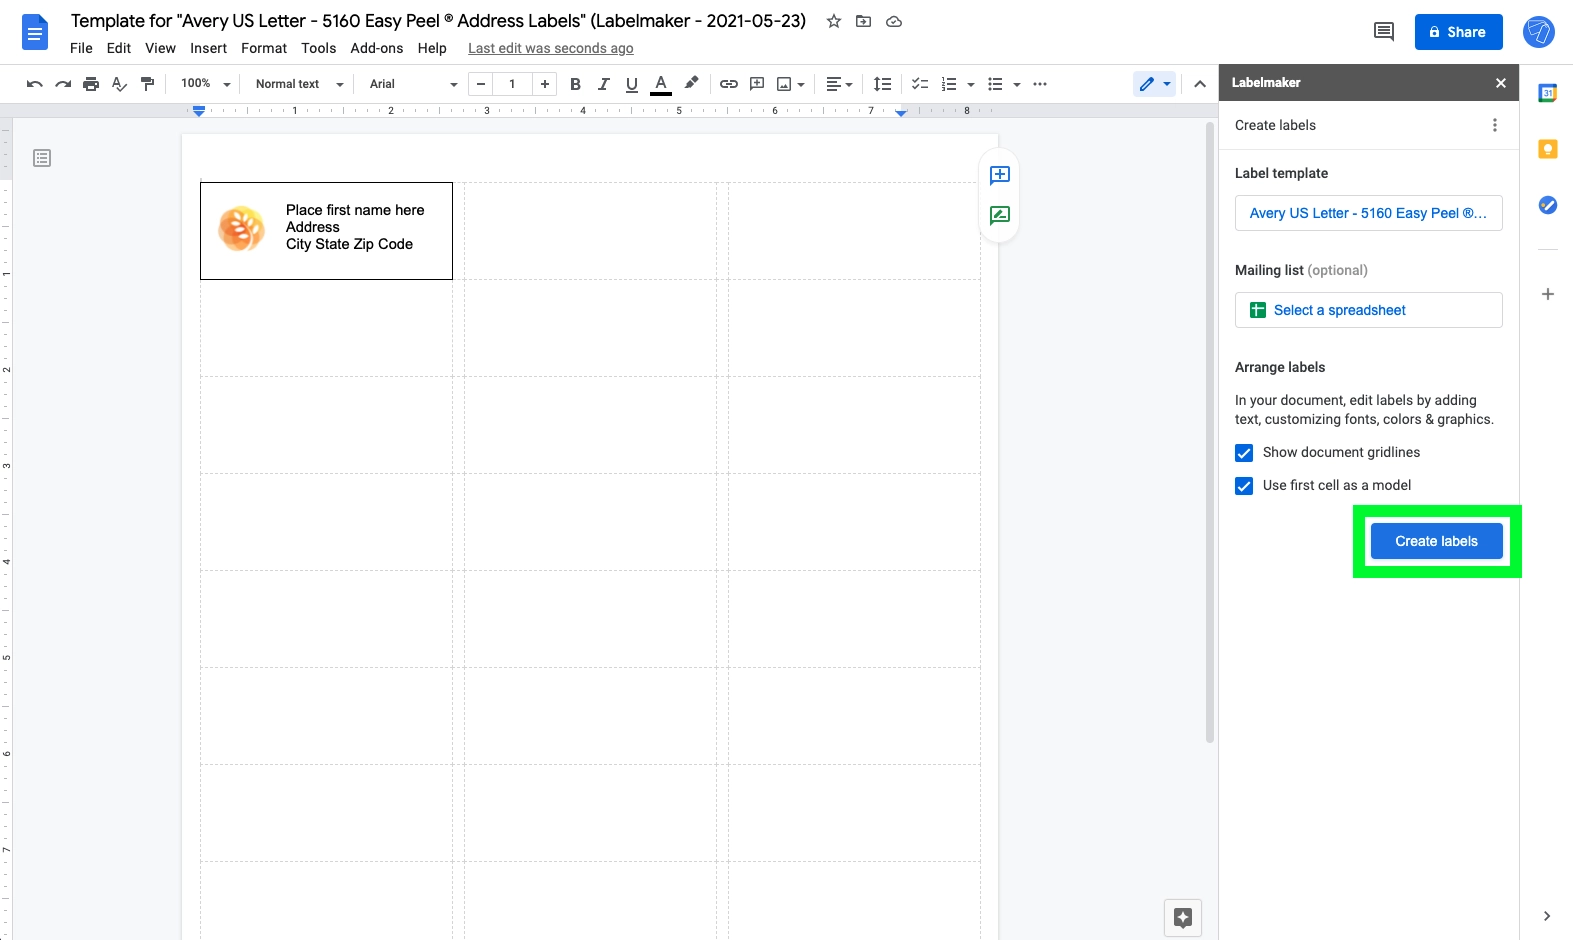
6. Create labels
Once you are happy with your label’s design, click on "Create labels" in the sidebar on the right.
7. Open the new document
Click on "Open document" to look at your labels sheet with images.
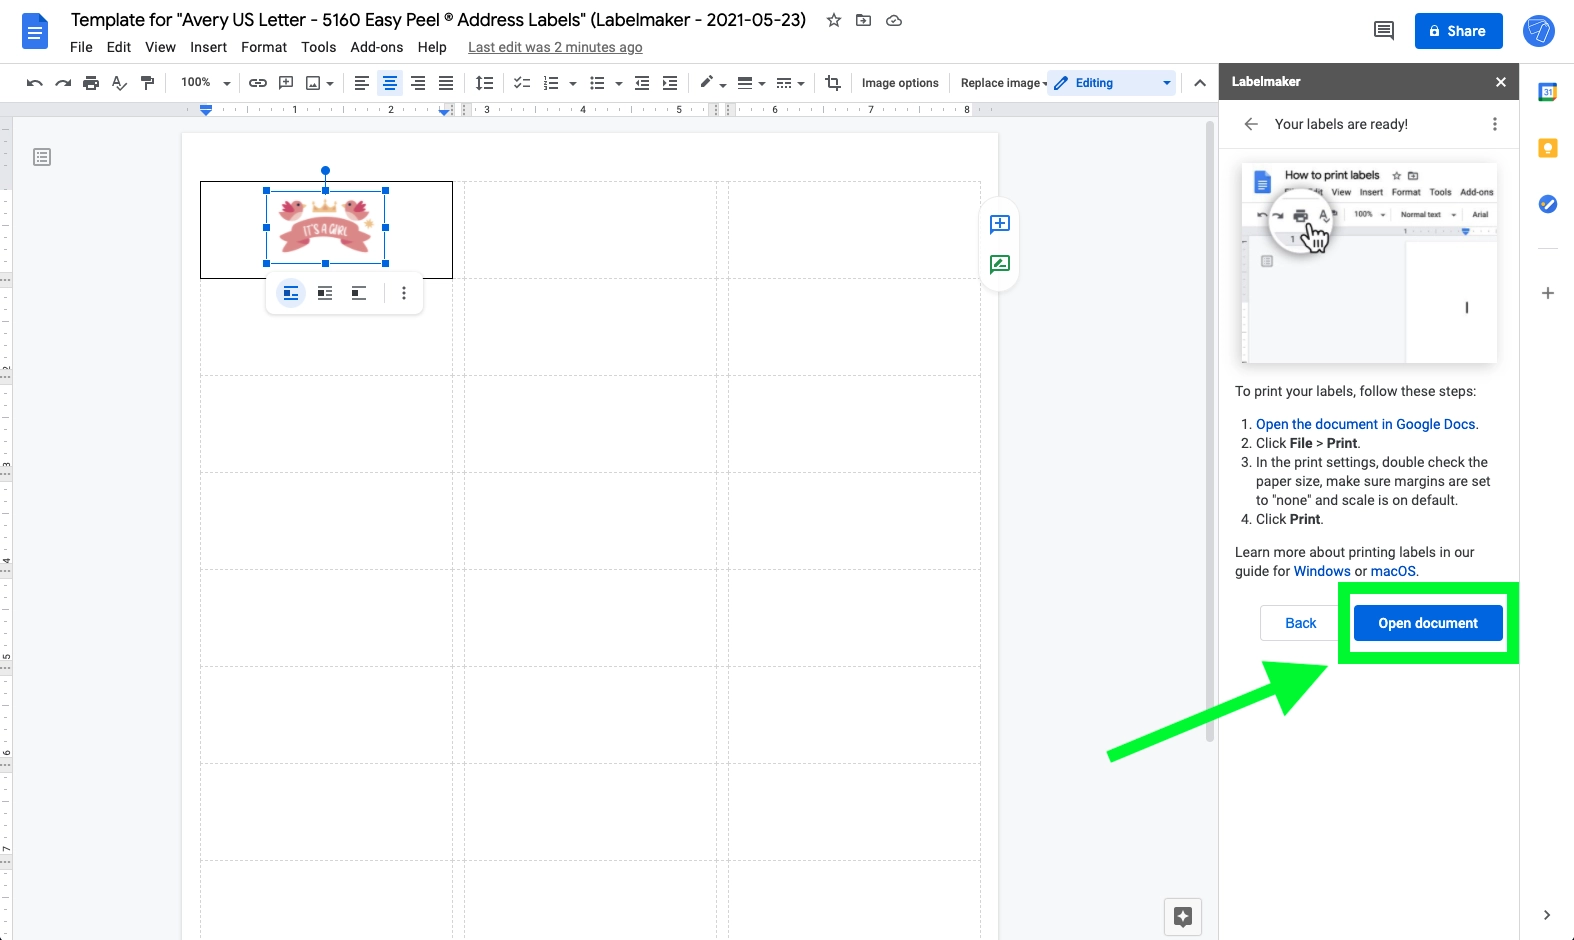
8. Preview your labels
This newly created document gives you a preview of your labels before printing. Confirm your labels look as expected. If you need to make some changes, go back to the previous document, make your changes and click on "Create labels" to create another sheet of labels.
9. Print labels
Now that your document is ready and your labels look right, click on "File" > "Print". In the print dialog, make sure to set the margin to none and the scale to 100%. Depending on the format of the labels product, you might need to adapt the size of the page.

Method 2: Mail merge labels with images and text
- Open a new document
- Launch Labelmaker
- Select a template
- Insert a table in the first cell
- Add images and text
- Remove table borders
- Create labels
- Preview your labels
- Print labels
2. Launch Labelmaker
Go to the Add-ons menu at the top, then select "Create and Print labels". If you haven’t installed Labelmaker yet, install it first then refresh your document.
3. Select a template
A sidebar opens on the right, click on "Select a template" to choose the template adapted to your need. In this example, we are using the "Avery 5160" template.
4. Insert a table in the first cell
Now let’s design your labels. We are going to insert a table inside the first cell, represented by the box with black borders. The table will help organize your labels and is needed when you want to wrap text around images. It’s really important that you make sure the table does not modify the cell height or width. The video below shows you the complete process, we'll break it down in a few easy steps.
Let's do this step-by-step.
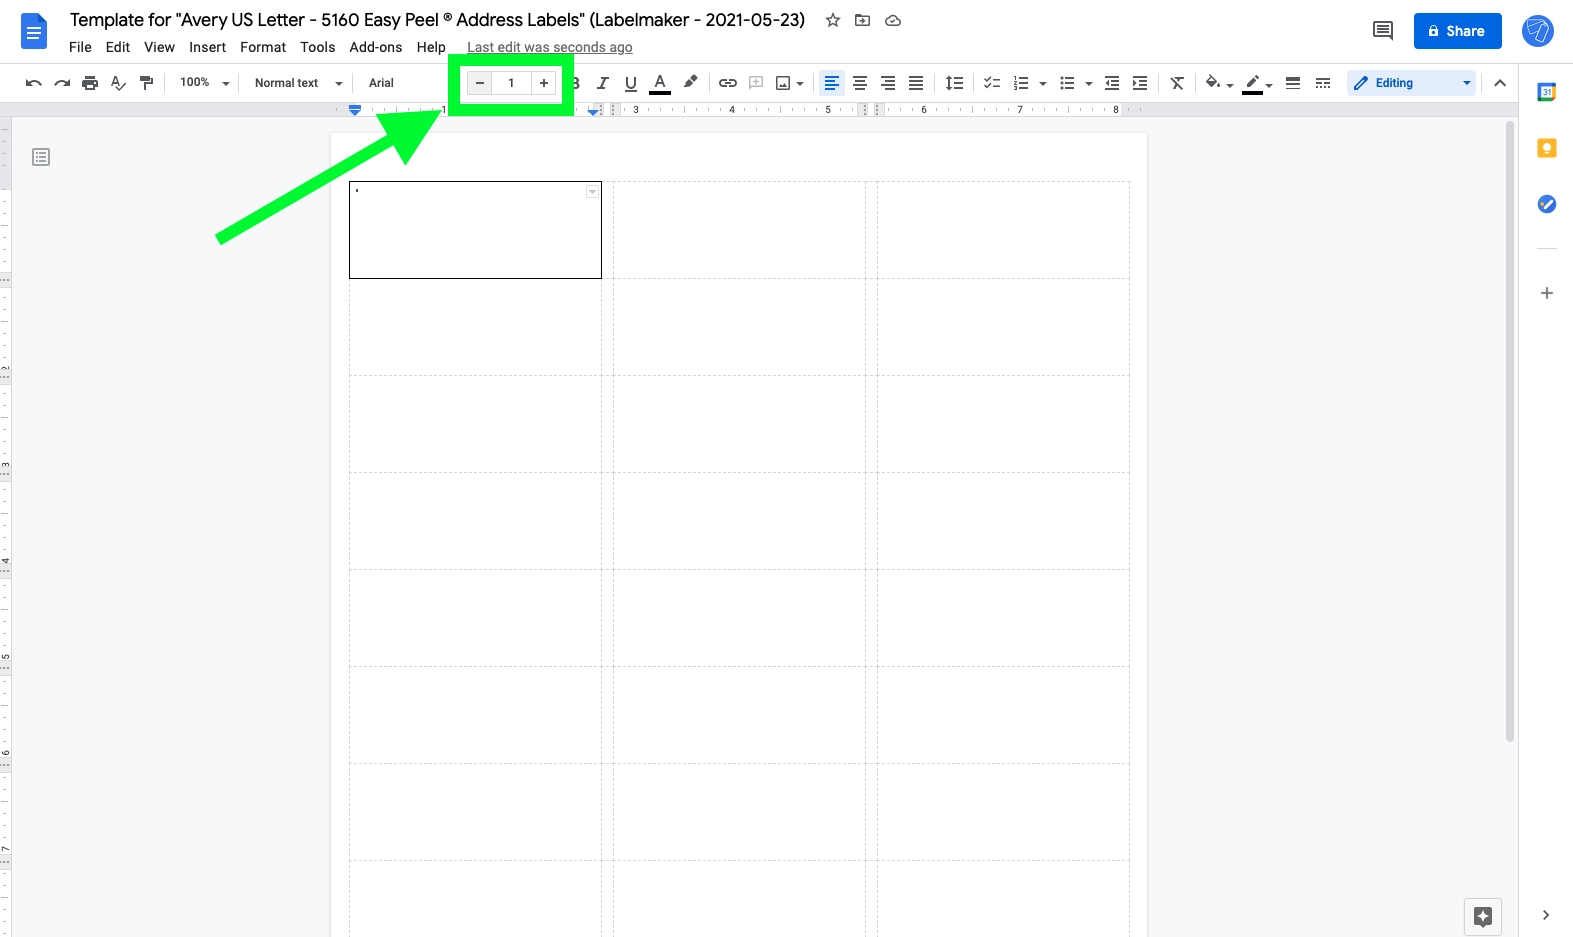
First of all, place your mouse inside the first cell with black borders and reduce the font size to 1. Lowering the font size will free up space for the table we're going to insert. This is not compulsory, but it will help fit tables in small label sizes.
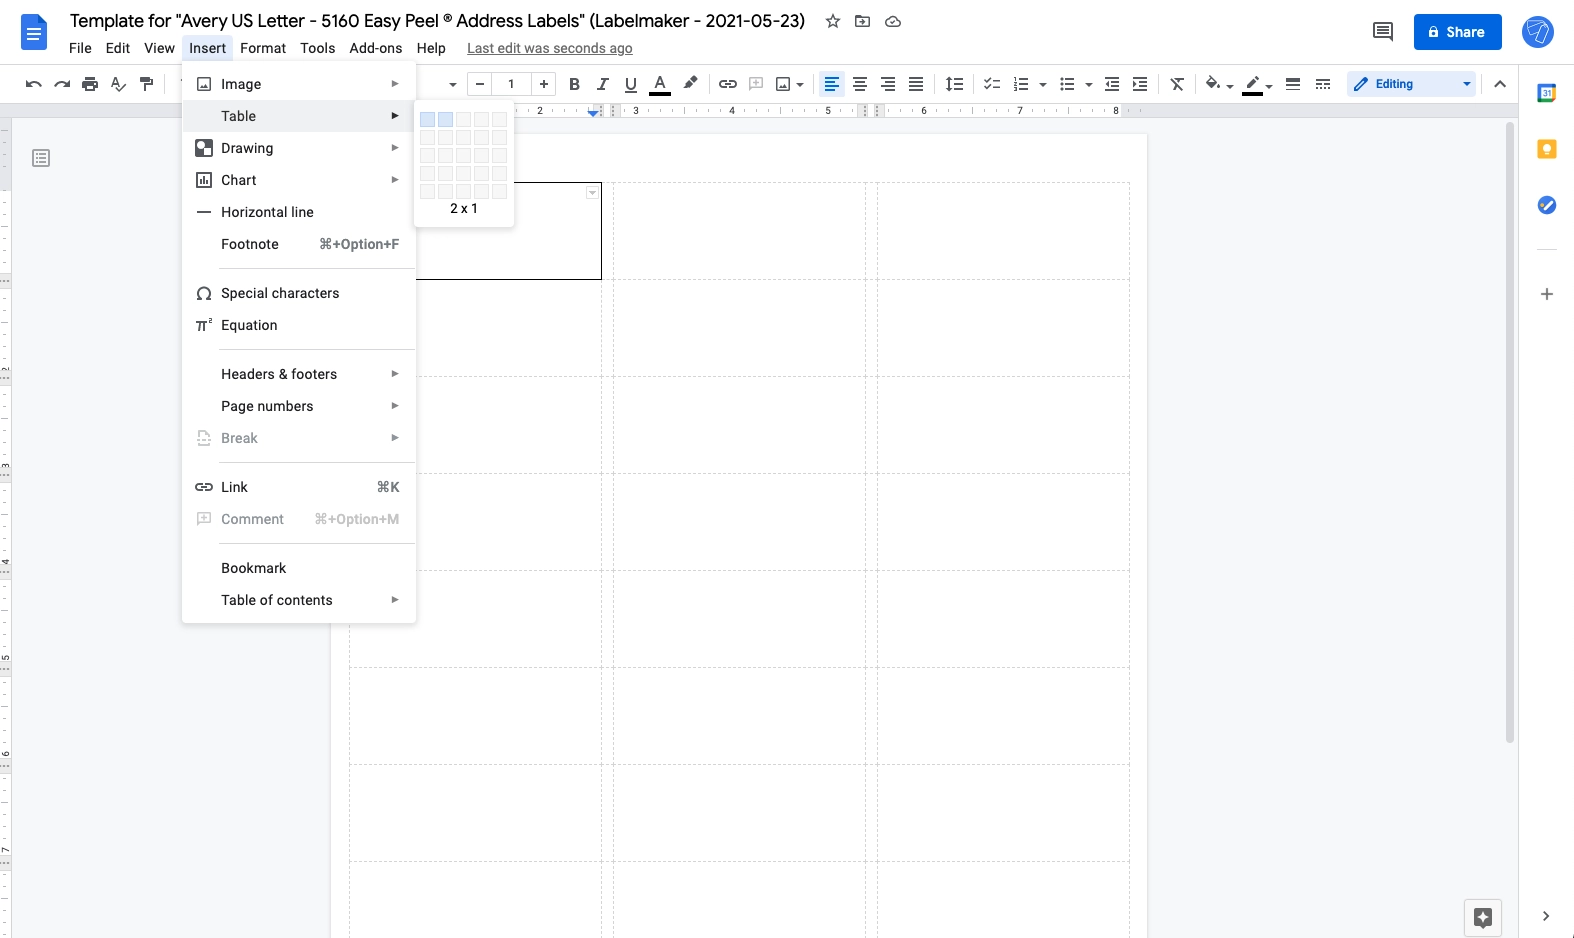
Then, from the "Insert" menu at the top, click "Table" and "2X1". This will insert a simple table with 2 columns in the first cell of the document.
5. Add images and text
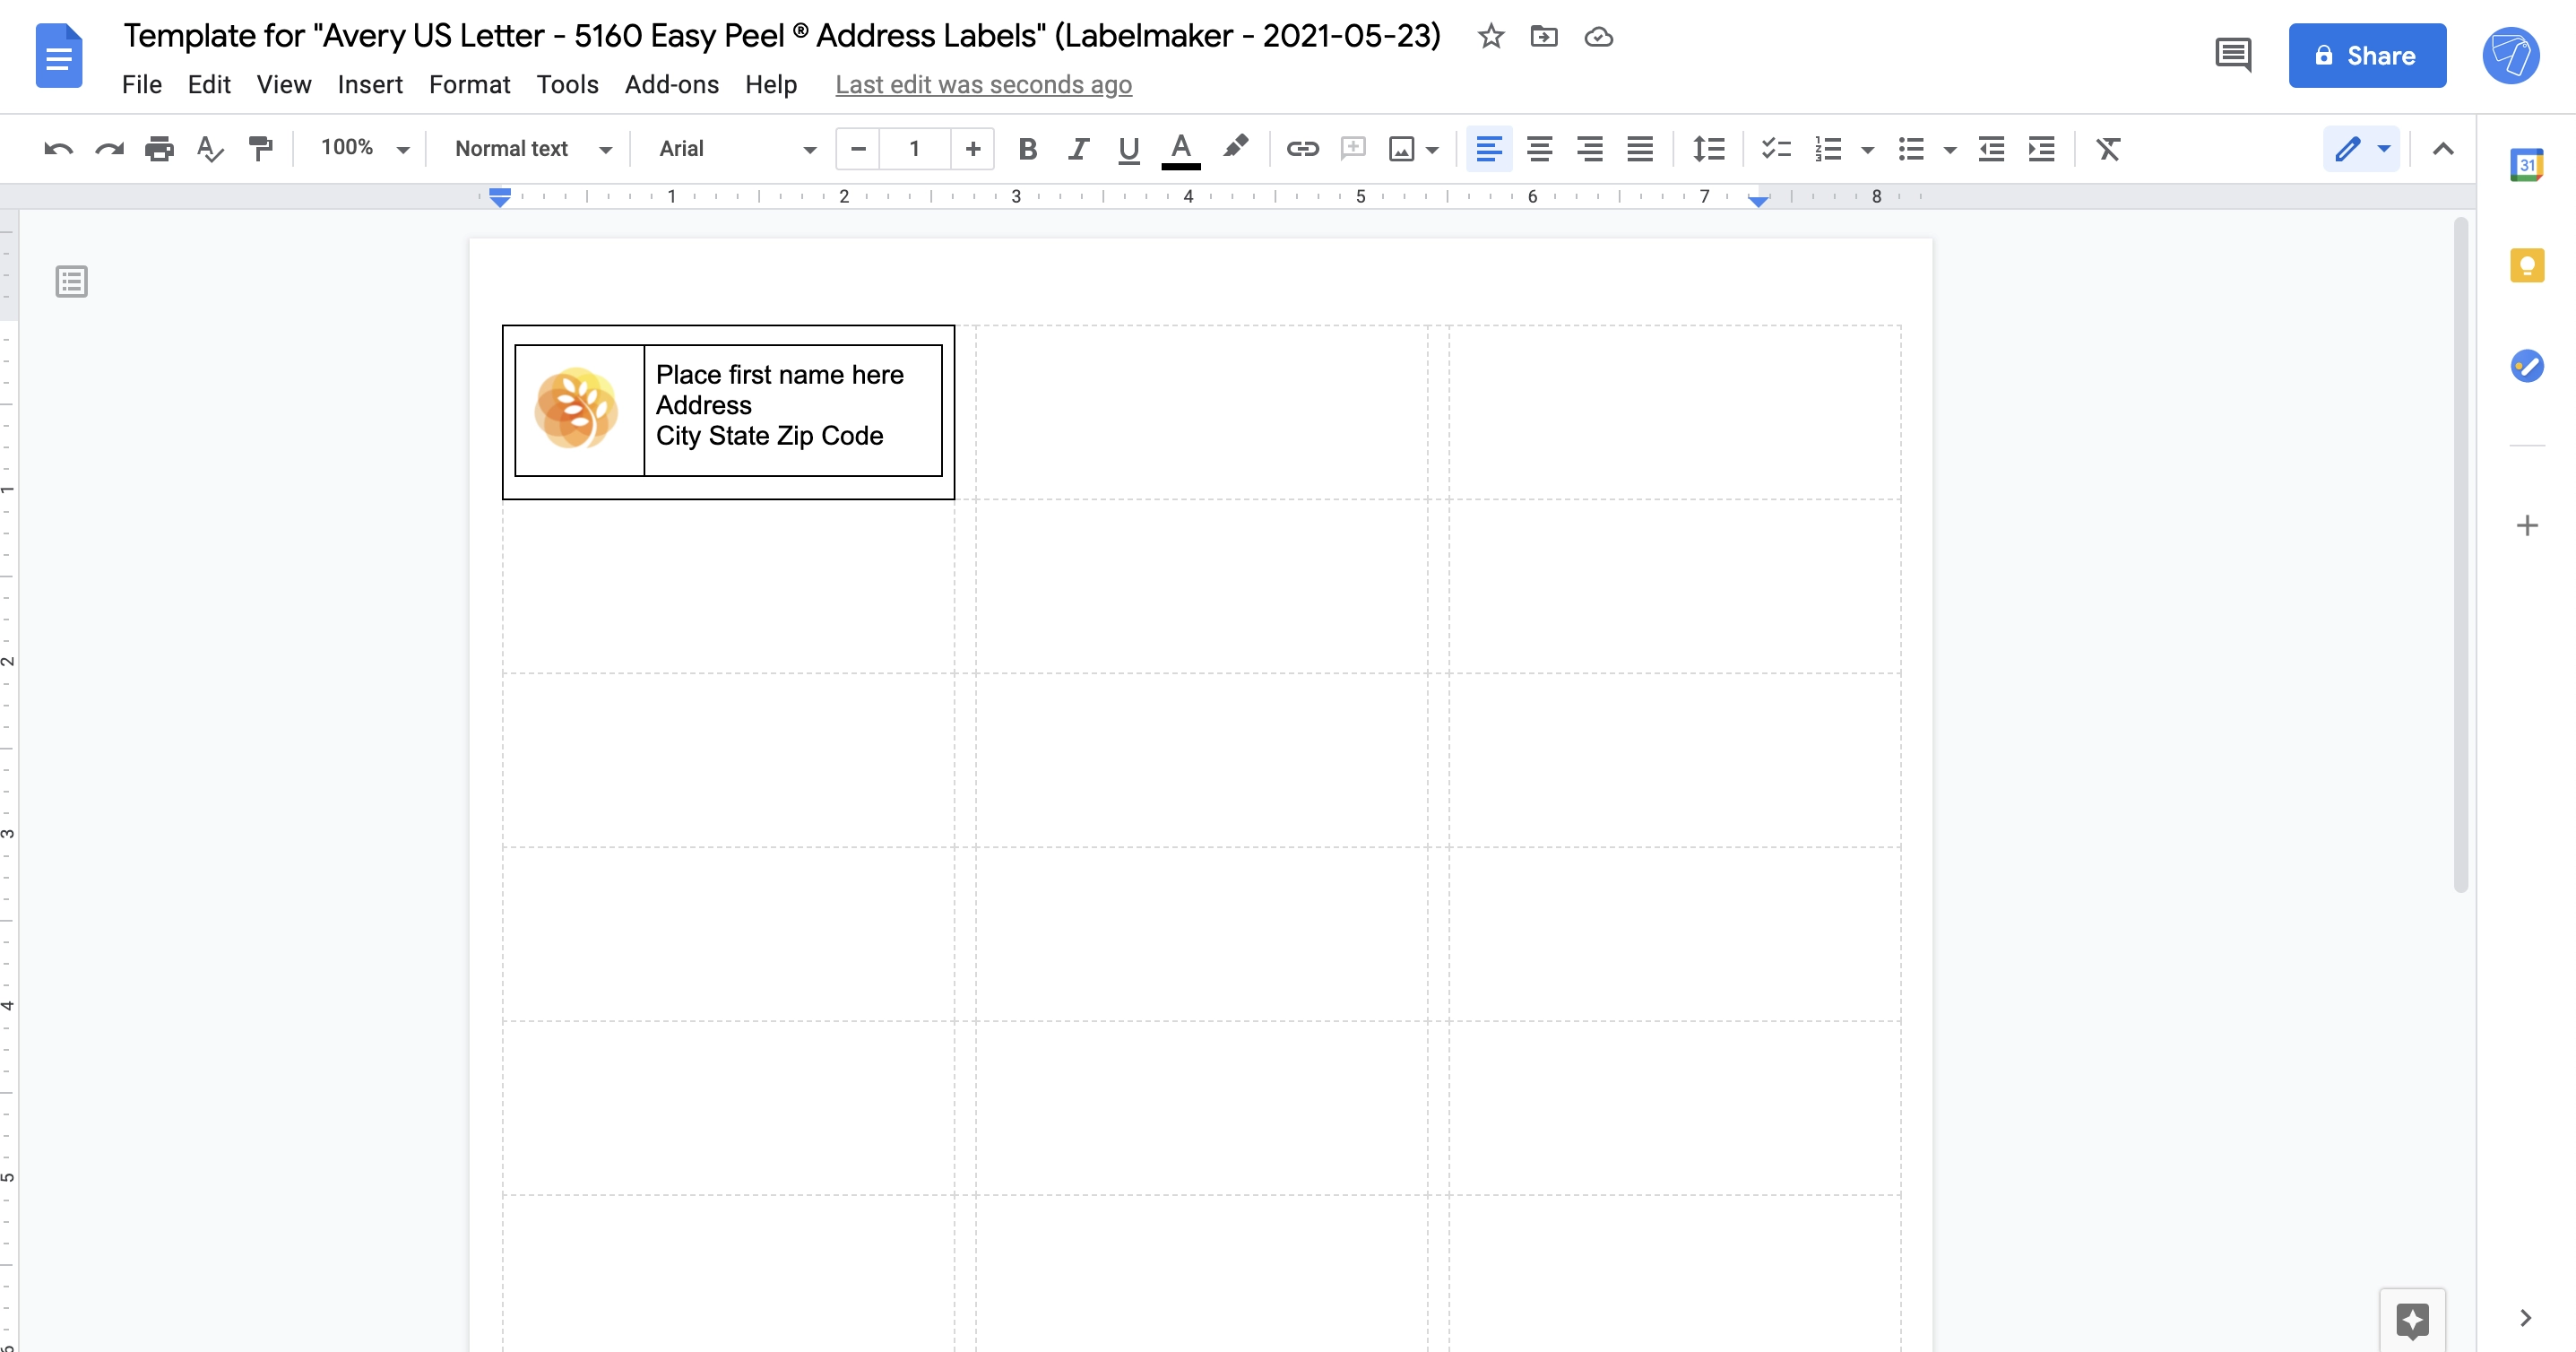
Import your image or logo inside the label. Go to the "Insert" menu at the top, then select "Image" and "Upload from computer". You can also drag and drop your image from your computer inside the first cell. Once you insert your image, add the text that will be displayed on your label. You can personalize each label by connecting your Google Document to a spreadsheet.
6. Remove table borders
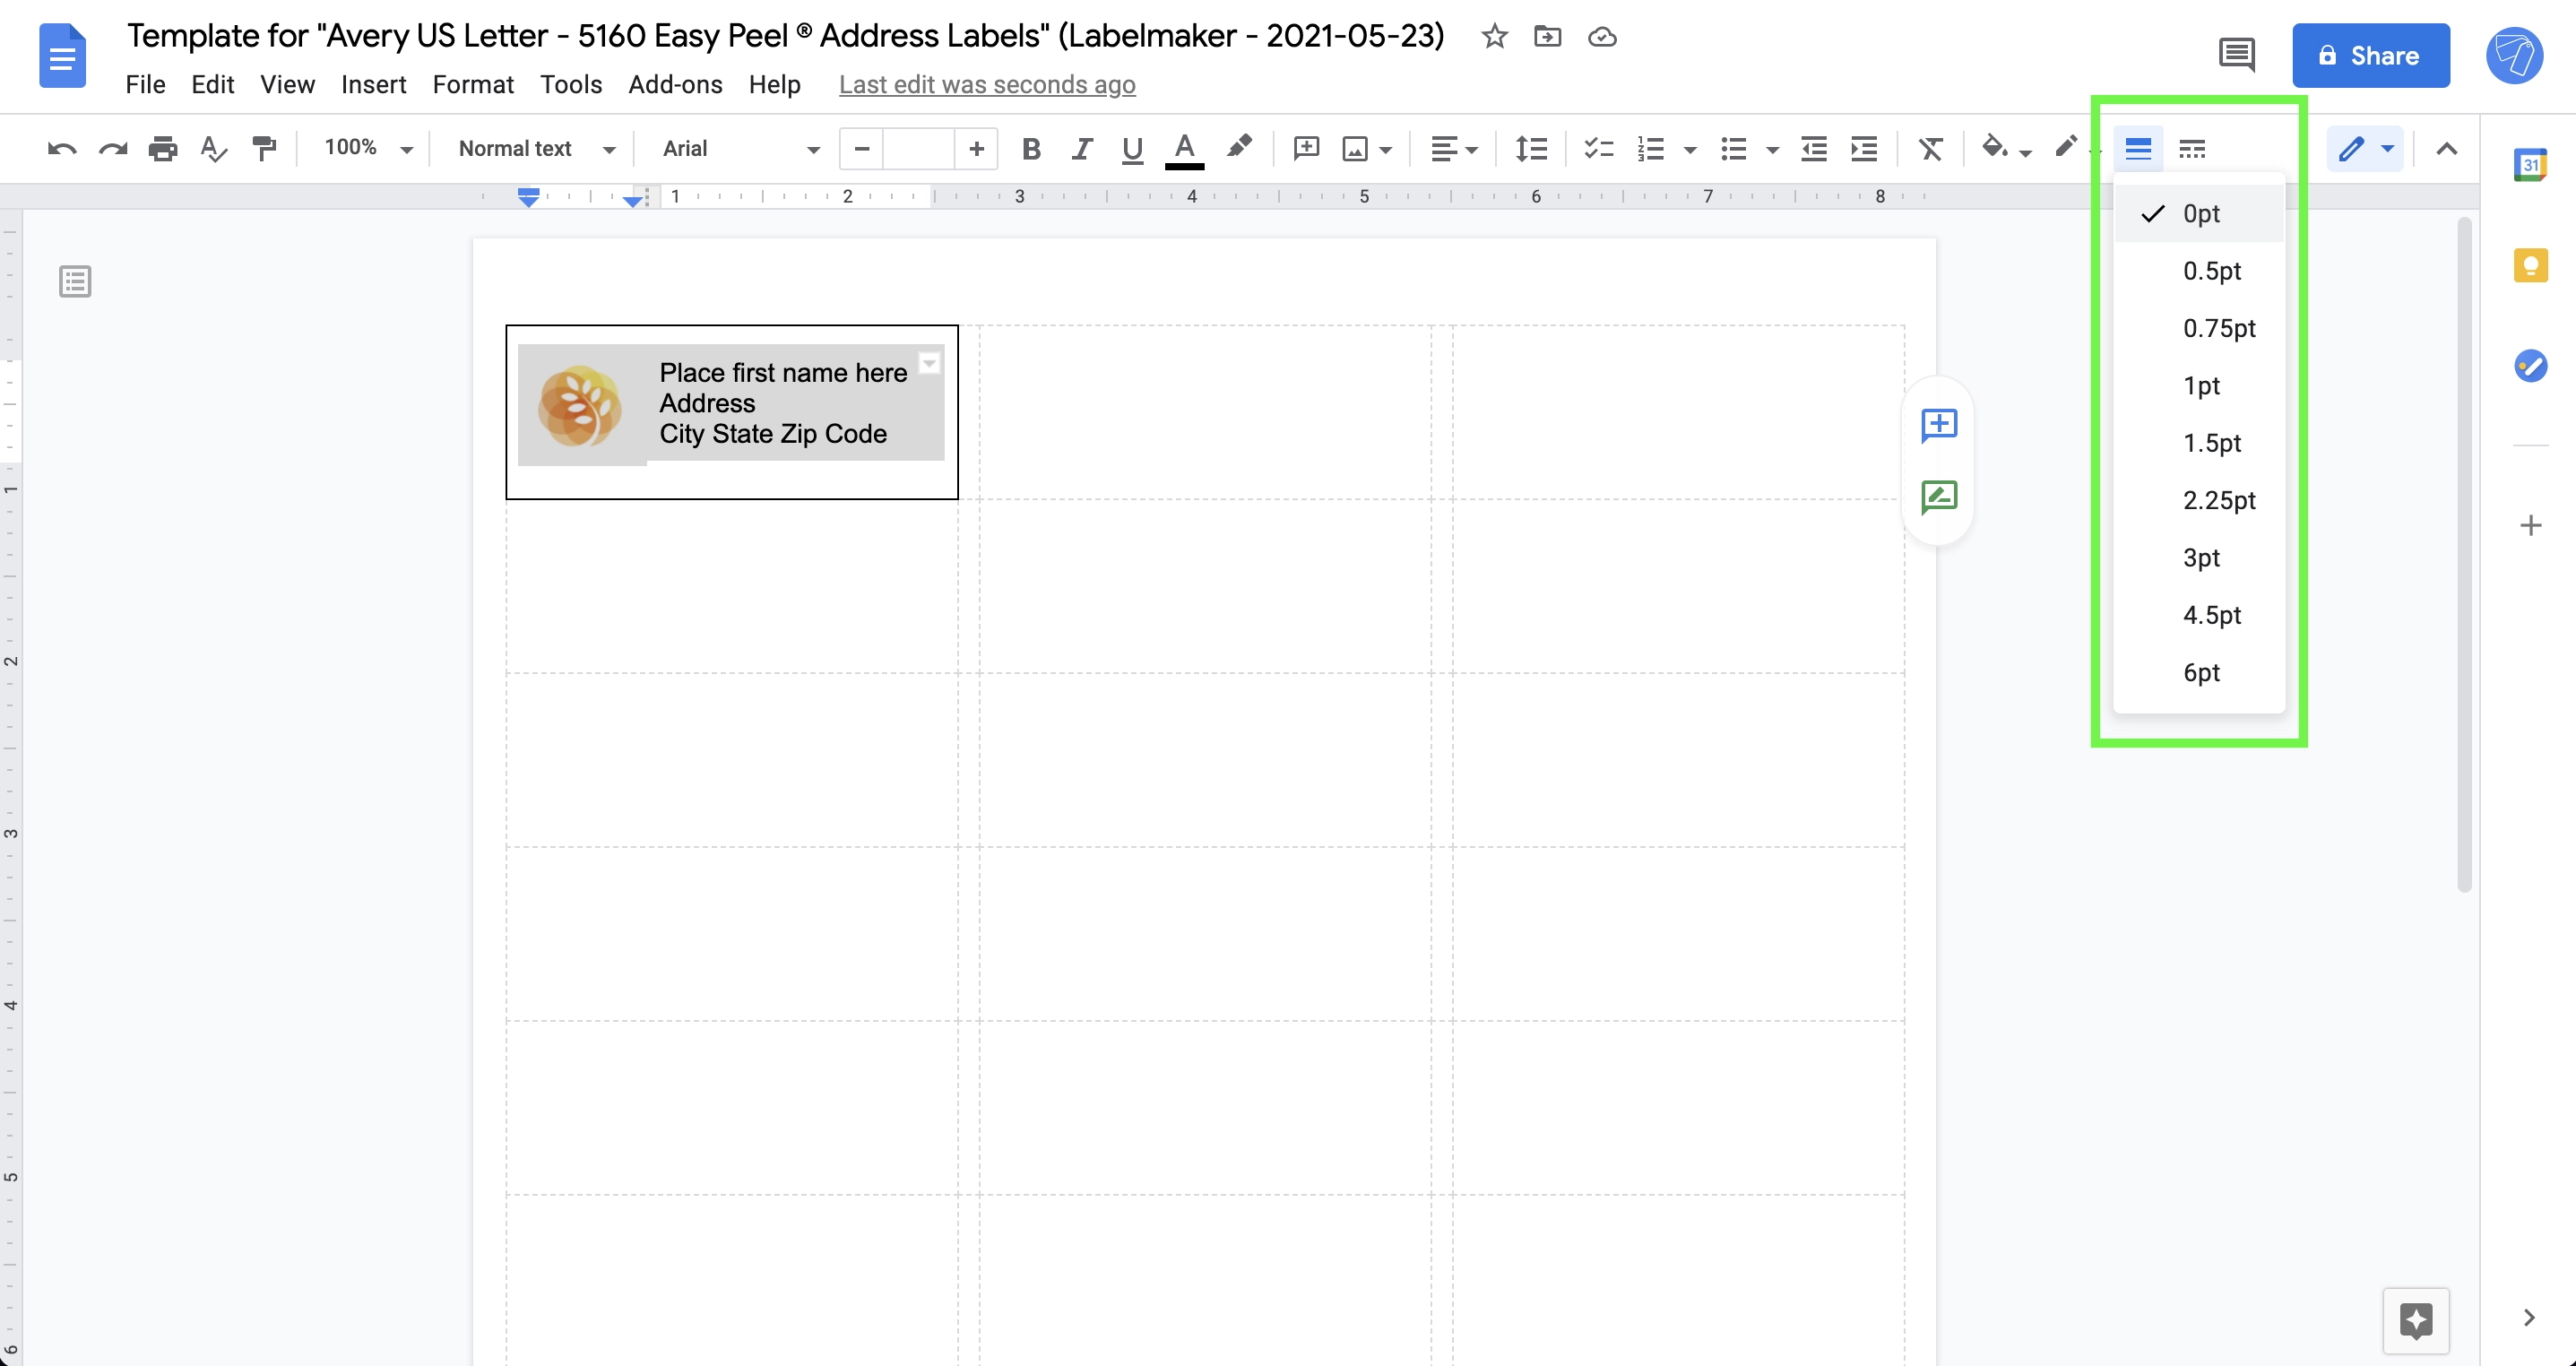
We’ll be removing the black borders on the outside of the table. Select your table by dragging your mouse from the bottom right corner to the top left corner of the table. Then from the menu at the top, turn the border width to 0.
Here is a video showing you how to select the table to remove its borders:
7. Create labels
That’s it! You’re now ready to create your labels. Click on "Create labels" in the sidebar on the right. When your labels are ready, click on "Open document" to look at your labels sheet with images and text.
8. Preview your labels
Preview your labels before printing in the newly created document. Check that there are no misalignment issues. If you need to make some changes, go back to the previous document, make your changes and click on "Create labels" to create another sheet of labels.

9. Print labels
To print your labels with images, click on "File" > "Print". In the print dialog, check that the margin is set to none and the scale to 100%. Depending on the format of the labels product, you might need to adapt the size of the page.
It's your turn to mail merge labels with images
Adding pictures is a great way to bring some color and personality to your labels. You can easily print labels with images using Labelmaker for Google Docs and Google Sheets. This technique will be helpful for many use cases such as printing labels for a wedding, a school event, generating QR codes and more.