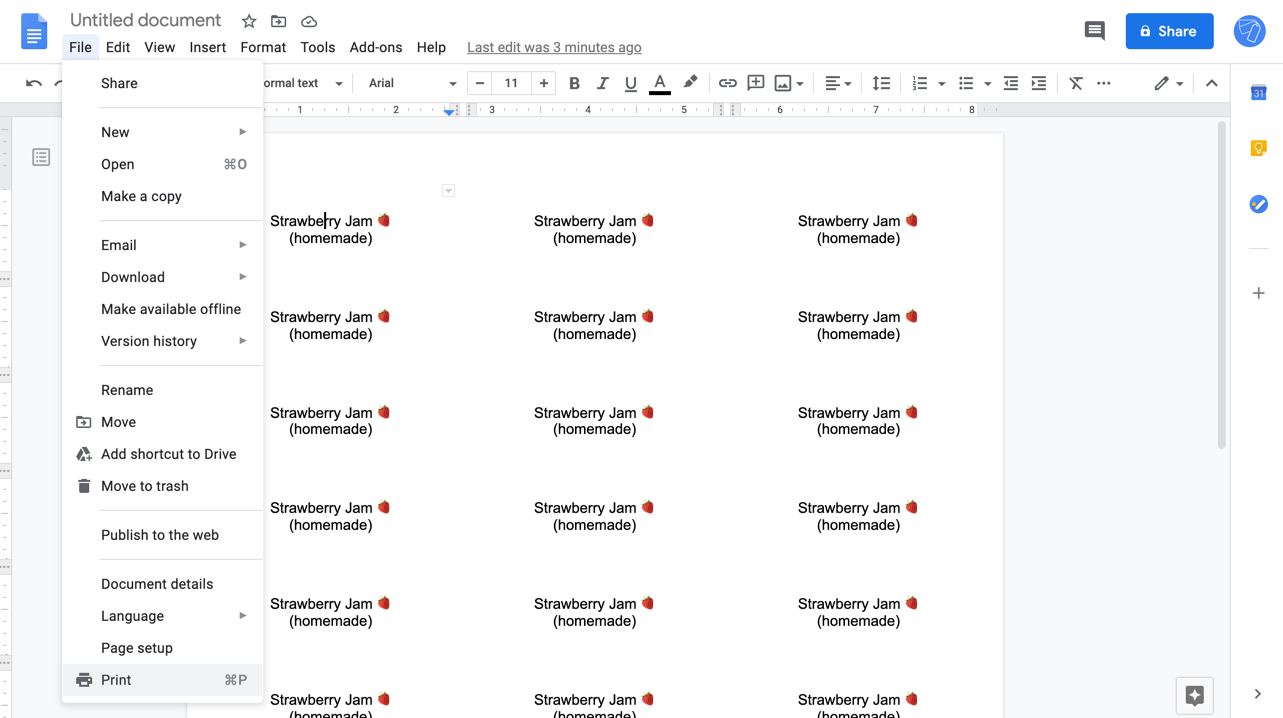
How to create plain labels in Google Docs?
This guide shows you how to create and design labels within Google Docs, using the add-on called Labelmaker. Start by watching an overview of Labelmaker or read our step-by-step instructions:
- Open a new document
- Open Labelmaker
- Select a template
- Arrange labels
- Create labels in a new document
- Confirm merge
- Print labels
1. Open a new document
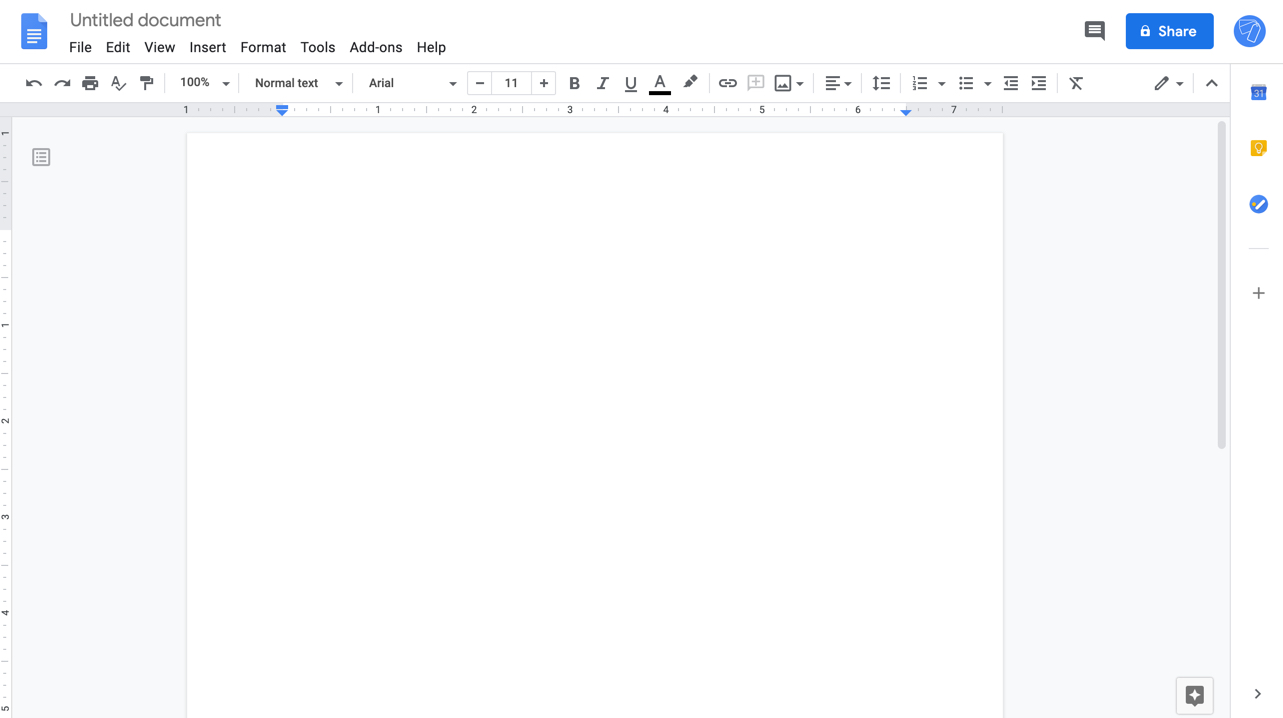
Open a new Google Docs and leave it blank. We will use that document to create and print labels.
2. Open Labelmaker
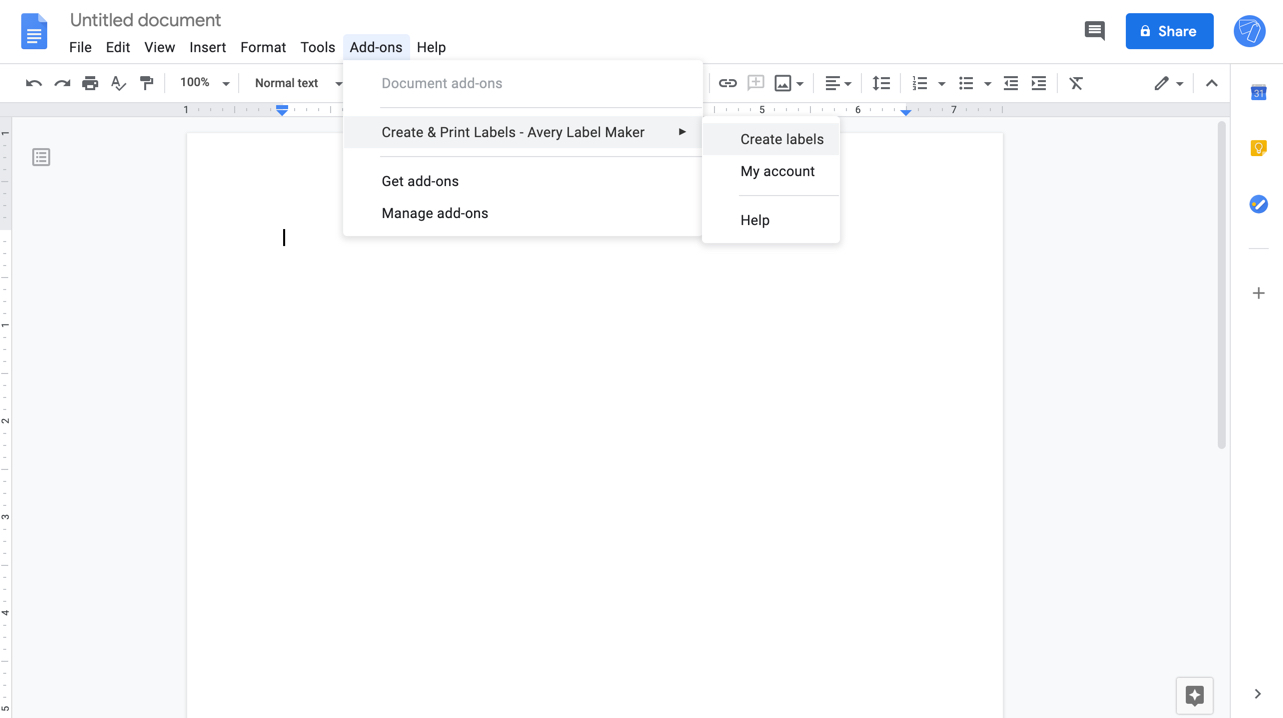
In Google Docs, click on the "Extensions" menu (previously named "Add-ons"), then select "Create & Print Labels". If you don't have the add-on yet, make sure to install it first. After the installation, reload your document by closing it and reopening it.
3. Select a template
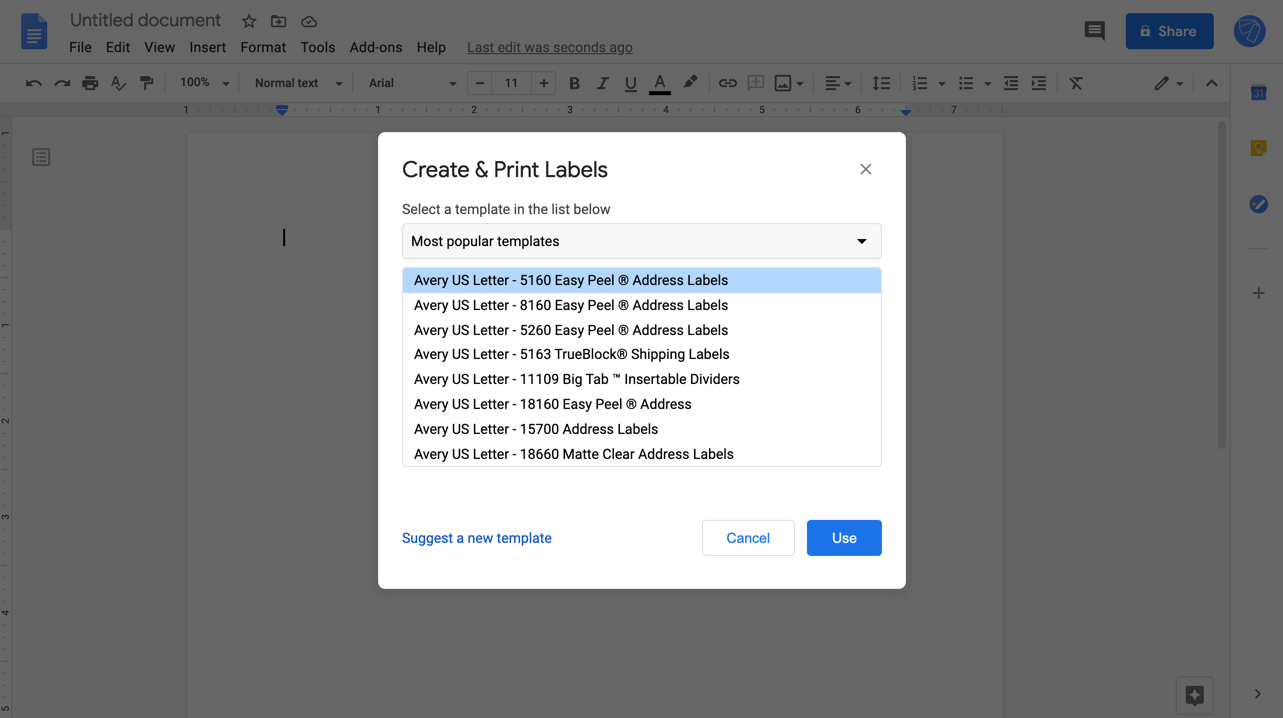
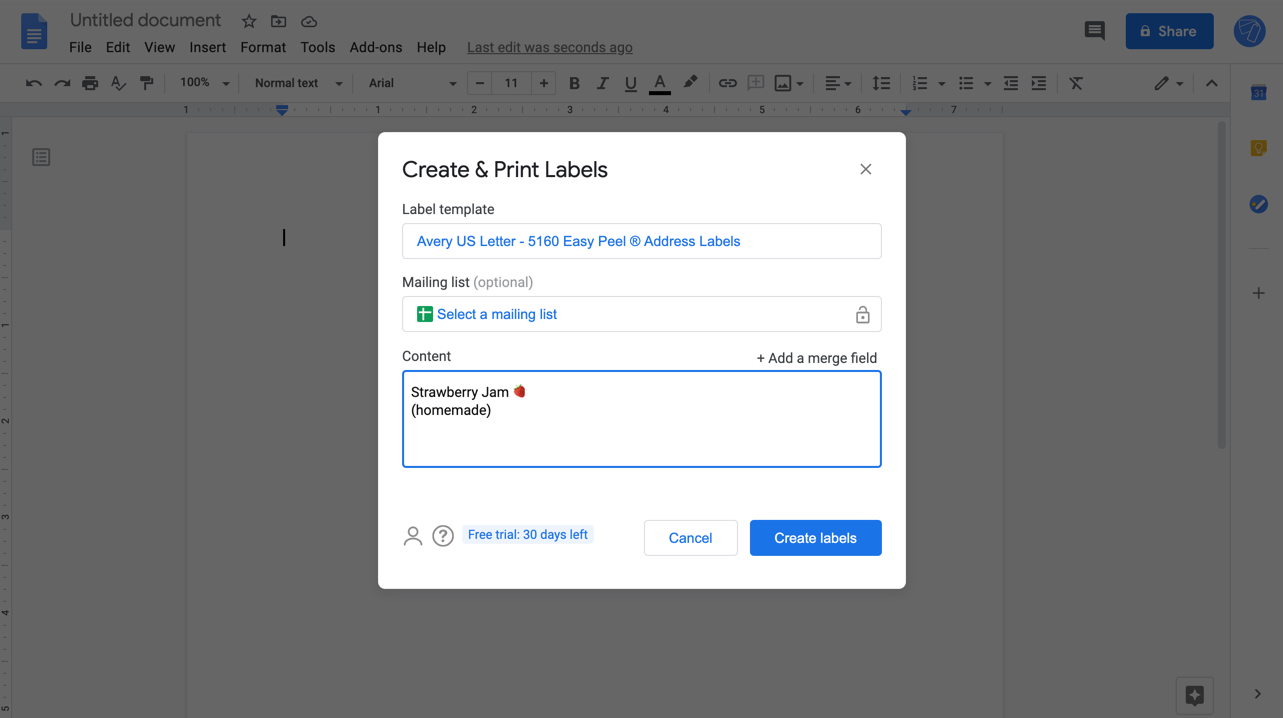
Within Labelmaker modal, click on "Select a template", then look at the available templates in the list. Over 5000+ labels are available as of writing, within multiple categories including "Sheetlabels.com", "OnlineLabels.com" and more.
4. Arrange labels
In the content field, add your labels content. If you have linked a mailing list, you can add merge fields using double-arrows. For example add the address with <<address>> and the city with <<city>>.
5. Confirm merge
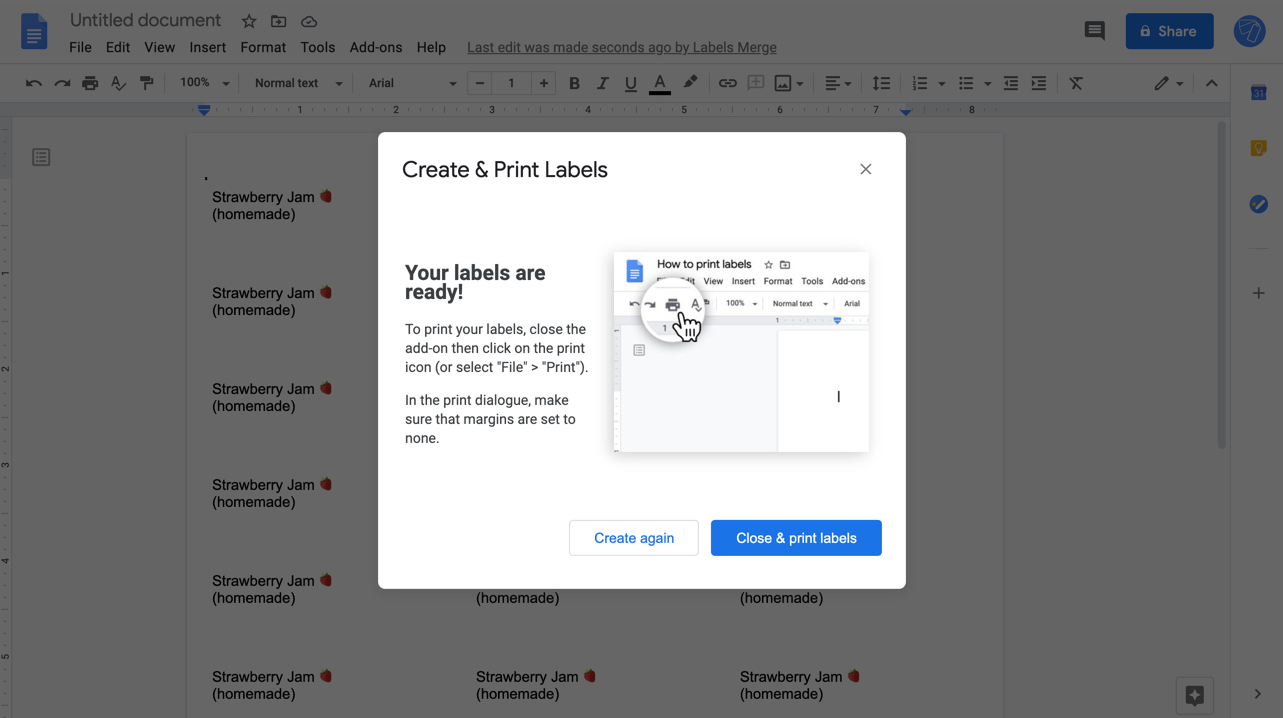
Click on "Create labels" and the document will be updated. To print it, close the modal first.
6. Print labels
Now that your document is filled, use Google Docs built-in formatting, such as bold or vertical alignment. Once it looks good, click on "File" > "Print". In the print dialog, make sure to set the margin to none and the scale to 100%. Depending on the format of the labels product, you might need to adapt the size of the page.