How to create wedding labels in Google Docs ?
In this guide, we’ll teach you how to make your own wedding stickers. Google Docs makes it super easy to create your own wedding labels and save a fortune on paying someone to do this for you.
Custom wedding labels will bring a personal touch to your special day. We’ll see how you can make wedding favors for guests, create personalized invitations or even print wedding labels for water bottles or wine bottles!
💍 Here is a summary of this step-by-step guide:
- Open a new Google Docs
- Open Labelmaker
- Select a template
- Insert a table
- Add an image and text
- Remove table borders
- Create your wedding labels
- Preview before printing
- Print your wedding labels
1. Open a new Google Docs
First of all, open a new document in Google Docs. This document will be used to create your wedding labels.
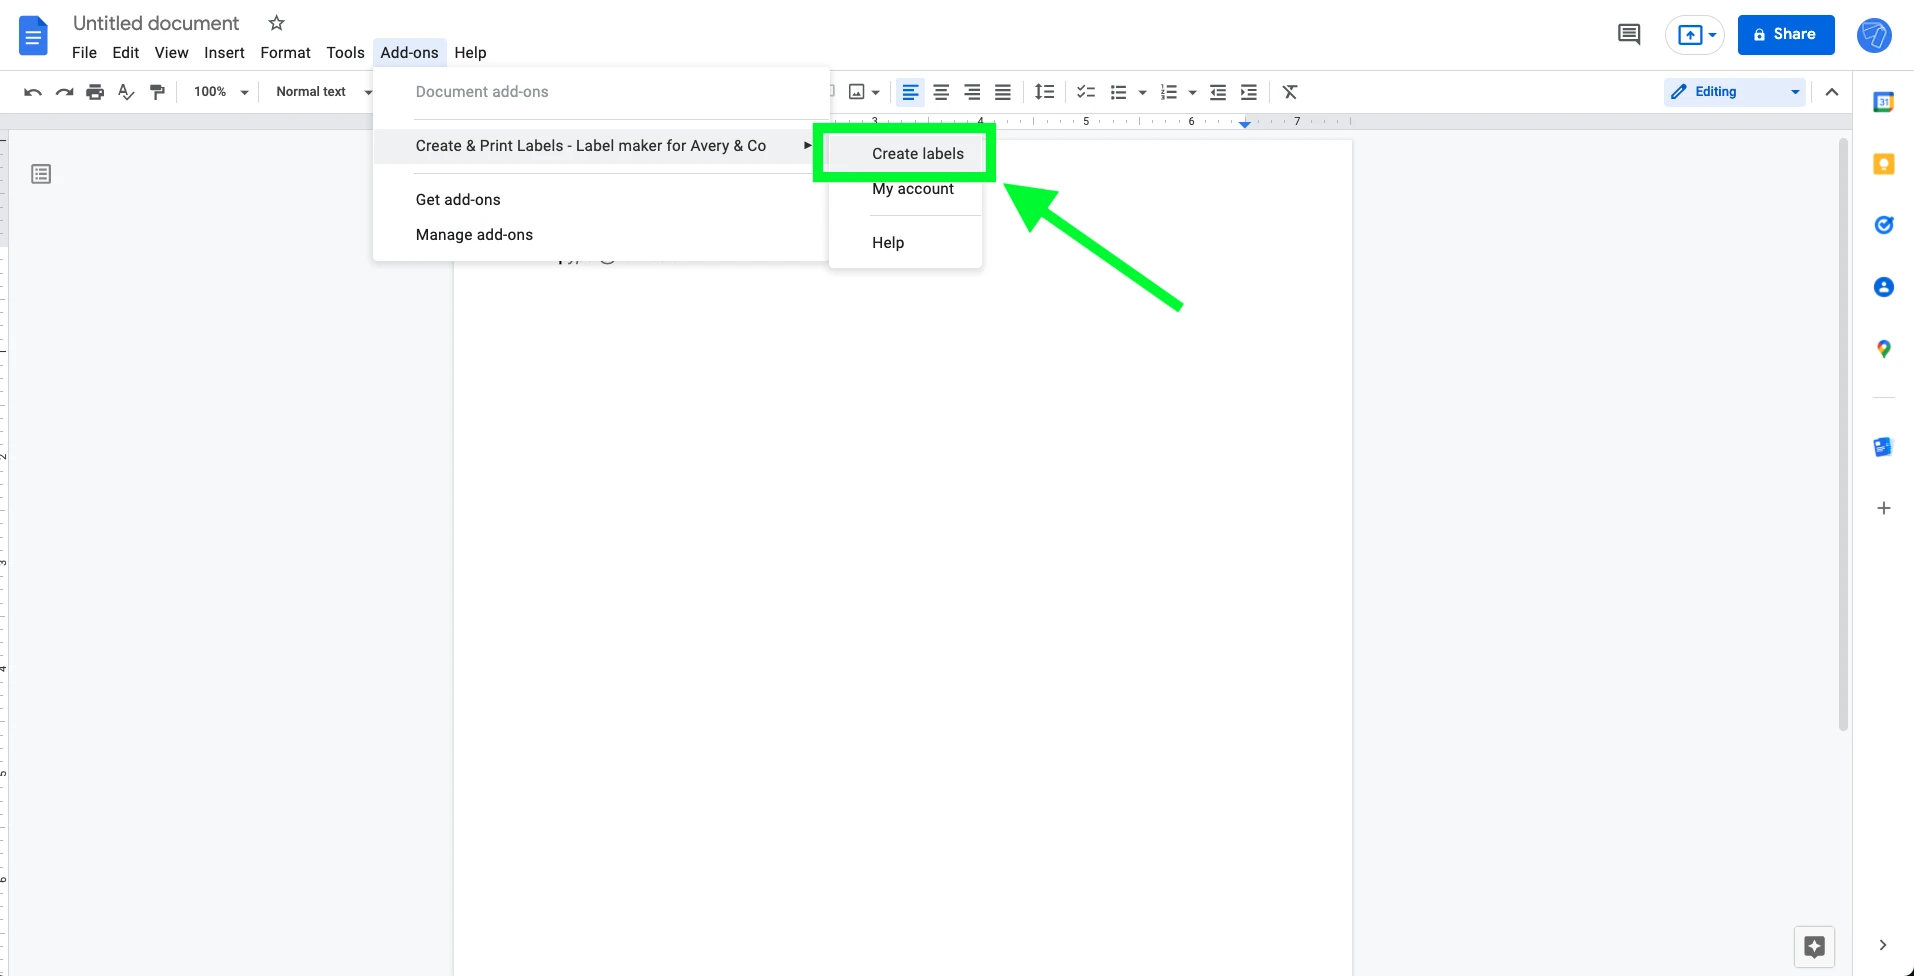
2. Open Labelmaker
Now go to the "Extensions" and select "Create & Print Labels". If you haven’t installed the add-on yet, you can install Labelmaker from the Google Workspace Marketplace. When you’ve installed the add-on, make sure to refresh your browser to ensure everything works.
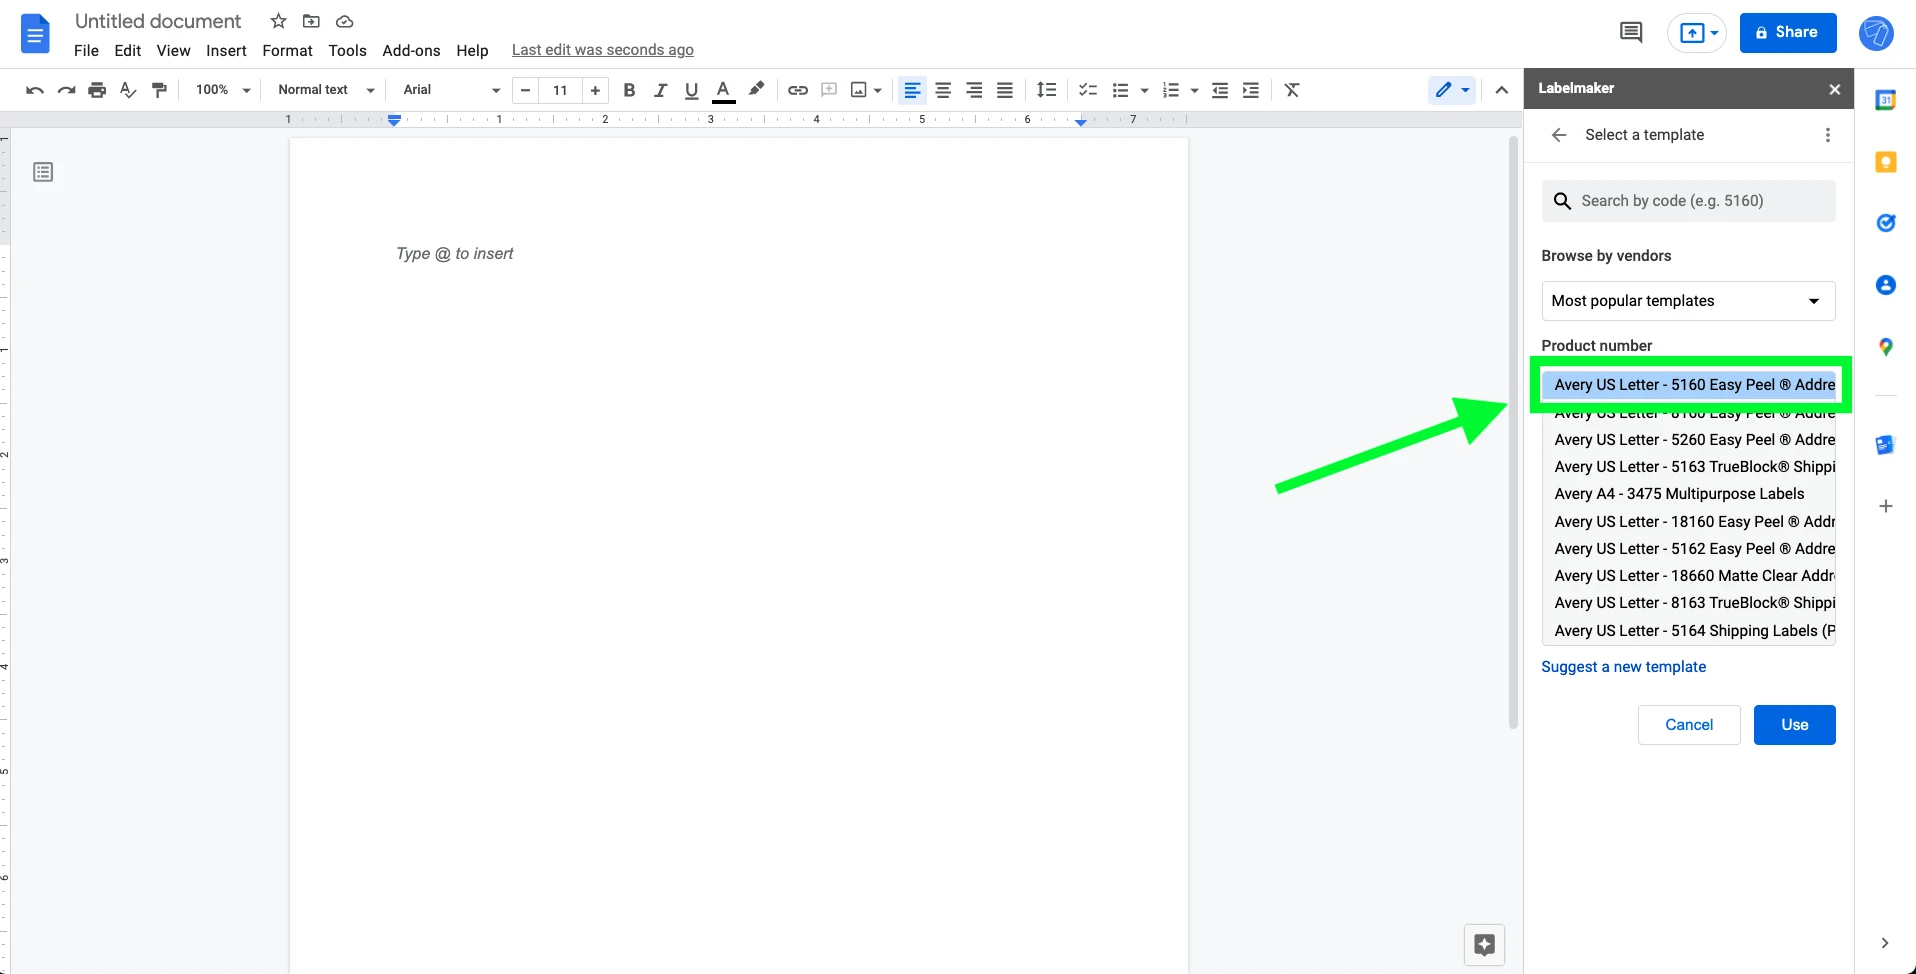
3. Select a template
Within the Labelmaker sidebar on the right, click on "Select a template". You will be given several template options. There are more than 5000 templates available including wedding labels. In this tutorial, we will show you how to create wedding stickers using the widely popular 5160 template.
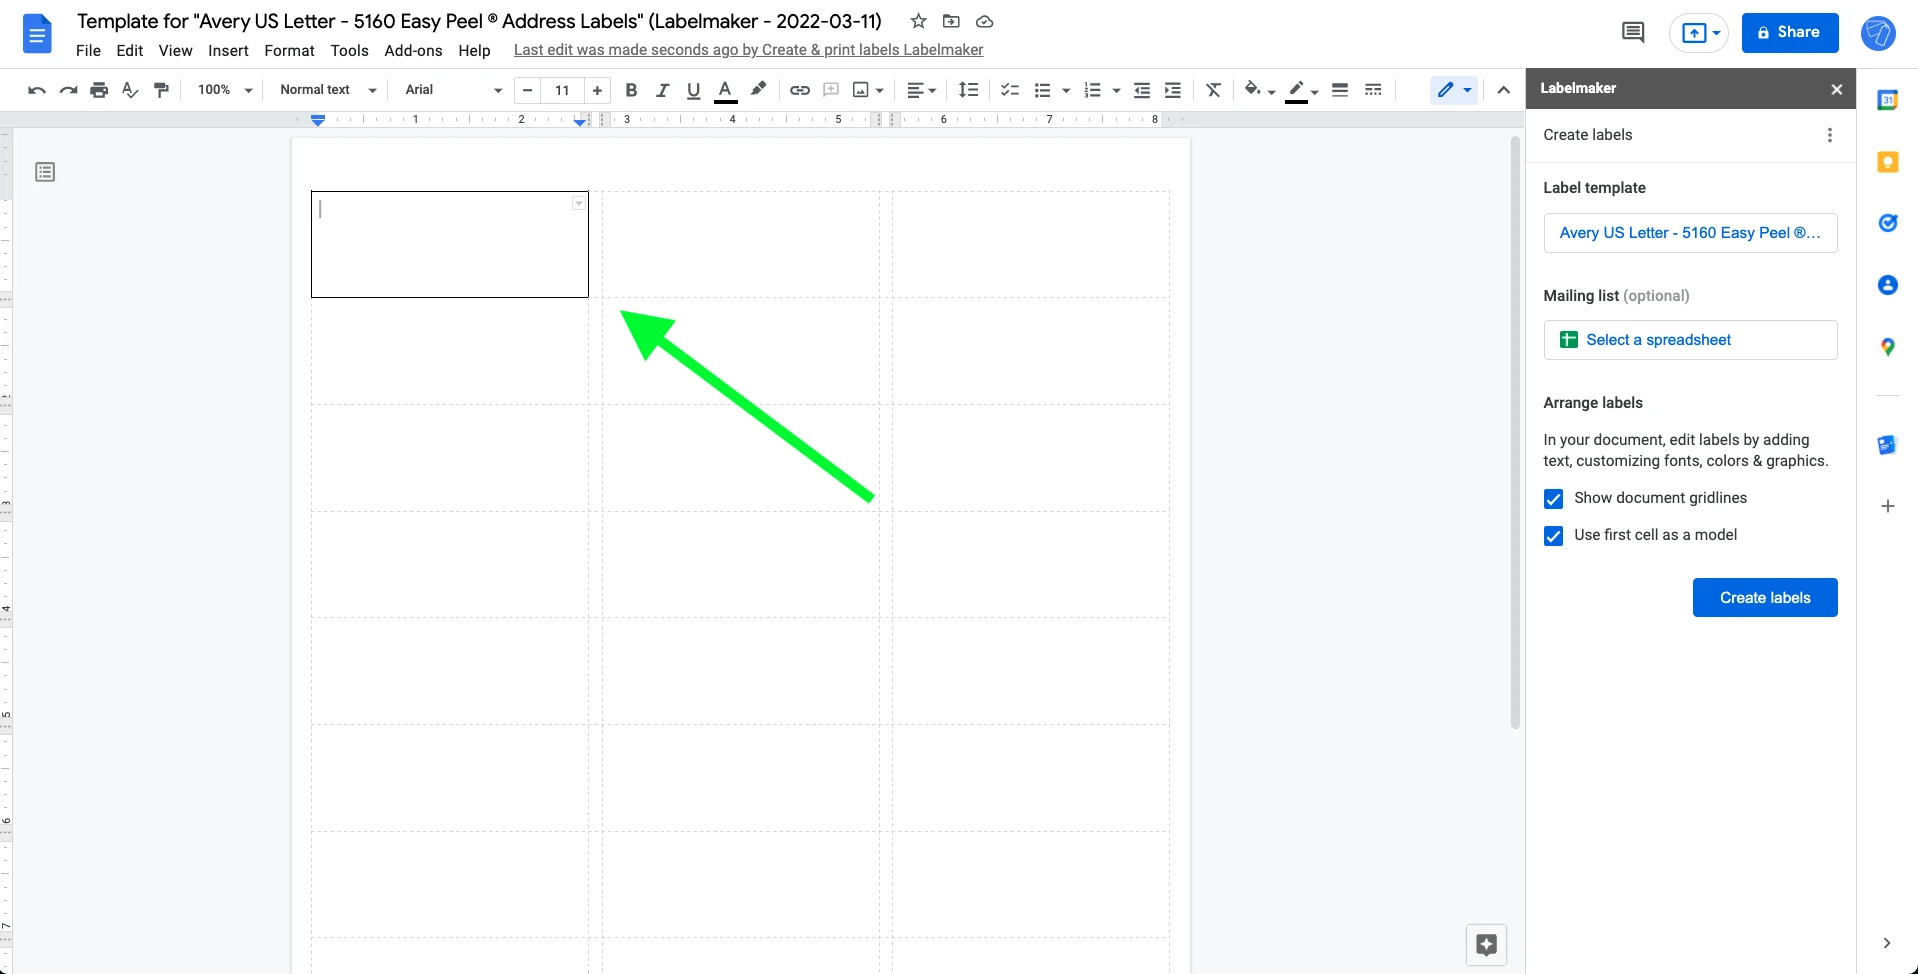
4. Insert a table
You might certainly want to customize your wedding sticker with images. To add an image on your wedding labels, you need to add a table in the first cell of your document (that is the one with the black borders). The table will help us align our text with the image. You can skip this step if you don't want to insert an image onto your wedding labels.
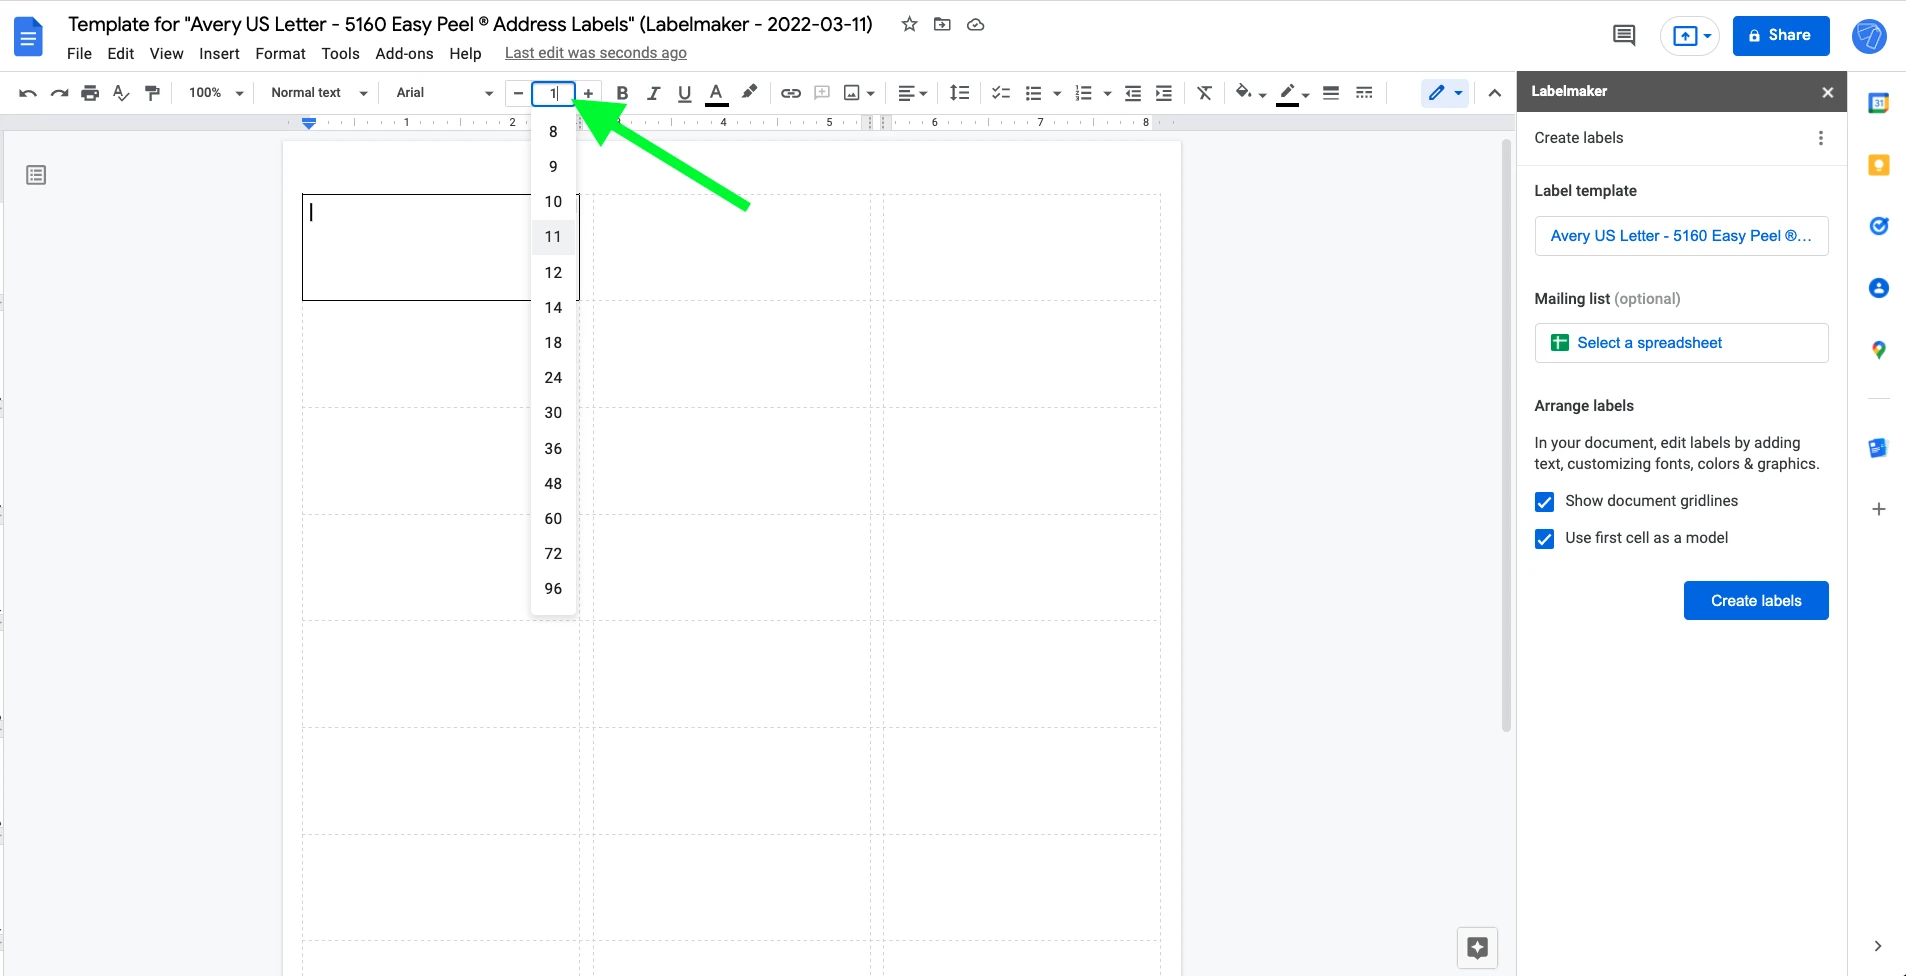
In order to insert a table, place your mouse in the first cell with the black borders
Then, reduce the font size to 1. This will leave some free space for the table we’re going to insert.
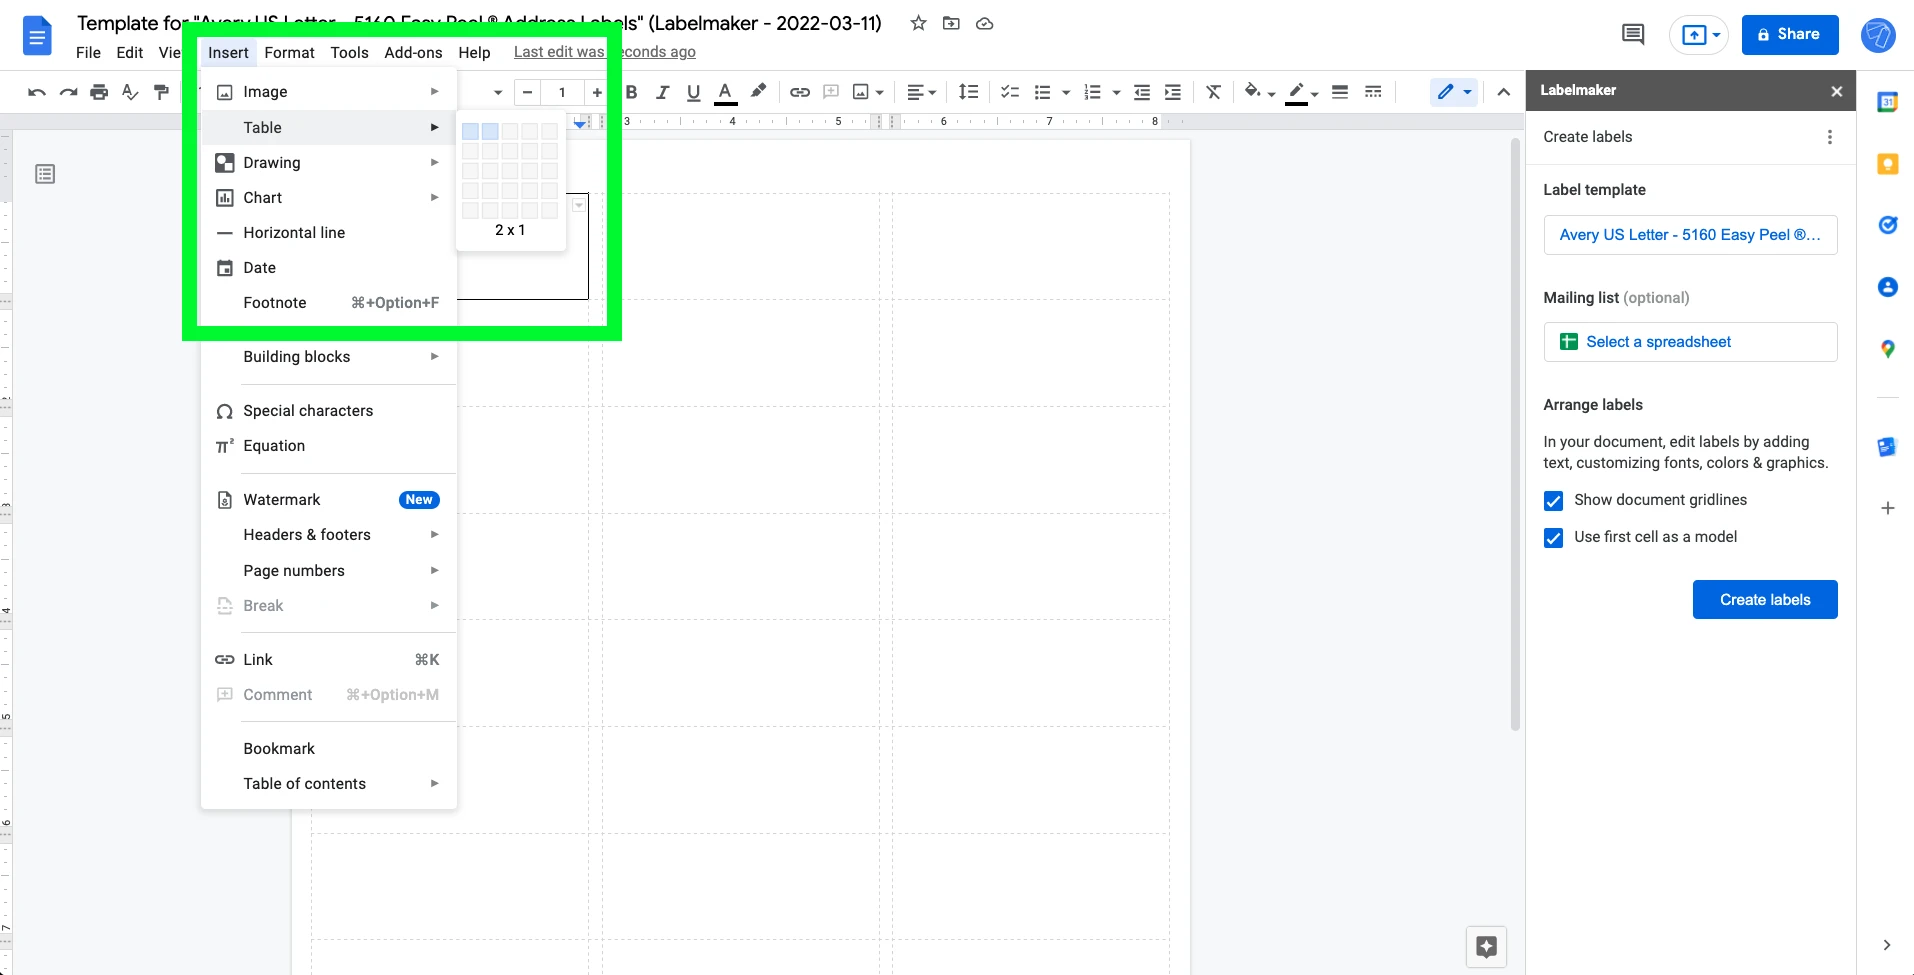
Insert a two-column table by going to “Insert” > “Table” then select 2X1 (2 columns, one row table).
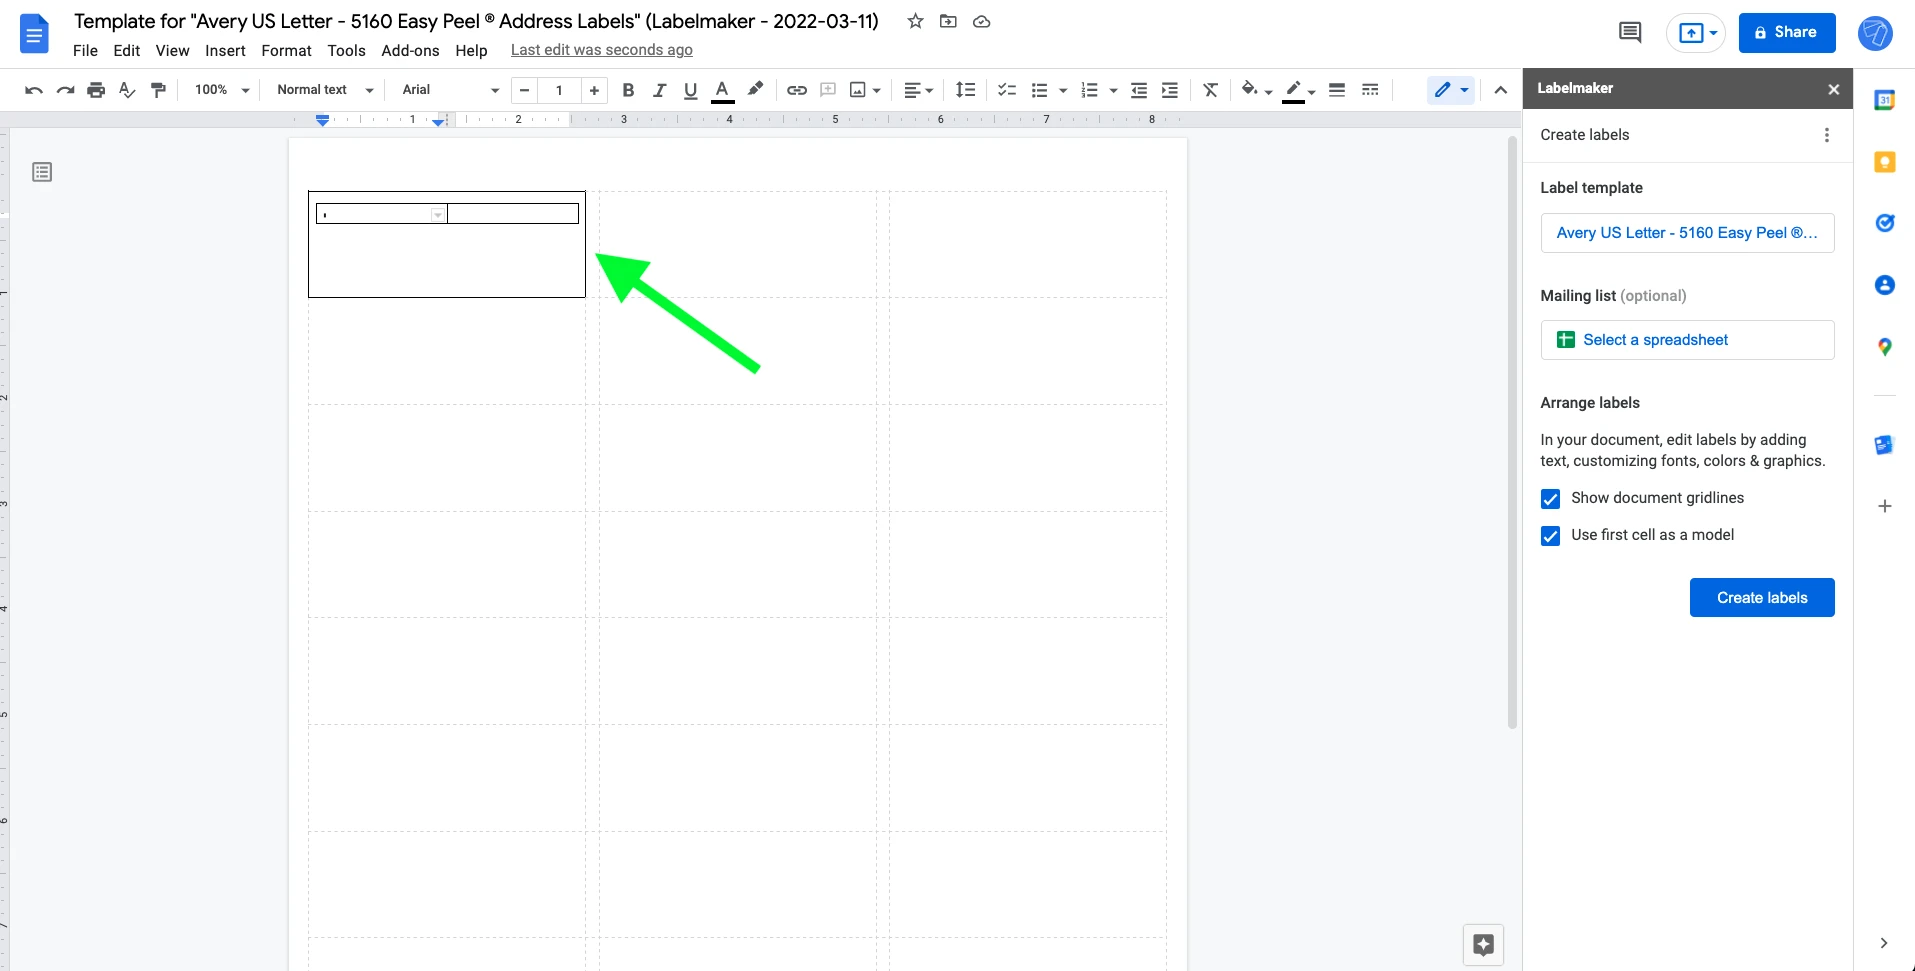
Here is how the table looks like once inserted.
Note: you can check our dedicated guide on How to add images in your labels in Google Docs for detailed guidance.
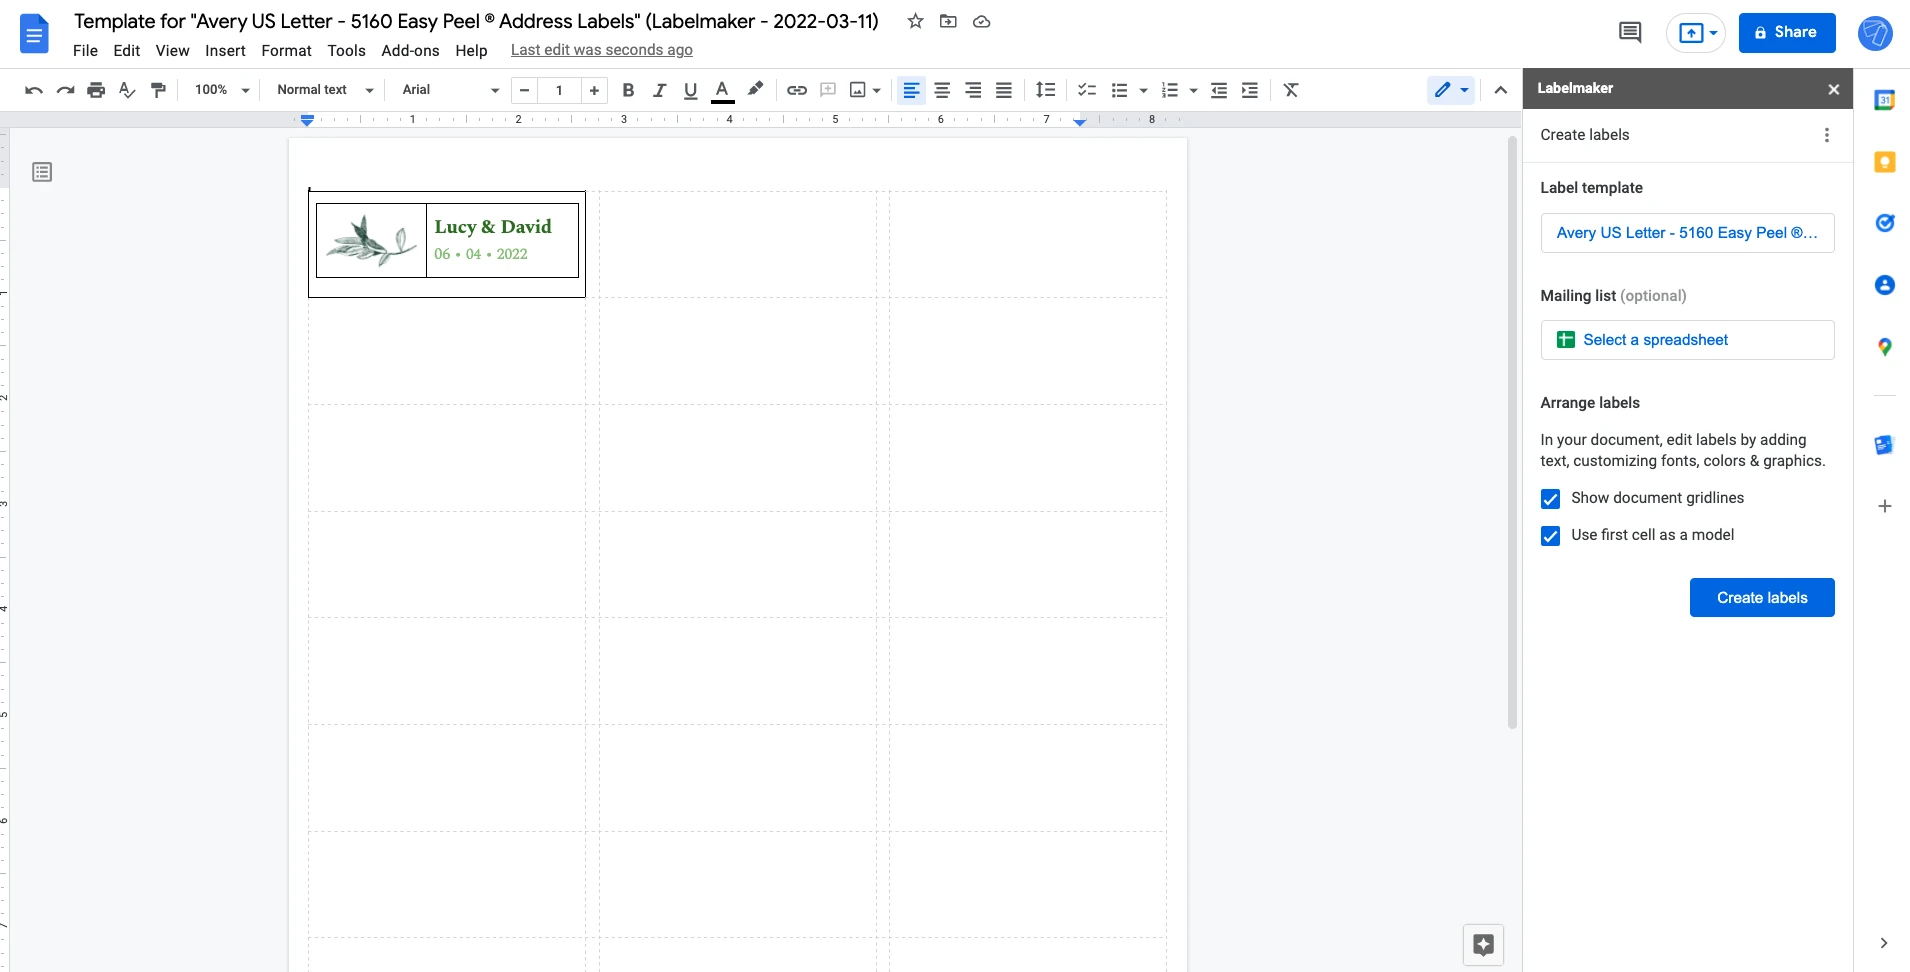
5. Add an image and text
Now that you have a table in the first cell, you can add an image on your wedding labels. To insert your image, select “Image” in the menu at the top then “Upload from
computer”. Make sure to resize the image to ensure it fits your labels. Then, type in your text. Feel free to increase the font size, add some colors, pick a font that you
enjoy to personalize your wedding labels.
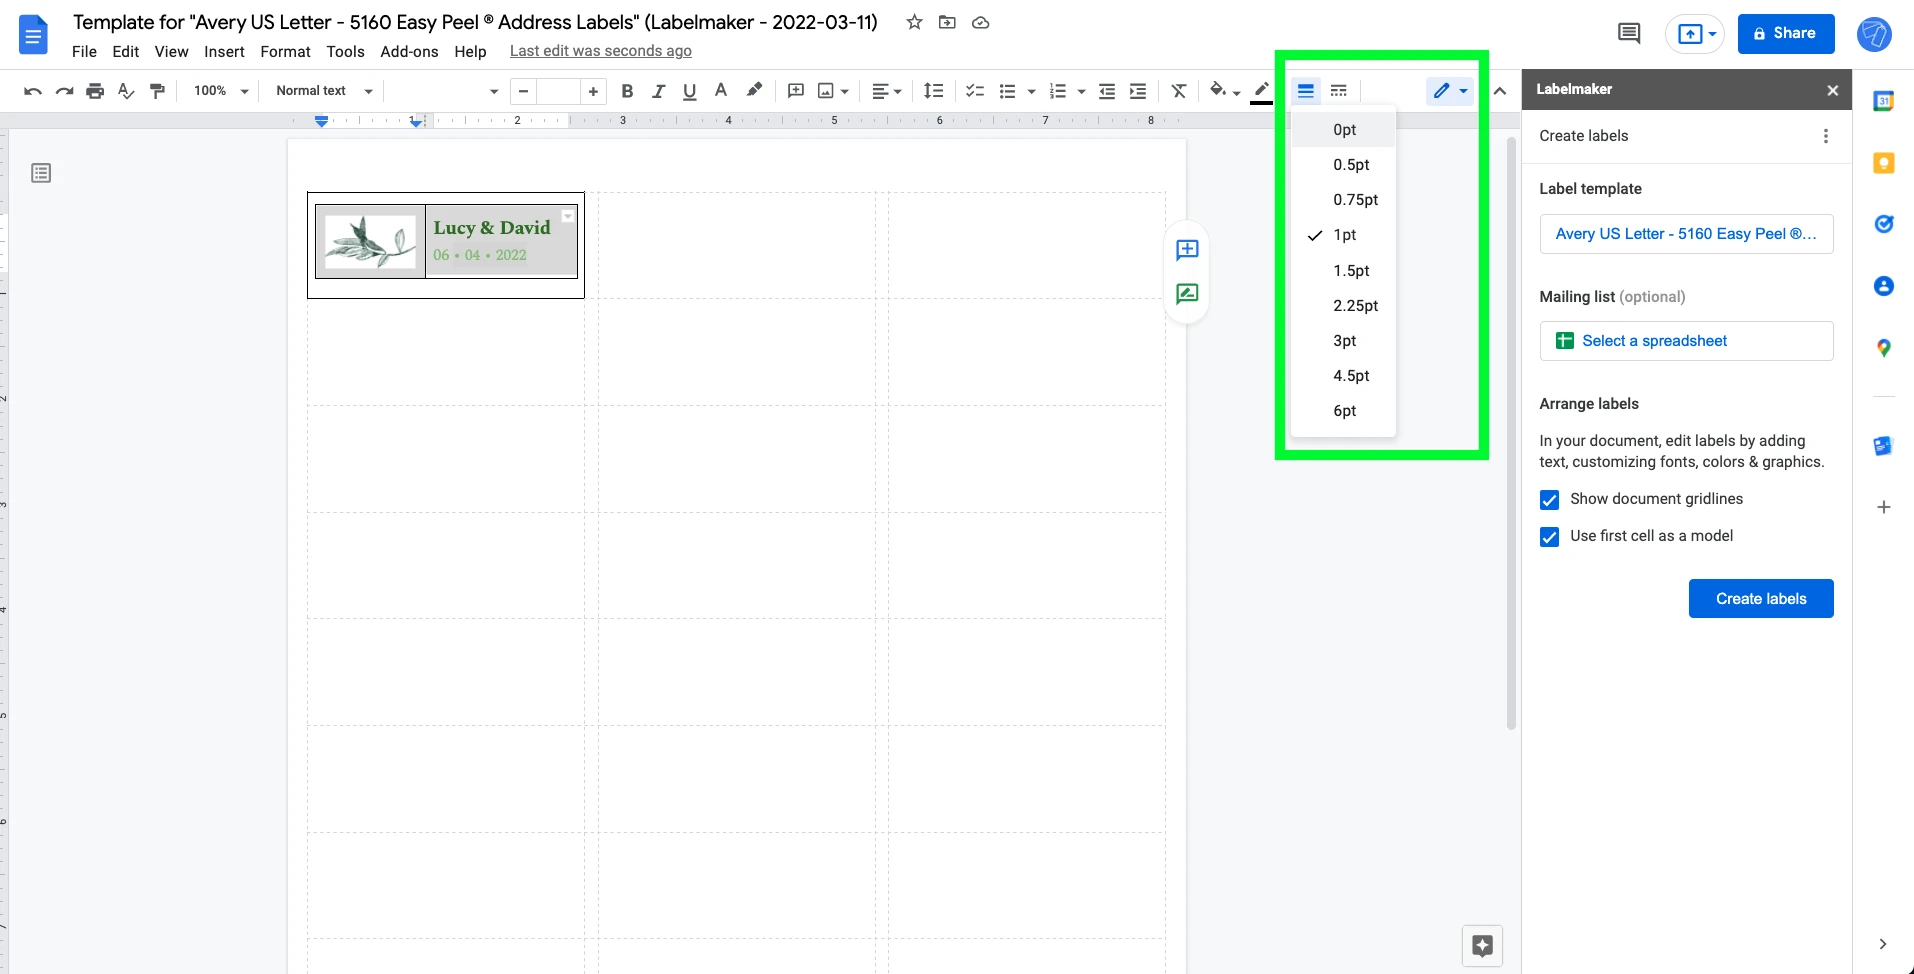
6. Remove table borders
Now we can get rid of the table’s black borders because we don’t want them to be printed. Select the table (drag your mouse from the bottom right corner to the top left corner of the table), then turn the border width to 0pt as shown below.
That’s it! You’ve created one wedding label. Now, you can either copy and paste this label into other cells if you want to make some modifications by hand, or use Labelmaker to generate a full page of the same label for you.
Note that if you’re looking to address wedding invites, it’s possible to print wedding invitations for a mailing list. Let’s say you have a spreadsheet with the list of your guests, you could print out personalized invitations with their names and other personal information. See our tutorial on how to print labels for a mailing list.
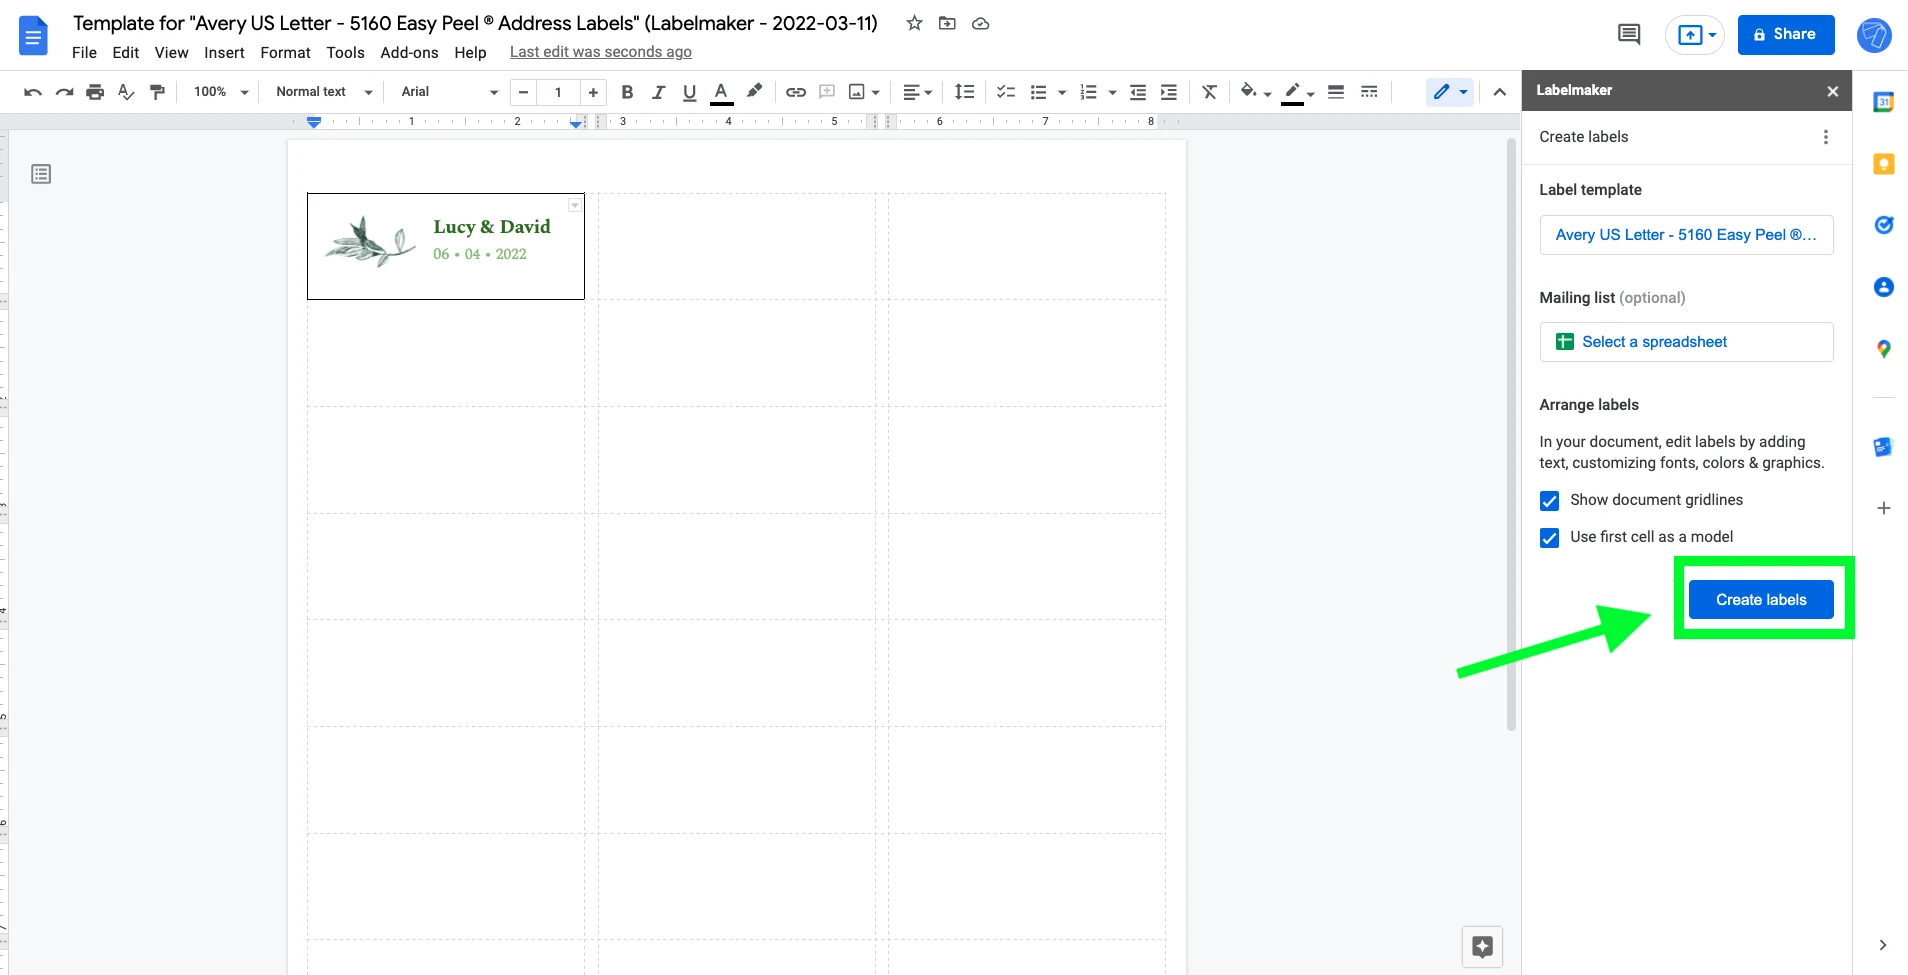
7. Create your wedding labels
When you’re happy with your wedding labels design, click on “Create labels” in the Labelmaker sidebar on the right. If you want to print a full page of the same looking labels, then tick the “Use first cell as model” box. Wait a few moments, then click on "Open document" when your wedding labels are ready.
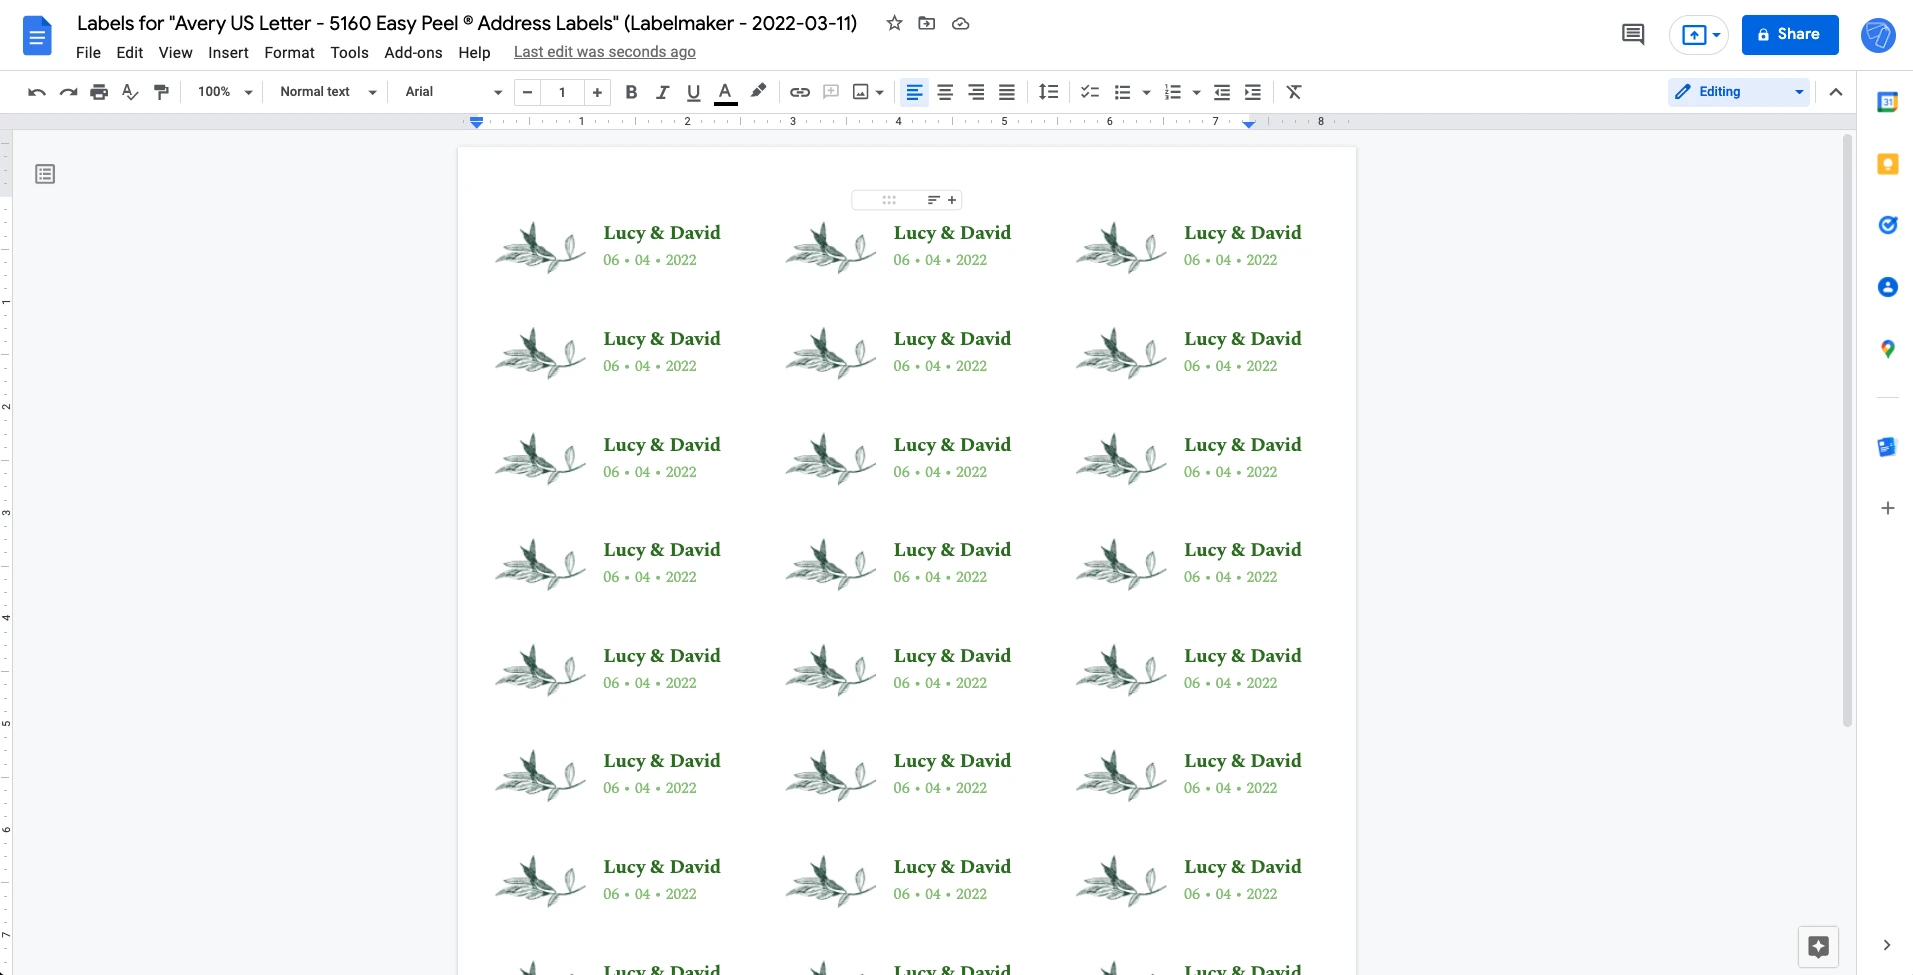
8. Preview before printing
Before printing your wedding labels, make sure that everything is perfect. In case you have any alignment issues, check out our guide on How to fix misaligned labels.
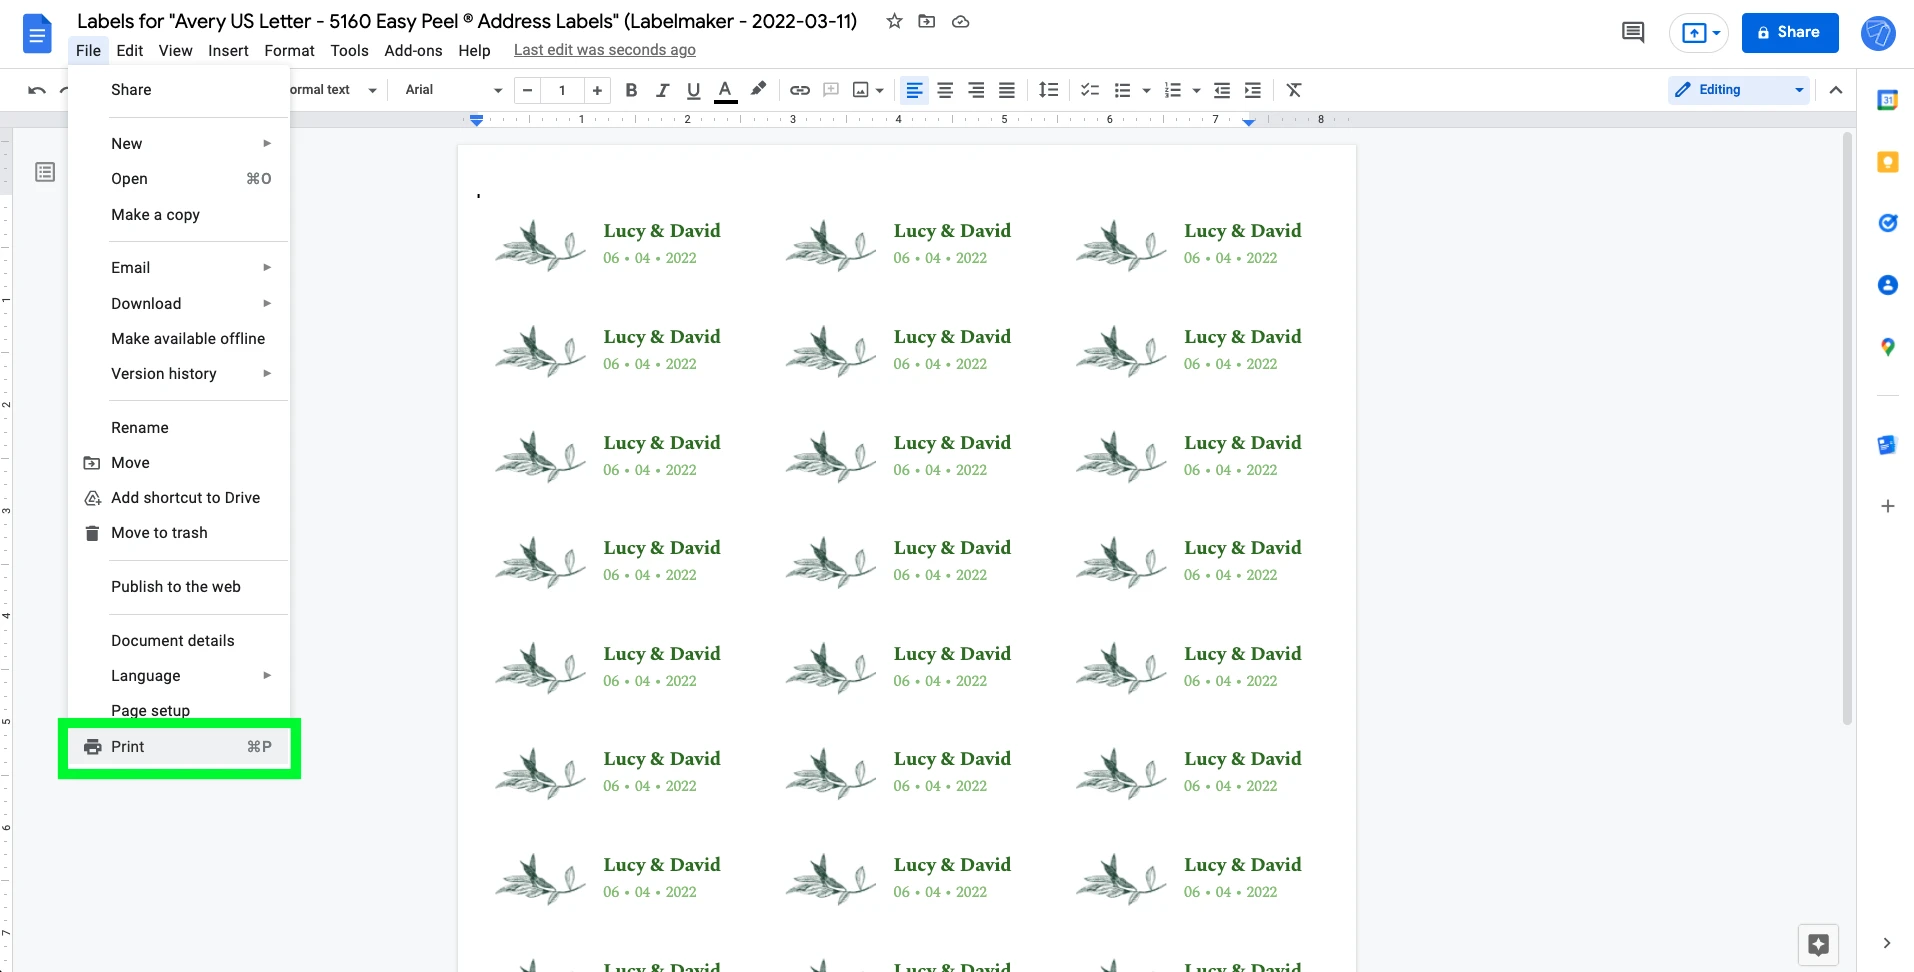
9. Print your Wedding labels
You’re ready to print your own wedding labels at home. To print your labels, click on "File" > "Print". In the print window, check that the margin is set to none and the scale to 100%. Depending on the label format you chose, you might need to adapt the size of the page.
Create your own Wedding labels 💍
You can now make your own custom wedding labels at home using Google Docs. You can save money and achieve a professional result without having to buy old fashioned stickers. Designing your own invites and labels will make your wedding unforgettable.
Docs provides a variety of fonts, sizes and designs to help create stunning stickers for your wedding, or any other event or celebration too! If you enjoyed this guide, see how you can create your Christmas labels in Google Docs.