How to make a mailing list in Google Sheets?
This guide shows you exactly how to make a mailing list in Google Sheets. A mailing list can be used for a mail merge, that is to print labels or send emails to your contacts for example. We will go through each step so that you'll know how to proceed. Then if you want to print labels, check our guide on how to print labels for a mailing list in Google Sheets.
Here is a summary of this step-by-step guide:
- Open a Google Sheets spreadsheet
- Name your spreadsheet
- Prepare your mailing list
- Add your contact information
- Print labels
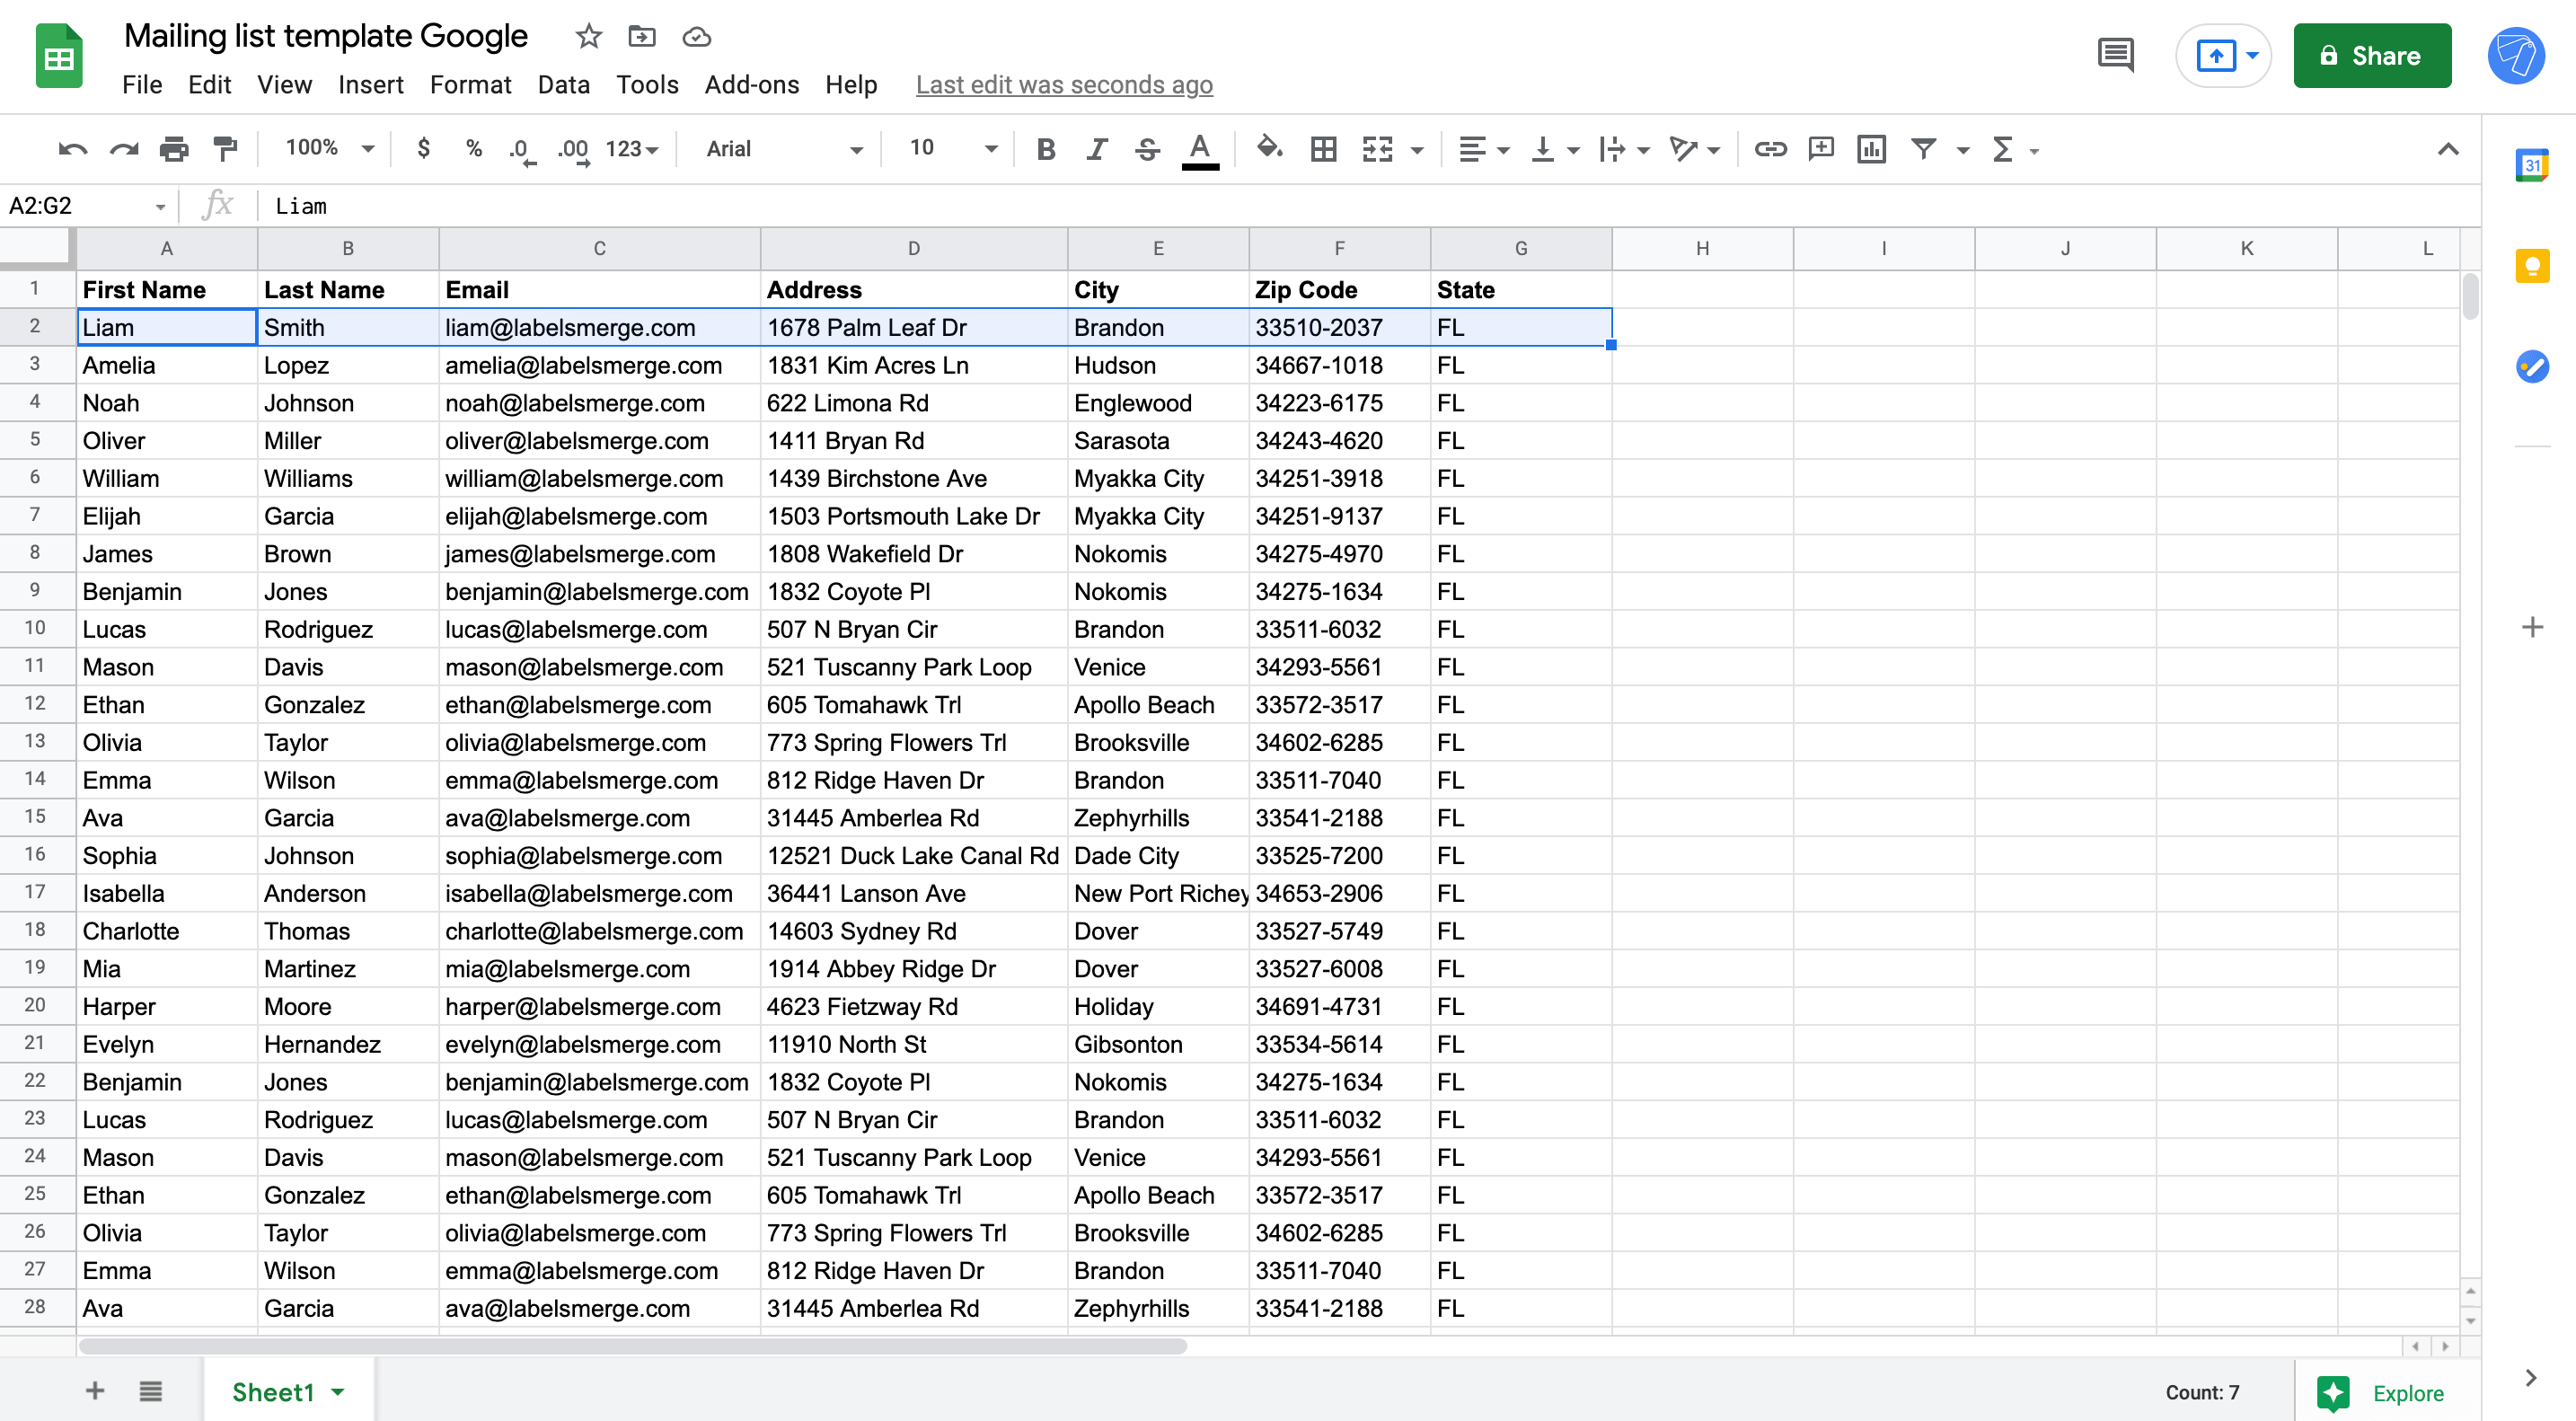
This is an example of a mailing list in Google Sheets, that you'll learn to create with this guide:
1. Open a Google Sheets spreadsheet
Open Google sheets by going to https://sheets.new. This will create a Google Sheets spreadsheet.
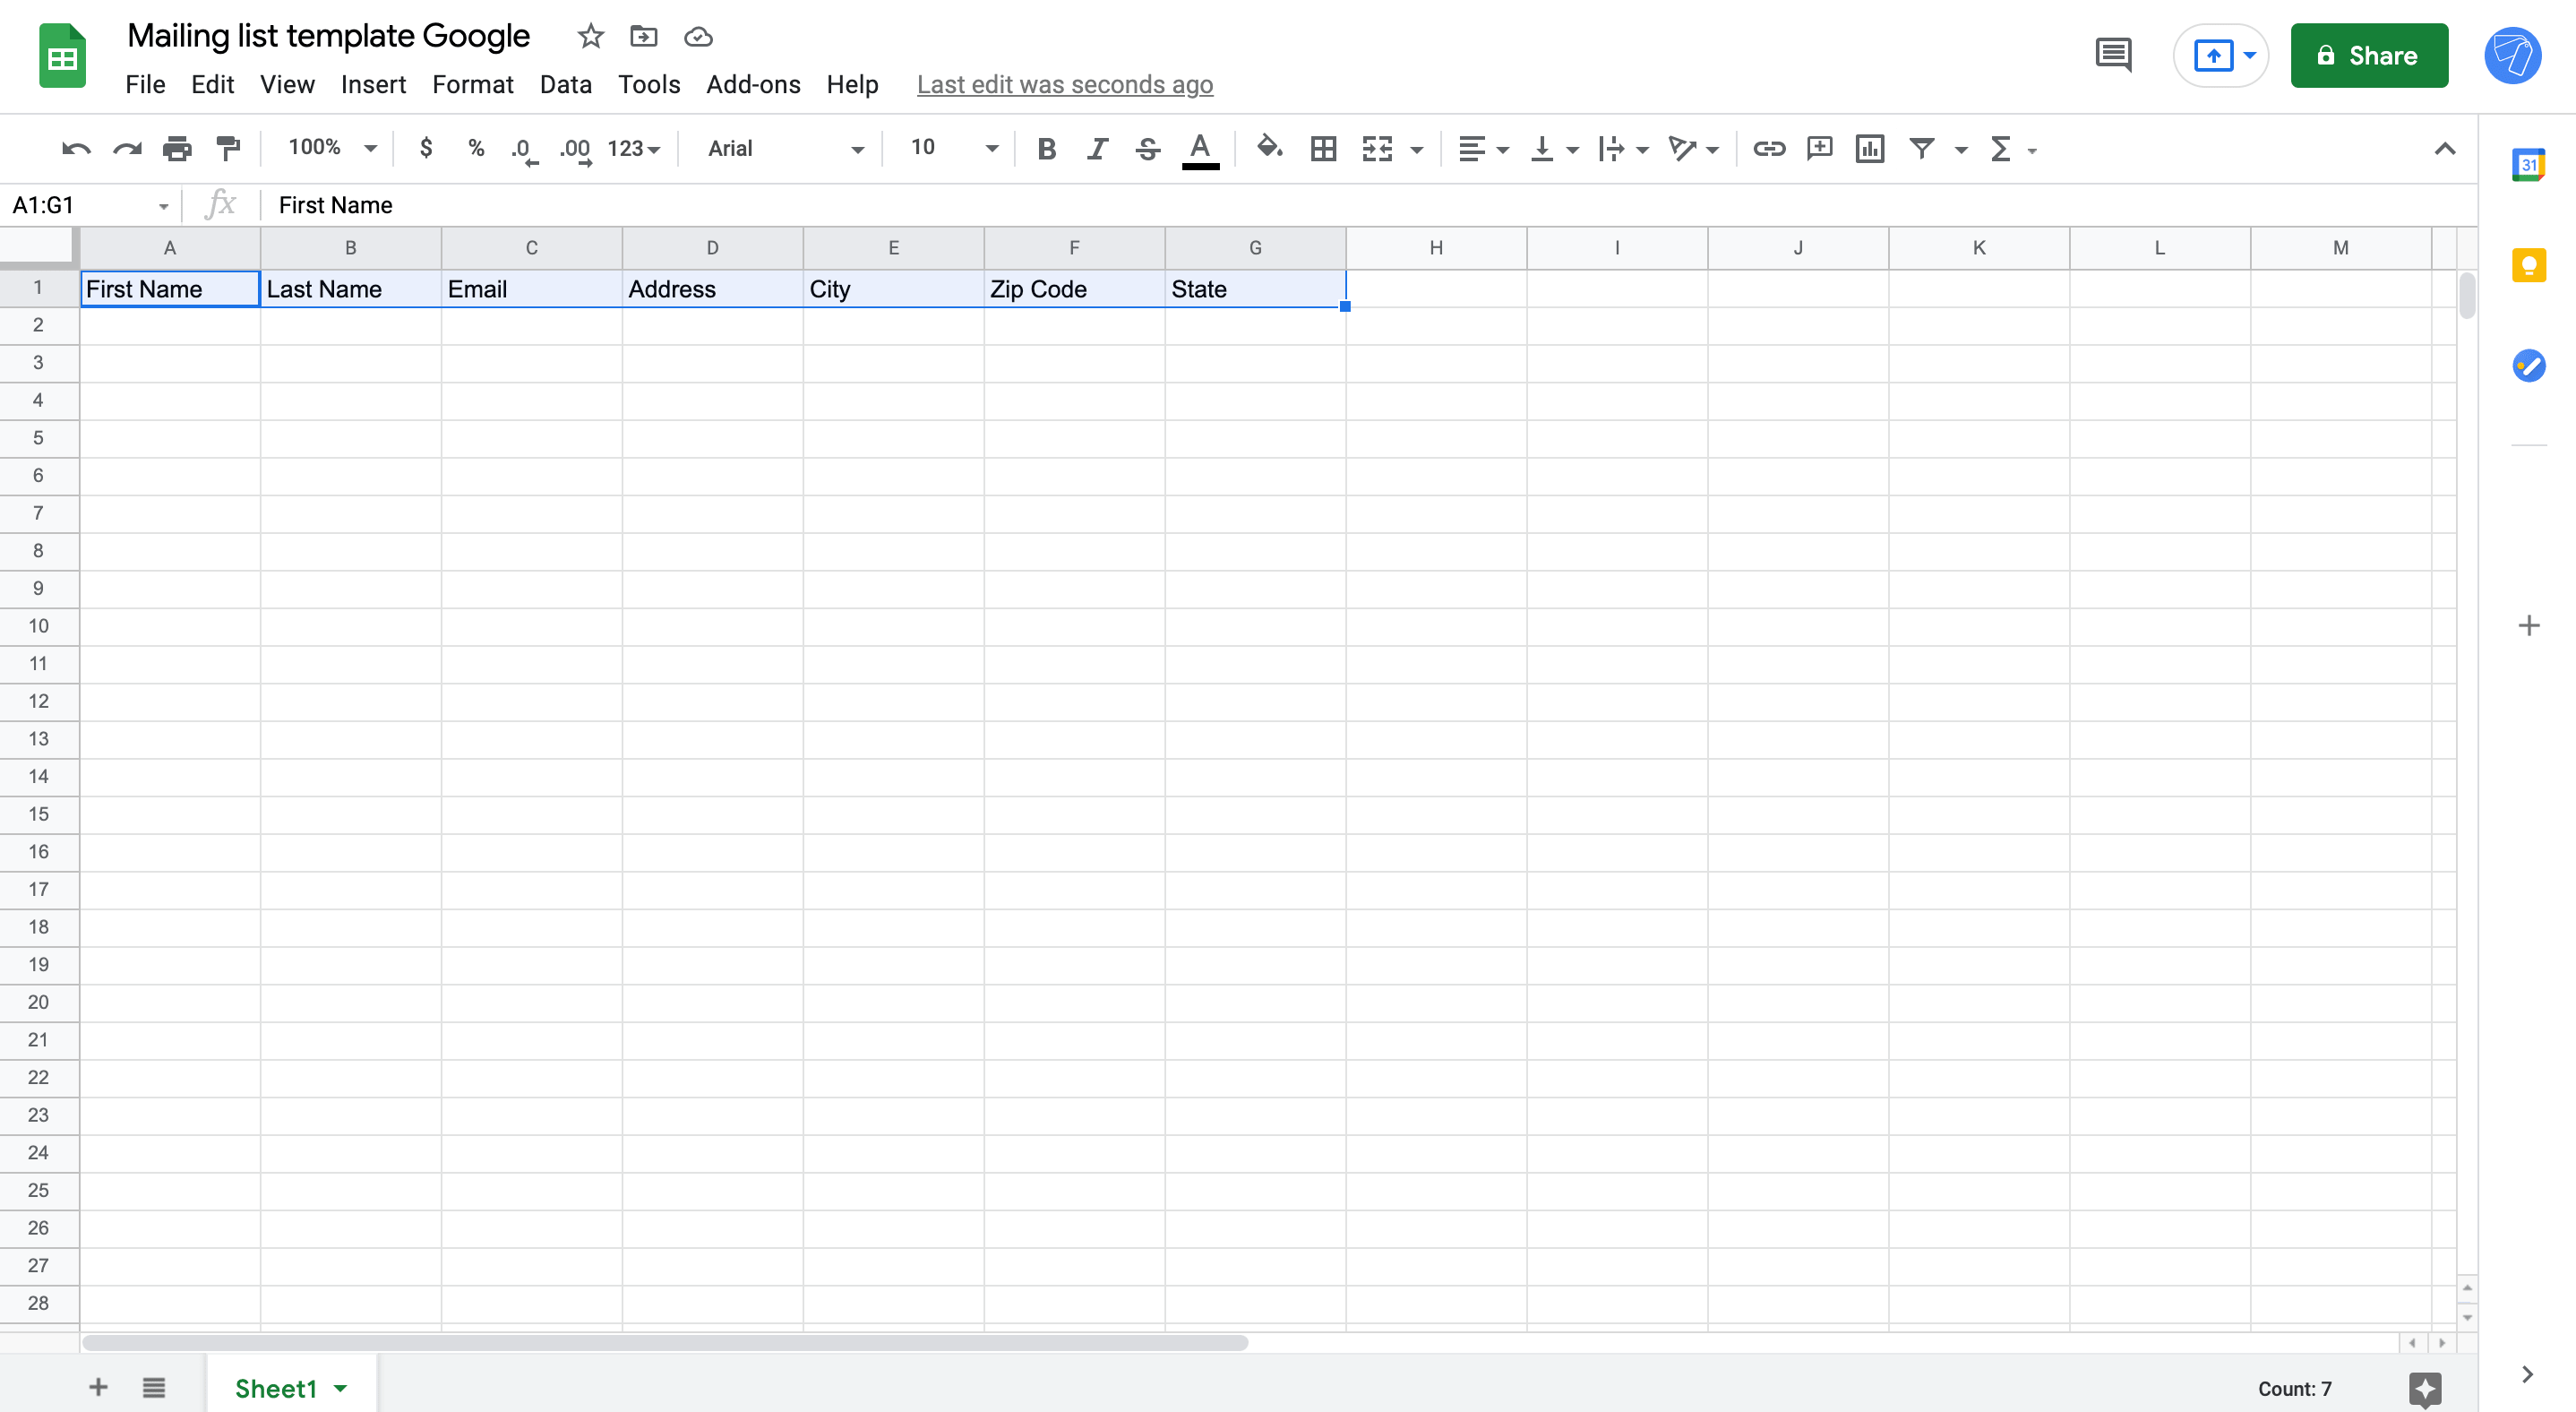
2. Name your spreadsheet
Your current sheet will be titled ‘Untitled spreadsheet’. Click on the title and re-name it with a relevant and easy to identify title. This spreadsheet will be used to compile a list of your contacts into a mailing list.

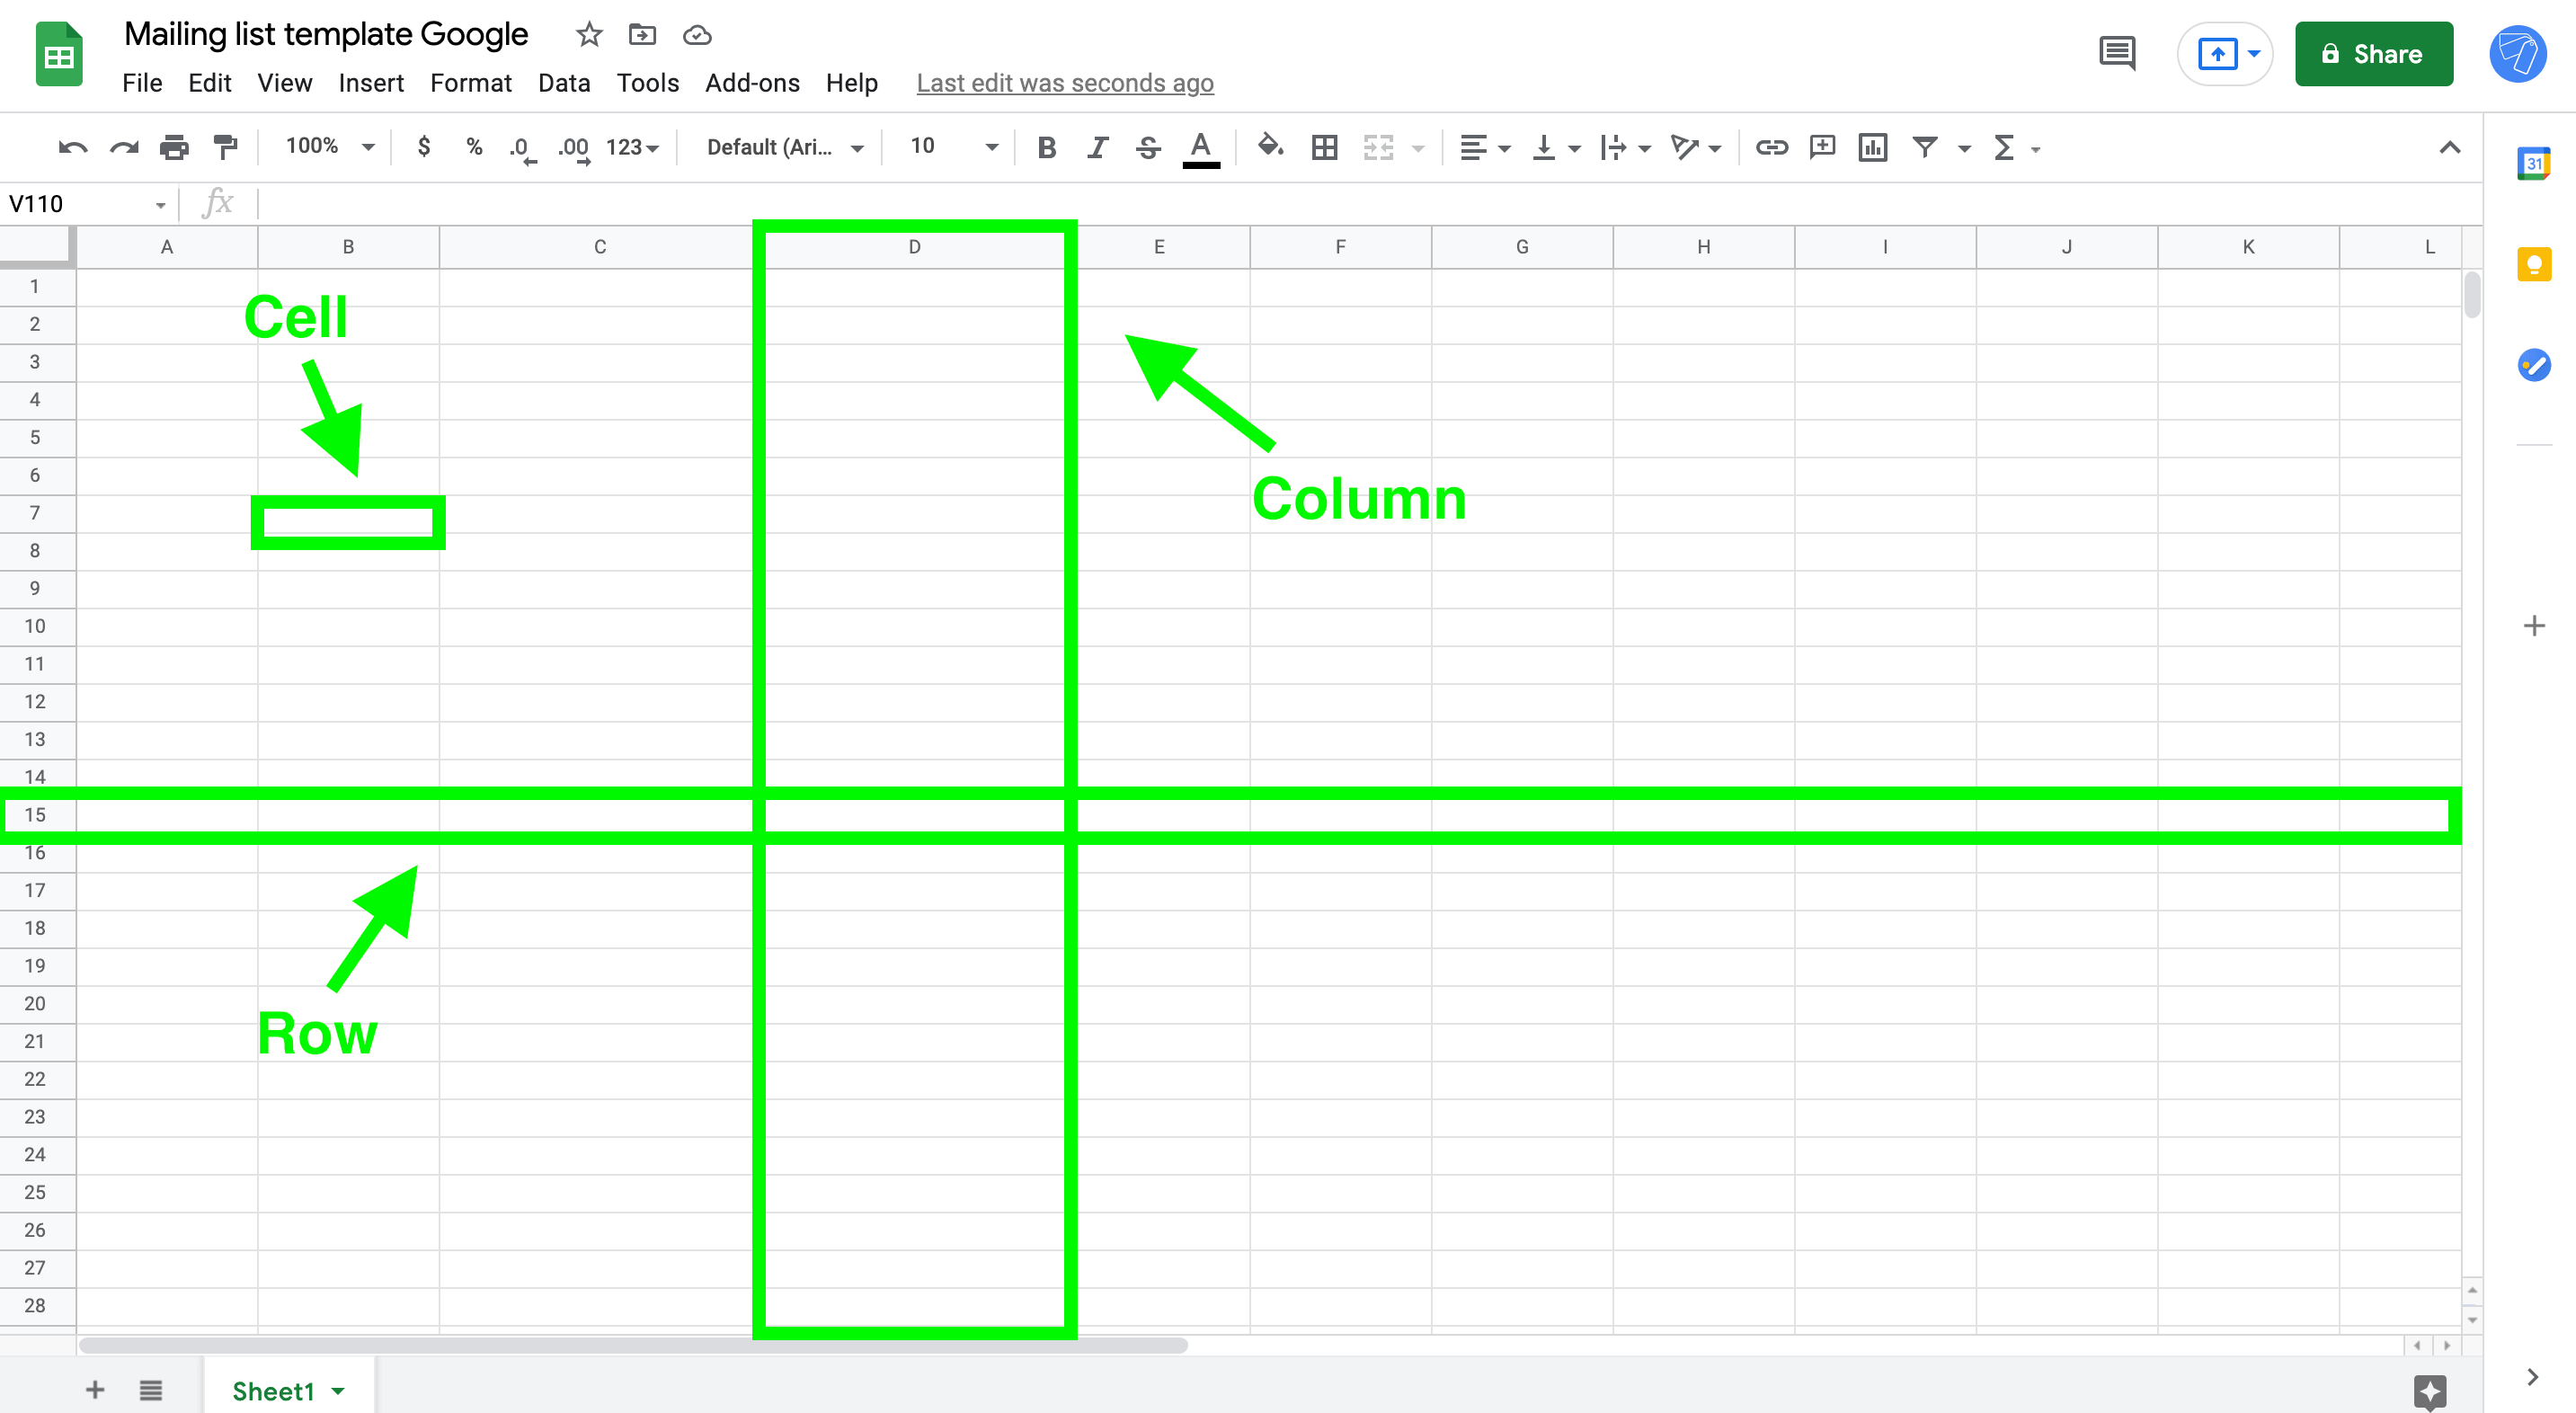
3. Prepare your mailing list
Before adding contacts, we are going to plan and prepare your columns. In your mailing list, each column represents a field and each row represents a contact.
Identify how many columns you will need. Most of the time, a mailing list contains the following information: First name, Last name, Email, Address, City, Zip Code, State. To name your columns, fill the first row in your spreadsheet.
You can always customize the columns depending on your specific use case. If you want more columns, you can add more later on, or delete columns as you’re working on your sheet. The order of the columns doesn’t matter, as long as you have a place to insert all the needed info.
4. Add your contact information
Fill in the cells with the related information for each of your contacts. For example, add your recipients’ first name under the column First Name. It’s okay to leave a cell blank, the space will be left blank when printing labels.
Tip: How to import contacts for a mailing list in Google Sheets
Did you know you can import your contacts using a .csv file? In Google Sheets, click on File > Import, and upload your .csv recipient sheet. This will import your contact list automatically to Google Sheets. You will then have the option to include the details in your current sheet or start a new sheet.
5. Print labels
When the time comes to print your labels, you now have a fully set-up mailing list that you can select when creating your labels. Check now our guide on how to print labels for a mailing list in Google Sheets.
Bonus: Mailing list template for Google
Use our free mailing list template for Google Sheets and Google Docs. To use the template, navigate to the link below and then click on Make a copy. Tip: you can also use this mailing list to send emails using our Gmail Mail Merge add-on.

PROFESSIONAL PRINTING
Print quality labels in a couple of clicks right from Google Docs.
SATISFACTION GUARANTEE
We offer a 30-days money-back guarantee on all our products.
NEED HELP?
Get help from our community of experts on the online forum.